
Mounting your television with a Sanus VuePoint wall mount instantly transforms your entertainment space, eliminating bulky stands and creating a sleek, modern focal point. When you properly install a Sanus VuePoint TV wall mount, you’re not just saving floor space—you’re enhancing your viewing experience while protecting your valuable television from accidental bumps or tip-overs. This guide delivers step-by-step instructions that walk you through each critical phase of the installation process, ensuring your TV remains securely mounted for years to come.
Before reaching for your drill, recognize that successful Sanus VuePoint installation depends on three non-negotiable elements: matching your mount type to your room’s layout, precisely locating wall studs, and adhering to manufacturer torque specifications. Rushing through any step risks damaging your wall, television, or worse—creating an unsafe mounting situation. Take the time to prepare thoroughly, and you’ll enjoy a professional-looking installation that functions perfectly for daily viewing.
Gather Your Installation Tools
Having all necessary tools within arm’s reach prevents frustrating interruptions once you’ve started the installation process. While your Sanus VuePoint mount includes specific mounting hardware, you’ll need several essential tools from your own collection to complete the job safely and efficiently.
A cordless drill with adjustable torque settings and Phillips head bits serves as your primary installation tool—use low torque for final tightening to avoid stripping screws. You’ll also need a 24-inch level to ensure perfect horizontal alignment across the wider span of your wall plate. A reliable stud finder prevents guesswork when locating framing members, while a tape measure allows precise positioning between studs. Keep a pencil for marking, a rubber mallet for gentle adjustments, and a flashlight for better visibility behind your TV. Don’t forget a helper—most Sanus VuePoint installations require two people to safely maneuver your television into position.
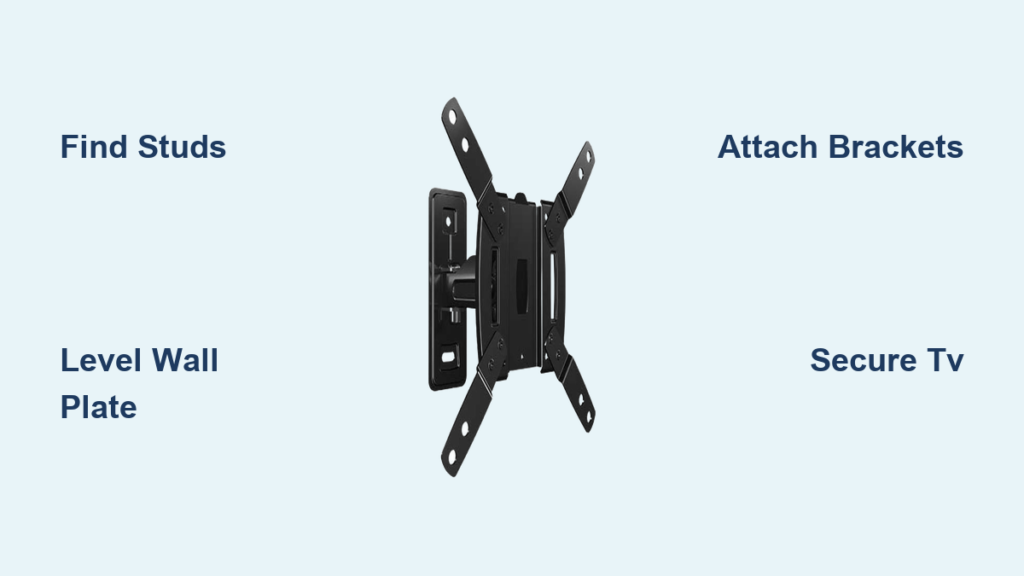
Choose the Right Mount Type for Your Space
Selecting the appropriate Sanus VuePoint mount type determines both your installation complexity and long-term viewing comfort. Understanding the differences between fixed, tilting, and full-motion options ensures you pick the perfect solution for your room layout.
Fixed-position mounts securely attach your TV to the wall in a stationary position, making them ideal for rooms where your viewing angle remains consistent throughout regular use. These mounts sit closest to the wall (typically 1-2 inches), creating the cleanest appearance and requiring the simplest installation process. If your seating arrangement stays in one location and glare isn’t a concern, this straightforward option provides reliable performance without complex mechanisms.
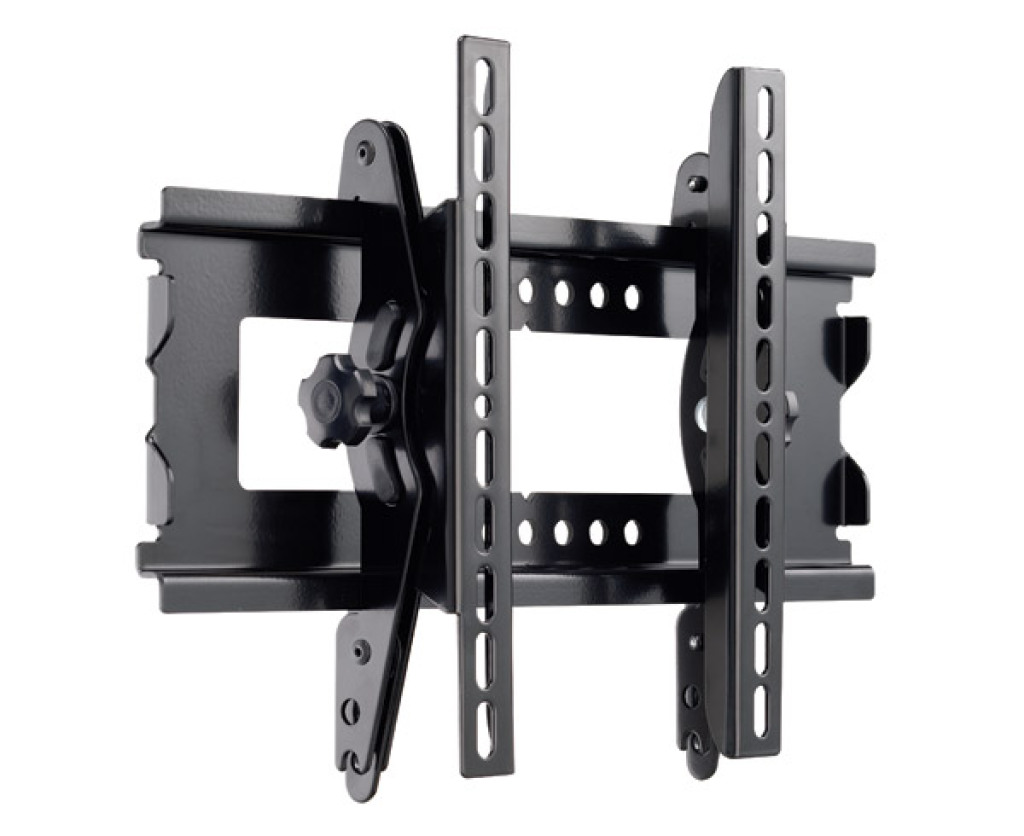
Tilting mounts allow your TV to pivot forward and backward, significantly reducing glare from overhead lights or windows that would otherwise wash out your screen. This setup proves perfect for installations above eye level, such as in bedrooms where you might view the television while lying down, or in kitchens where counter heights position the TV higher than ideal. The tilting mechanism adds minimal depth while providing essential flexibility for optimizing your viewing angle in challenging lighting conditions.
Full-motion mounts offer the greatest flexibility, allowing your TV to extend away from the wall, swivel side-to-side, and tilt vertically. This configuration is essential for optimizing viewing angles in large rooms with multiple seating arrangements or open floor plans. When properly installed, a full-motion Sanus VuePoint mount lets you pull your TV away for better viewing from different positions, then push it flush against the wall when not in use. However, these mounts require careful attention to securing all components properly, as the moving parts experience more stress than stationary designs.
Locate Wall Studs Accurately for Safe Installation
Finding solid wall studs forms the absolute foundation of a safe TV mount installation—drywall anchors alone cannot safely support your television’s weight long-term. Most walls contain vertical wooden or metal studs spaced 16 inches apart (measured from center to center), though this varies in some older homes or specialty construction.
Begin by using a quality stud finder pressed flat against the wall, moving slowly across your drywall while watching for the device’s indicator lights. Mark both edges of each stud with a pencil to understand the full width of your solid mounting surface. Verify your findings by tapping the wall—you’ll hear a solid thud against a stud versus a hollow sound between studs. For Sanus VuePoint installations, you’ll typically need to attach to at least two studs, though larger televisions and full-motion mounts often require three or four mounting points.
Calculate your mount’s hole pattern against your stud locations to determine the optimal positioning. If your studs don’t align perfectly with the mount’s pre-drilled holes, you may need to adjust your installation height slightly. Never attempt to mount into drywall alone, even with heavy-duty anchors—the weight of a television combined with regular adjustment forces will eventually cause catastrophic failure.
Mount the Wall Plate with Precision
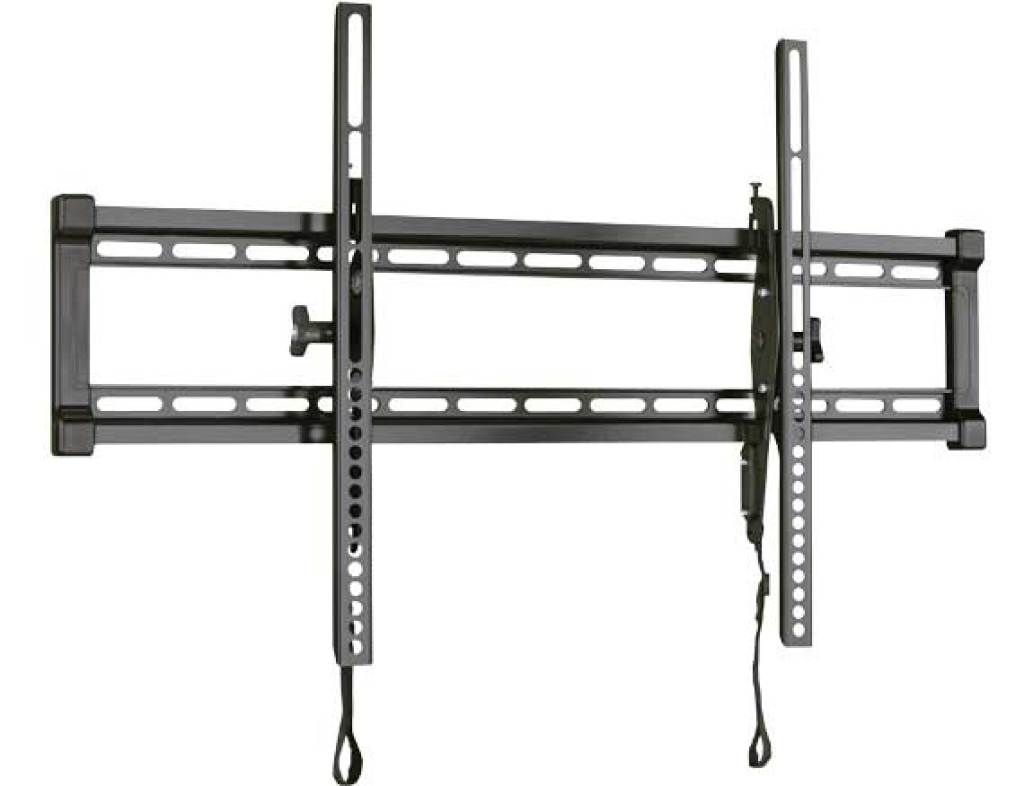
The wall plate serves as your entire mount system’s foundation, making precise installation critical for both safety and appearance. Position the wall plate against your marked studs, using your level to ensure it’s perfectly horizontal across its entire width.
Have a helper hold the plate in place while you insert and tighten the mounting lag bolts through the plate’s holes and into your wall studs. These heavy-duty bolts should tighten firmly without cracking the drywall—use your drill on the lowest torque setting and finish tightening with a hand wrench for maximum security. Avoid over-tightening, which can strip the stud threads or warp the mounting plate.
Double-check your measurements from floor to plate bottom, ensuring the final TV position sits at your desired height. Most installations position the screen center at eye level when seated (typically 42-48 inches from the floor). Once satisfied with positioning, fully tighten all mounting hardware and give the plate a firm shake to confirm no movement exists before proceeding.
Attach the TV Brackets Properly
TV bracket attachment requires careful attention to your television’s specific mounting points and proper hardware selection. Examine your TV’s back panel to identify the VESA mounting pattern—these standardized holes manufacturers use for wall mounts.
Sanus VuePoint mounts typically accommodate VESA patterns ranging from 100x100mm to 600x400mm or larger, but verify your specific television’s pattern before proceeding. Remove any existing stands or base plates from your television, storing them safely for future use. Attach the bracket rails to your TV using the provided spacers and screws that match your VESA pattern.
The screws must engage fully but not overtighten—stripping the threads in your TV’s mounting holes creates permanent damage. Most brackets include a safety mechanism that clicks into place once properly connected, but physically verify all connection points before moving the television. If your mount includes an attachment plate, connect it to the wall plate now, ensuring all locking mechanisms engage securely.
Hang and Secure Your TV Safely
With brackets attached, you’re ready to mount the television onto the wall plate assembly—but never attempt this step alone. Have a second person help with this critical phase; heavy televisions are awkward to maneuver, and dropping a TV damages both the device and potentially your wall mount.
Carefully lift the television while guiding the bracket hooks into the wall plate tracks. Most Sanus VuePoint mounts include a safety latch that clicks audibly when the TV seats properly—listen for this confirmation before releasing your grip. Once the TV hangs securely, engage any secondary locking mechanisms and test that the television cannot accidentally detach.
For tilting and full-motion mounts, test the adjustment mechanisms while you have help available. Gently push the TV to verify it moves smoothly through its intended range of motion. Check that cables have sufficient slack for full movement without straining connections—full-motion mounts require particular attention to cable management to prevent connection failures.
Conceal Cables for a Professional Finish
Visible cables undermine the clean aesthetic of a wall-mounted television, making concealment an important finishing step. For simple installations, a cable management raceway along the wall surface hides cables neatly without cutting into drywall—these snap-on covers match painted surfaces well when primed after installation.
Route all cables through the raceway’s channels, securing them with the built-in clips and ensuring enough slack for any TV movement. In-wall cable concealment provides the cleanest appearance but requires additional work. Use only rated in-wall HDMI and power cables (never standard cables which can overheat when enclosed). Install a low-voltage bracket behind your TV and another near your outlet, threading cables through the wall cavity. Always turn off power at the breaker before working near electrical outlets.
Test Your Installation Thoroughly
Before considering the project complete, thorough testing ensures your mount performs safely under real-world conditions. Gently push and pull on your television to verify no movement exists at any connection point. Test all tilting, swiveling, and extending functions for full-motion mounts, confirming smooth operation throughout the full range.
Re-check all bolt tightness, as vibration from initial use can loosen hardware. Examine your wall surface around the mount for any cracks or stress marks that might indicate improper fastening. Power on your television and verify the viewing angle works comfortably from your primary seating position. For the first week after installation, periodically check that all mounting hardware remains tight, as settling and vibration can initially cause loosening. Once confirmed stable, your Sanus VuePoint TV wall mount installation is complete, providing a secure and stylish foundation for your home entertainment system.

