
You’ve just purchased your new wall mount uppercut bag and are ready to transform your training space, but improper installation could lead to dangerous situations or equipment damage. When a punching bag isn’t properly secured, the risks of it dropping under impact become extremely high—potentially causing serious injury or property damage. Every punch creates tremendous force that stresses your mounting system far beyond the bag’s static weight, making correct installation absolutely critical for safe, effective training. This guide walks you through the exact steps to securely mount your uppercut bag, ensuring years of reliable use without compromising safety.
The dynamic nature of boxing means your wall mount must handle forces that exceed what you might expect. Unlike stationary equipment, your uppercut bag experiences sudden directional changes and impact forces during training that can loosen hardware over time. Whether you’re setting up your first home gym or upgrading your training space, taking the proper approach to installation prevents costly mistakes and creates a training environment you can trust through countless sessions.
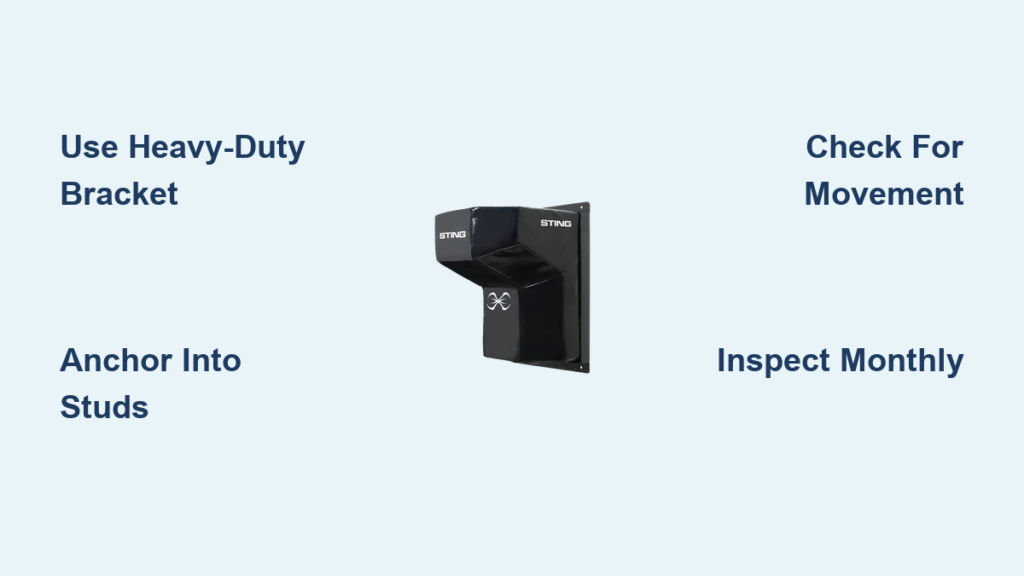
Select Heavy-Duty Mounting Hardware for Uppercut Bag Installation

Before drilling a single hole, gathering the right hardware prevents dangerous compromises in your mounting system. Your bracket must support significantly more weight than your bag’s listed specification—home bags typically weigh 32-45 kg while gym bags reach 90 kg or more, but impact forces during training multiply these weights substantially. Choose a bracket rated for at least 100 kg even if your bag weighs less, as this safety margin accommodates the dynamic forces generated when throwing powerful uppercuts.
Your complete hardware kit requires these essential components:
- Power drill with appropriate bits sized for your specific bolts (typically requiring holes slightly larger than bolt diameter)
- Heavy-duty mounting bracket with visible weight rating (never install without this specification)
- High-grade structural bolts with sufficient length to anchor into solid wall structure
- Spirit level to ensure perfect alignment during installation
- Sturdy hanging chains with adjustable height capability
- Secure connection hardware (carabiners or S-hooks with locking mechanisms)
- Optional heavy bag spring to absorb impact forces and reduce stress on your wall
Pro Tip: Always inspect hardware for manufacturing defects before installation—check for cracks, threading issues, or weak points that could compromise safety during intense training sessions.
Identify Structurally Sound Wall Location for Maximum Safety
Choosing where to mount your uppercut bag determines whether your installation will withstand rigorous training or fail catastrophically. Never mount to drywall alone or hollow wall sections—your bracket must anchor directly into solid structural components like wall studs, concrete, or brick. Tap your wall to identify hollow versus solid areas; solid spots produce a dull thud while hollow areas sound hollow and resonate.
Your location must provide 180-240 cm of horizontal clearance in all directions to accommodate the bag’s natural swing pattern during uppercut training. Measure carefully to ensure the bag won’t contact walls, ceilings, furniture, or other obstacles during full-range movement. Basements, garages, and dedicated workout rooms typically offer the space needed, while bedrooms often prove too confined for safe operation.
Warning: If you can’t find a structurally sound location with adequate clearance, consider alternative mounting solutions rather than compromising safety—your training environment shouldn’t force you to limit your technique.
Drill Precise Mounting Holes for Secure Bracket Attachment
With your location confirmed, mark exact drilling points using a pencil and spirit level to ensure perfect alignment. The precision of your holes directly impacts your installation’s security—misaligned holes create uneven stress points that can lead to premature hardware failure. Use a drill bit sized specifically for your mounting bolts, creating holes deep enough for full bolt insertion into structural material (typically 5-7 cm deep).
Position your bracket against the wall, aligning holes precisely with your markings, and verify perfect straightness with your spirit level. Insert bolts through the bracket into your pre-drilled holes, tightening them with substantial force using appropriate wrenches or sockets. Bolts must be tightened with maximum strength—this isn’t a situation where “hand tight” suffices, as the dynamic forces from uppercut strikes will gradually loosen insufficiently secured hardware.
Critical Checkpoint: After tightening, push firmly against the bracket in multiple directions to test for movement. Any shifting indicates inadequate anchoring and requires immediate correction before proceeding.
Connect Your Uppercut Bag to the Mounting System

With your bracket securely fastened, attach the hanging components starting from the bracket downward. Most wall mount systems use a carabiner hook as the primary connection point—ensure it has a secure locking mechanism that won’t accidentally disengage during training. Add a punch bag swivel between the carabiner and hanging chain to allow smoother rotation and prevent chain twisting during intense sessions.
Connect the hanging chain to your bag’s attachment loops, ensuring both connection points are identical in length for balanced hanging. The chain should connect to reinforced loops on the bag, not weaker fabric sections that could tear under stress. Give your bag a controlled swing to verify it hangs freely without contacting surrounding surfaces or exhibiting unnatural movement patterns.
Pro Tip: Before full-force training, perform a safety test by delivering progressively stronger strikes over several sessions—this allows you to identify any mounting issues before they become safety hazards.
Set Correct Height for Effective Uppercut Training
Proper height configuration transforms your bag from a simple target into an effective training tool that enhances rather than hinders your technique. For standard uppercut-focused training, position the bottom of your bag 80-120 cm from the floor—this height allows proper technique execution while providing clearance for footwork and body movement. If incorporating kicks, raise the height to exceed 150 cm to accommodate the extended range of motion required for effective techniques.
Adjust height based on your specific stature: the bag’s center should align with your solar plexus when in your natural fighting stance. Test different heights by performing shadowboxing movements in front of the bag—your ideal height allows comfortable execution of combinations without forcing you to reach excessively or bend unnaturally.
Warning: A bag positioned too low creates awkward punching angles that increase injury risk to wrists and shoulders while compromising technique development.
Install Stability Features to Reduce Excessive Swinging
For practitioners focusing on power development or precise technique work, excessive bag movement becomes counterproductive. Install an anchor plate or floor hook system to stabilize the bottom of your uppercut bag, significantly reducing unwanted swing while maintaining enough movement for realistic training. These accessories attach to the floor and connect to the bottom of your bag with adjustable straps or chains.
Consider adding a heavy bag spring between your mounting bracket and hanging chain to absorb impact energy. These springs distribute forces more evenly throughout your mounting system, reducing stress on wall anchors and extending the life of your hardware. The spring should compress noticeably during strikes but return the bag to center position reliably.
Pro Tip: If your bag continues swinging excessively after adding stability features, reevaluate your mounting surface—insufficient structural support often masquerades as a “swinging problem.”
Perform Critical Safety Checks Before First Training Session
Before delivering your first punch, execute a comprehensive safety verification process that could prevent serious injury. Push the bag firmly in multiple directions to test for bracket movement, bolt loosening, or wall separation. Inspect all connection points for proper security—carabiners should be locked, chains should show no signs of deformation, and attachment loops should maintain integrity under stress.
Verify 360-degree clearance around the bag to ensure unrestricted movement during training. Confirm that your mounting location provides adequate space for you to move around the bag without contacting walls or obstacles during footwork patterns. Never train in spaces that restrict your movement—this limitation increases injury risk and reduces training effectiveness.
Critical Reminder: If you detect any movement in the mounting system, unusual sounds, or visual signs of stress, stop immediately and reevaluate your installation—safety always trumps convenience.
Establish Monthly Maintenance Routine for Long-Term Safety
Your installation requires ongoing attention to maintain safety as hardware naturally loosens through repeated stress cycles. Schedule monthly inspections that include:
- Checking all bolt tightness with appropriate tools
- Examining chains and hooks for signs of wear or deformation
- Verifying bracket attachment to wall structure
- Inspecting bag attachment points for seam separation
- Testing carabiner locking mechanisms for proper function
During inspections, tighten any hardware showing signs of loosening and replace components with visible wear immediately. The minimal cost of replacement hardware pales in comparison to potential injury consequences from equipment failure. Wipe down metal components periodically to prevent corrosion that could weaken structural integrity over time.
Pro Tip: Keep a small maintenance kit near your training area containing necessary tools for quick checks—this encourages regular attention to your mounting system’s condition.
A properly installed wall mount uppercut bag transforms your training space into a reliable environment for skill development and physical conditioning. By following these precise installation steps—selecting appropriate hardware, choosing a structurally sound location, mounting securely, and maintaining regularly—you create a safe training foundation that supports your boxing journey for years. Remember that the time invested in correct installation pays exponential dividends through injury prevention and consistent training quality—never compromise on safety when your physical well-being is at stake.

