
Your television’s wall mount feels secure—until you need to take it down for moving, repairs, or cleaning behind the unit. The bar lock mechanism, common on many modern mounts, often confuses homeowners attempting removal for the first time. Unlike simpler mounts, bar locks require precise horizontal sliding to release the TV safely. This guide shows you exactly how to remove your television from a bar lock wall mount without damaging your expensive equipment or risking injury. By following these specific steps, you’ll avoid the most common mistakes that lead to dropped TVs and damaged mounting hardware.
Before touching any tools, recognize that bar lock removal demands patience and preparation. A typical 55-inch TV weighs 40-50 pounds—enough to cause serious injury if it falls. If you’re working alone or feel uncertain about any step, stop immediately and call a professional installer. The cost of professional help pales compared to replacing a shattered screen or treating an injury. This process applies specifically to bar lock systems, which differ significantly from screw locks or pull-string mechanisms found on other mounts.
Gather Required Tools Before Starting
Skip this preparation step, and you’ll likely find yourself mid-removal, searching for the right screwdriver while supporting a heavy television. Begin by collecting all necessary tools: Phillips and flathead screwdrivers in multiple sizes, as mounts use varying fastener types. Include a small magnetic tray or labeled Ziplock bags—each screw, washer, and spacer must be tracked precisely. Losing just one critical component can delay reinstallation for days while you hunt for replacements.
Don’t overlook lighting. The space between your TV and wall often lacks sufficient illumination, making it difficult to spot the bar lock mechanism or confirm complete disengagement. Bring a portable work light or headlamp to clearly see all components. Also prepare a soft landing zone—a bed covered with blankets, thick towels on a table, or specialized TV foam padding—where your television will rest after removal. Pressing directly on the screen while handling can cause permanent damage to modern LCD or OLED panels.
Disconnect and Organize All Cables Systematically
Begin by unplugging the power cord from both the wall outlet and television to eliminate electrical hazards. Then methodically disconnect every cable: HDMI, optical audio, Ethernet, coaxial, and any connections to streaming devices or sound systems. Don’t just yank cables free—note their positions for easier reinstallation. Take photos of each connection point with your smartphone before disconnecting anything, creating a visual reference that beats handwritten notes.
Wrap each cable separately using Velcro straps (never twist ties, which can damage delicate wiring), then label them with colored tape corresponding to their destination device. For example, use red tape for your cable box HDMI, blue for your soundbar connection, and green for your gaming console. Group related cables together and store them in a single container near your prepared TV landing zone. This organization prevents the common frustration of untangling a cable spaghetti mess during reinstallation.
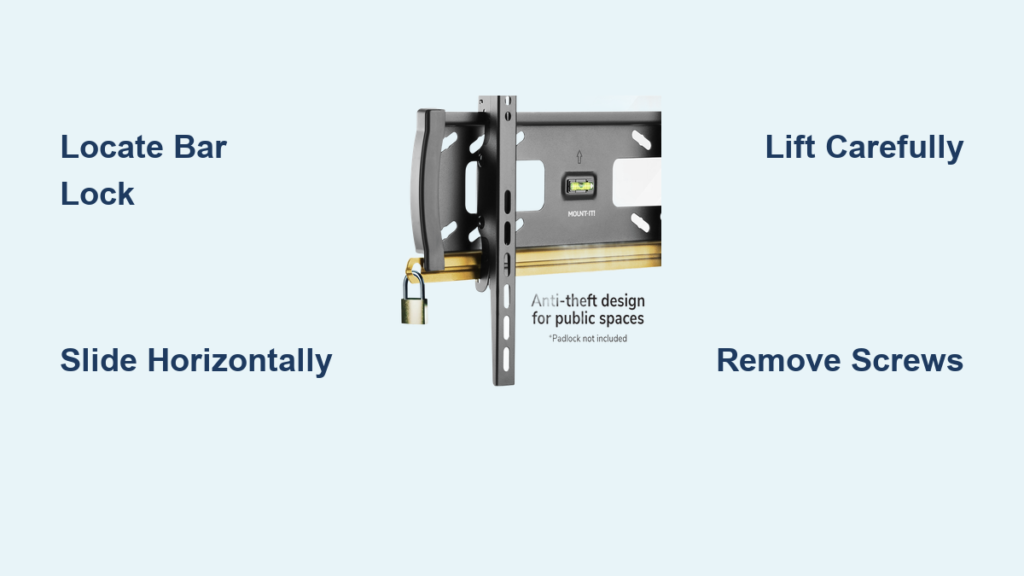
Locate and Release the Bar Lock Mechanism Correctly

The bar lock appears as a horizontal metal or plastic bar running across the back of your TV where it meets the wall mount—typically near the bottom, center, or top of the mounting interface. Unlike screw locks requiring rotation or pull-string systems needing cable tension, bar locks release through precise horizontal sliding. Run your fingers along the mounting area to feel for this distinctive sliding component before attempting removal.
Identify the correct sliding direction by looking for subtle arrows or markings on the bar itself—these indicate whether to slide toward the TV’s center or outward toward the edges. Some mounts require 1-2 inches of horizontal movement to fully release the locking pins. If no indicators exist, gently test both directions with light pressure; the correct direction will move smoothly while the wrong one feels obstructed. Never force the bar, as this can bend internal components and jam the mechanism permanently.
With your helper firmly supporting the TV’s weight, slide the bar lock in the correct direction using your fingertips. You should hear or feel a distinct click when the locking pins disengage. If the bar moves but the TV remains stuck, double-check for secondary safety features—many mounts combine bar locks with additional retention clips. The bar must complete its full travel distance before attempting TV removal.
Lift Your TV Off the Mount Without Damage
Position yourself directly in front of the television with your helper on the opposite side, both of you supporting the TV’s weight evenly. Begin by gently tilting the bottom of the TV toward you about 10-15 degrees—this creates clearance for the mounting hooks to clear the wall plate. Maintain this slight angle as you slowly lift the TV upward in a straight line, keeping it parallel to the wall.
Continue lifting steadily until the mounting bracket completely separates from the wall plate—this typically requires 2-4 inches of upward movement. Never twist or angle the TV excessively during removal, as uneven stress can crack the mounting points on the TV’s back panel. If you encounter resistance after the bar lock release, stop immediately and recheck that all locking mechanisms have disengaged fully.
Once free from the mount, carefully lower the TV face-down onto your prepared soft surface. Place one hand under the screen’s bottom edge and the other supporting the top to maintain even weight distribution during the turn. Never set the TV down by its sides alone—this creates dangerous leverage that can crack the display panel.
Remove Mounting Hardware from Your Television

With the TV safely positioned face-down on a soft surface, locate the VESA mounting pattern screws securing the bracket to the TV’s back. Most modern TVs use standardized VESA patterns (200x200mm, 400x400mm, or 600x400mm for larger models), with screws positioned near the four corners of the mounting area. Use the correct screwdriver size to avoid stripping these critical fasteners.
Remove screws in a diagonal pattern (top-left, then bottom-right, then top-right, then bottom-left) to evenly release pressure on the mounting points. As you remove each screw, immediately place it in a labeled bag marked “TV mounting screws” along with any washers or spacers. Count the screws as you remove them—most mounts use four, but some larger TVs require six or eight mounting points.
Examine the TV’s back panel for any residual adhesive or mounting hardware left behind. Some mounts use plastic spacers that can become stuck in the TV’s mounting holes. Gently remove these with a plastic pry tool if present, taking care not to scratch the TV’s surface. Never use metal tools directly on the TV back, as this can damage internal components.
Identify Alternative Lock Mechanisms

While working with your mount, confirm you’re dealing with a true bar lock system rather than similar-looking mechanisms. Screw locks feature visible threaded fasteners at the bottom of the mounting interface that must be turned counterclockwise to release—these often require a screwdriver rather than finger operation. Pull-string locks reveal thin cords emerging from both sides of the mounting area that must be pulled simultaneously downward to disengage.
Bar locks uniquely feature a horizontal sliding component that moves perpendicular to the TV removal direction. If your mount lacks this sliding bar but includes visible screws below the TV, you’re dealing with a screw lock system. Similarly, if you see thin cords rather than a sliding bar, your mount uses pull-string release. Attempting bar lock techniques on these alternative systems can damage your mount and create dangerous situations.
Reinstall Your TV Safely After Removal
When returning your TV to the wall, begin by attaching the mounting bracket to the TV’s back using the screws you carefully stored. Insert all screws loosely first, then gradually tighten them in a diagonal pattern to ensure even pressure across all mounting points. Hand-tighten initially, then give each screw just a quarter-turn with your screwdriver—overtightening can strip the TV’s delicate mounting threads.
With your helper supporting the TV, lift it toward the wall mount and hook the bracket onto the wall plate. Lower the TV until it seats completely, then slide the bar lock horizontally to reengage the locking mechanism. You should feel and hear a positive click confirming full engagement. Before releasing your hold, gently tug downward on the TV’s bottom edge to verify it’s securely locked in place.
Prevent Future Removal Difficulties
After successful reinstallation, apply a small amount of graphite powder to the bar lock mechanism—this dry lubricant prevents sticking without attracting dust like oil-based lubricants. Also label your wall mount with its model number using discreet tape; this information proves invaluable if you need removal instructions later. Finally, keep the original mounting hardware bag stored with your TV manual for future reference.
Taking these precautions ensures your next removal will be smoother than the first. The bar lock mechanism, once understood, provides reliable security while allowing straightforward removal when needed. Whether you’re moving homes, upgrading your entertainment system, or simply cleaning behind your TV, following these precise steps protects your investment and keeps you safe during the process.

