
That moment when you need to remove your television from the wall—whether upgrading to a newer model, moving to a new home, or simply accessing the wall behind your display—can trigger unexpected anxiety. Many homeowners find themselves staring at their swivel wall mount with no instruction manual in sight, wondering how to safely detach their valuable television without causing damage. The frustration peaks when you realize different manufacturers use various locking mechanisms, and your decade-old mount doesn’t behave like the YouTube tutorials you’ve watched. This guide cuts through the confusion by providing clear, actionable steps based on real-world experiences from thousands of users who’ve faced this exact challenge.
Removing a TV from a swivel wall mount isn’t rocket science, but it does require understanding the specific locking system holding your display in place. Most mounts follow a similar principle: the top of the TV bracket hooks over a rail on the wall plate, while bottom mechanisms prevent the television from swinging away. Without knowing how to release these components properly, you risk damaging your TV, wall, or worse—dropping your expensive display. By the end of this guide, you’ll confidently identify your mount’s specific locking mechanism and execute a safe removal process, even if you’ve never touched a wall mount before.
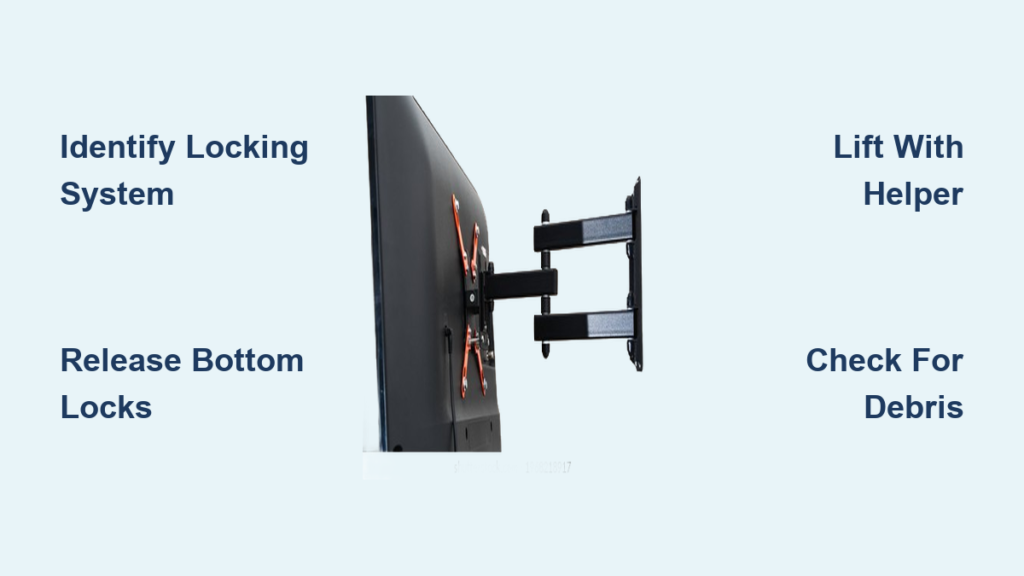
Identify Your Mount’s Specific Locking System
Before attempting removal, examine your mount’s bottom connection point where the TV meets the wall bracket—this is where most locking mechanisms reside. Many users struggle because they overlook this critical area, focusing only on visible screws while missing hidden latches. Forum member xeric080 shared photos of a mount that had been installed for ten years, highlighting “the piece that seems to prevent you from lifting the TV.” Audioguy1 responded that “there’s usually screws that thread through the bottom part of the lower TV side of the mount frame that are turned inward so as not to let the mount on the TV side lift from the mount on the wall side.”
Look for egg-shaped or cylindrical components near the bottom mounting holes—these indicate cam locks, a common system where rotating the cam releases the TV. If you see what appears to be a small hole at the bottom, bbassinger explains this often “where you can put a padlock in.” For these designs, “push the bottom of the holed lock toward the TV on both mounts while pulling at the bottom of the TV away from the wall.” Dust accumulation over years can obscure mechanisms, so use a flashlight to illuminate hidden areas. Take photos from multiple angles before proceeding—these visual references prove invaluable when reassembling or troubleshooting.
Gather Essential Tools for Safe Removal
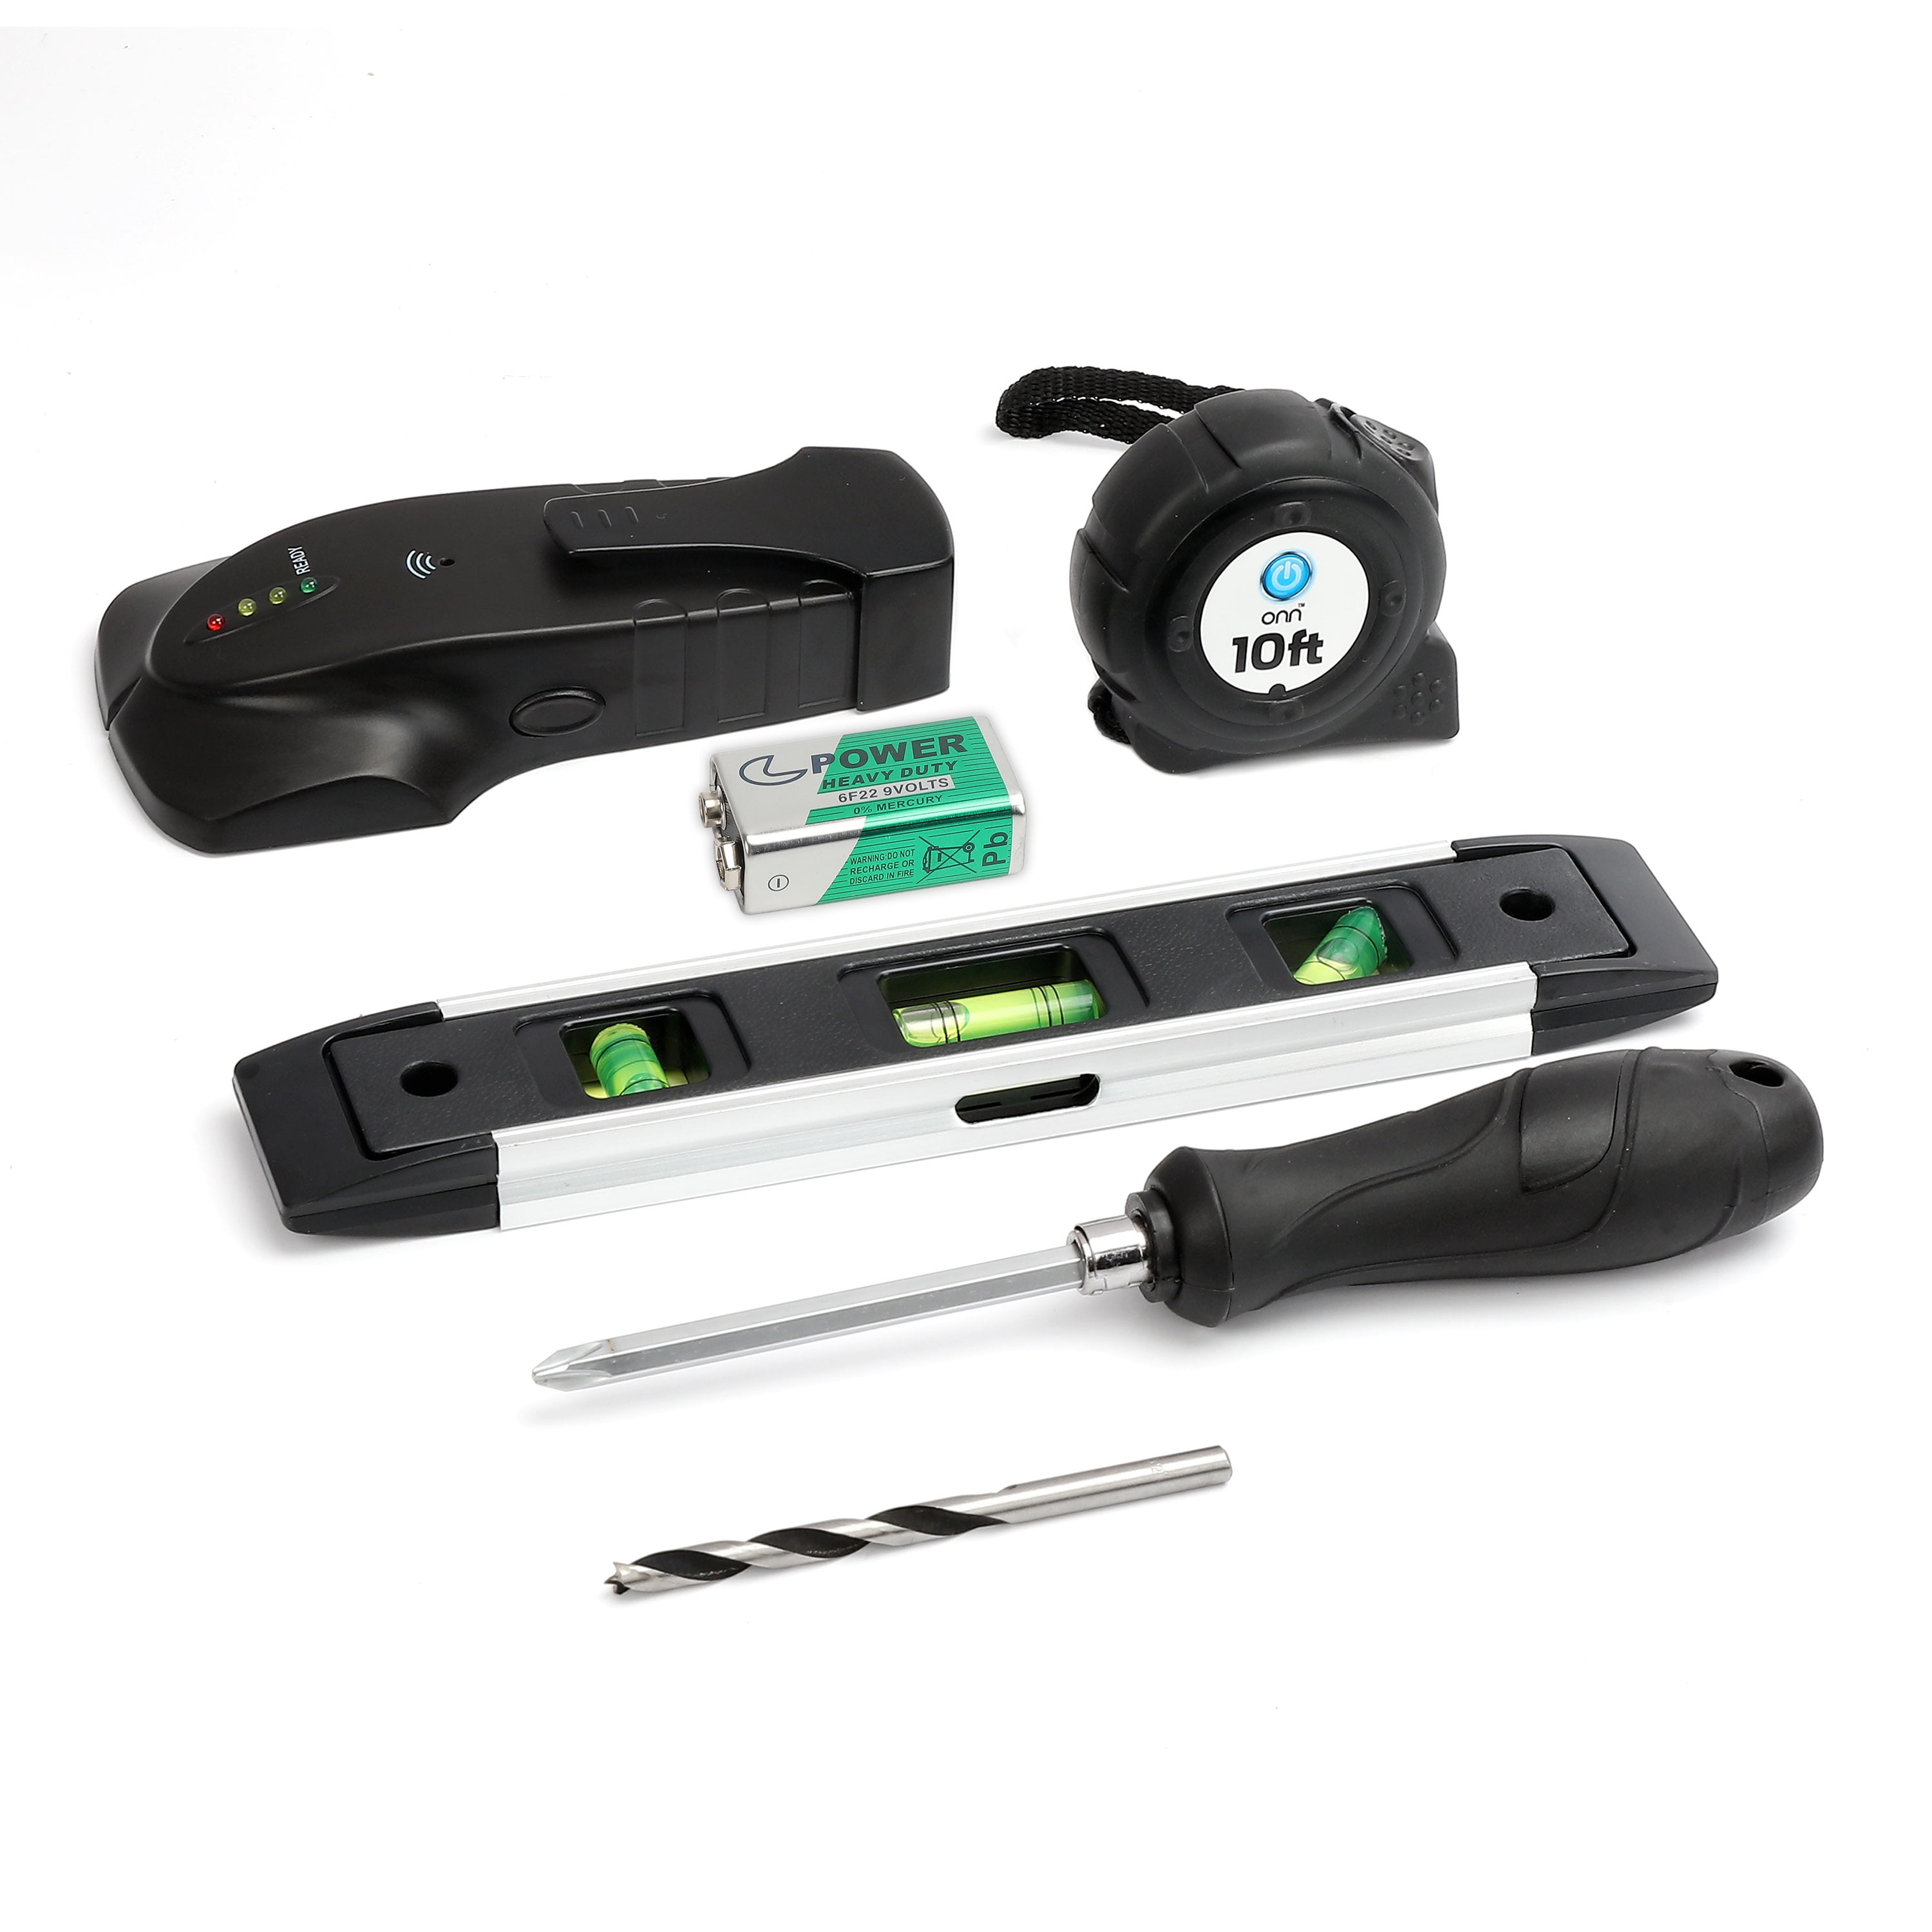
Having the right tools prevents mid-process interruptions and protects your equipment. Most removals require only basic household items, but selecting appropriate equipment ensures efficiency and safety. A Phillips screwdriver covers most mounting screws, while a flathead helps manipulate latches and levers. RandyWalters notes that “on all the various wall mounts I’ve dealt with, the top of the TV bracket simply hooks over the top rail,” but you’ll need tools to release the bottom mechanisms securing it.
A bright flashlight or headlamp is non-negotiable for illuminating shadowed areas behind your TV. Work gloves with textured grip prevent finger pinching while maintaining control of the television. Most importantly, secure a helper—especially for TVs larger than 32 inches—as removing a television solo dramatically increases risk. Have a soft blanket or moving mat ready on the floor below to cushion the TV if it slips during removal. Some users keep a smartphone camera nearby to document component positions, which proves invaluable if you encounter unexpected complexity.
Prepare Your Workspace Thoroughly
Proper preparation prevents accidents and reduces frustration during the critical removal phase. Clear all furniture, decor, and obstacles from the area directly beneath and around your television. Lay your protective blanket or mat to create a safe landing zone that also protects your flooring. Turn off and unplug your television at least fifteen minutes before beginning to allow internal capacitors to discharge completely.
Position your tools within easy reach but away from potential drop zones. If your TV connects to external devices, photograph cable connections so you remember configurations for reinstallation. Communicate clearly with your helper about the removal plan, establishing hand signals for coordination when lifting the television away from the wall. For older mounts, check if the ventilation grill at the bottom needs removal to access locking mechanisms, as frank1940 suggests: “First thing I would do is to remove the ventilation grill at the bottom.”
Release Top Hooks Before Bottom Mechanisms
Most swivel mounts rely on top hooks as the primary support point, with the TV bracket literally hanging over a top rail on the wall plate. With your helper positioned to support the TV’s sides (never the screen), examine how the top connection works. Apply gentle upward pressure while supporting the TV’s weight—many mounts allow the TV to lift straight up once bottom locks are disengaged.
If your TV doesn’t lift easily, double-check that all bottom mechanisms are fully released. Attempting to force the top connection while bottom locks remain engaged can damage both mount and television. Some mounts require a slight forward tilt before lifting, while others incorporate release tabs near the top that need pinching or pressing during upward motion. Never yank or jerk the TV—smooth, consistent pressure allows hook mechanisms to disengage naturally.
Disengage Bottom Locking Mechanisms Properly
The bottom locking system prevents your television from swinging away from the wall and represents the most varied component across different mount designs. For screw-based locks, locate screws threading through the bottom of the TV bracket. Turn these counterclockwise to release pressure—they may fall out or remain in place, but the locking function is disabled once loosened.
Cam lock systems require pushing or rotating the egg-shaped component toward the television while your helper applies gentle outward pressure at the bottom of the TV. As bbassinger explains, “push the bottom of the holed lock toward the TV on both mounts while pulling at the bottom of the TV away from the wall.” Bar locks need sliding sideways or lifting to clear notches, sometimes requiring a screwdriver to initiate movement. For padlock-style latches, push the lever toward the TV while simultaneously pulling the bottom of the television away from the wall.
After releasing bottom mechanisms, test by gently attempting to lift the TV. If resistance remains, additional locks may exist—reexamine sides and back of the bracket. Forum users frequently miss secondary mechanisms, especially on older mounts where paint or dust has camouflaged components.
Safely Remove TV from Wall Mount
With all mechanisms disengaged, actual removal demands precise coordination. Position your helper at the TV’s sides, gripping outer edges firmly while avoiding the screen. Stand directly below the TV, ready to guide its movement. Establish clear communication: decide who leads the movement and agree on a count before lifting.
On “three,” both apply upward and outward pressure simultaneously, lifting just enough to clear wall mount hooks. Once clear, your helper should immediately turn and carry the television to your prepared safe zone, setting it down screen-side up. Avoid placing the TV face-down, which risks screen damage. For larger displays, consider making the trip in stages—move to a nearby safe surface first, then relocate to final storage.
Troubleshoot Stubborn Mounts Effectively
Even with proper technique, some mounts resist removal due to age or debris. Begin by re-examining all visible mechanisms—xeric080’s experience shows how easy it is to miss critical components. Use your flashlight to illuminate hidden areas, looking for overlooked screws or latches. Gently manipulate any movable parts you discover.
If screws won’t turn, apply penetrating oil like WD-40 and wait five minutes before retrying. For rusted cam locks, apply oil to pivot points and work gently back and forth. When the TV binds despite released locks, check for debris between bracket and mount using a plastic putty knife to clear obstructions. Never apply excessive force, which can strip components.
Post-Removal Inspection and Storage
After successful removal, inspect both TV bracket and wall mount for damage. Check for bent tabs, stripped screw holes, or worn cam components. Clean surfaces with a soft cloth to remove dust and debris. Store all hardware together in a labeled bag attached to the mount for future use.
If reinstalling elsewhere, verify your television’s VESA mounting pattern compatibility with the new location. Clean mounting holes on the TV back with compressed air before reattaching the bracket. For long-term storage, keep your television in a climate-controlled area away from direct sunlight and humidity, preferably in original packaging.
Removing a TV from a swivel wall mount becomes straightforward once you understand the specific locking mechanisms at play. By identifying your mount’s design, preparing properly, and following these systematic steps, you’ll safely complete the task without damaging your equipment. Remember that having a helper makes the process significantly safer for larger displays, and documenting your mount’s configuration provides invaluable reference for future installations. When in doubt about your mount’s condition or removal technique, consulting a professional installer prevents costly mistakes and ensures your television remains secure.

