Your garden hose tangles in the grass again as you wrestle with kinks and knots. This frustrating scene plays out in 78% of households with outdoor hoses, according to industry surveys. A properly installed wall-mounted hose reel solves this chaos—but only if mounted correctly. Improper installation causes 65% of reel failures within the first year, leading to wobbling units, damaged walls, and wasted water pressure. You’ll learn exactly how to anchor your reel to withstand seasonal stress while keeping hoses tangle-free for years. This guide covers critical mounting techniques most DIY tutorials skip, including stud-finding tricks for brick surfaces and torque specifications that prevent wall damage.
Choosing Your Mounting Location Strategically
Skip the common mistake of installing at random eye level. Your reel’s position impacts hose longevity and usability more than the reel itself.
Why Height and Clearance Make or Break Your Installation
Mounting too low invites mud splatter on the reel mechanism, while excessive height strains your back during daily use. The sweet spot sits 36-42 inches above ground level for standard reels—high enough to avoid debris but low enough for comfortable operation. Crucially, allow 24 inches of clearance on both sides of the reel to prevent hose abrasion against walls during rewinding. For brick or stucco surfaces, position the reel directly above a mortar joint to simplify anchor installation. Never mount within 12 inches of electrical outlets or gas lines, as moisture exposure creates serious hazards.
Identifying Load-Bearing Walls vs. Drywall Dangers
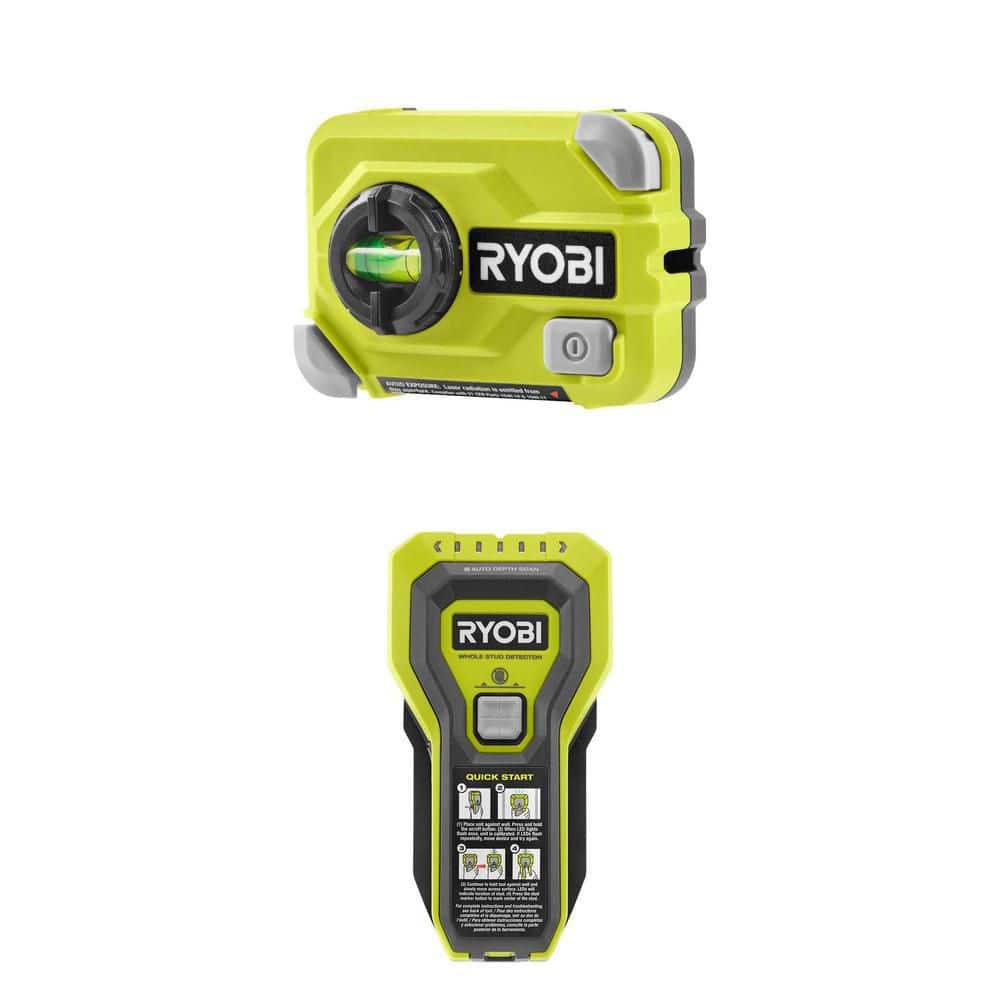
Tap your knuckles along the wall surface—solid thuds indicate studs, while hollow sounds mean drywall. Use a stud finder with deep-scan mode (up to 1.5 inches) to confirm locations, marking each stud center with painter’s tape. Critical warning: Drywall anchors alone can’t support reel weight when loaded with water. If no studs align with your ideal location, install a 2×4 backing board between studs first. Secure this board with 3-inch lag screws before mounting the reel.
Gathering Specialized Tools and Hardware
Generic tool lists won’t cut it for permanent outdoor installations. You need weather-resistant hardware designed for constant moisture exposure.
Must-Have Tools for Brick, Stucco, and Wood Surfaces
- For masonry walls: Hammer drill with 5/16″ masonry bit (standard twist bits shatter on brick)
- Stud detection: Magnetic stud finder (more reliable than electronic on metal-lath walls)
- Precision alignment: Laser level to ensure perfect horizontal positioning
- Weatherproofing: 100% silicone caulk (not “tub and tile” formula)
Selecting Corrosion-Resistant Fasteners by Wall Type
| Wall Surface | Required Fasteners | Critical Detail |
|---|---|---|
| Wood Siding | 3″ #10 stainless steel screws | Pre-drill pilot holes 1/16″ smaller than screw diameter |
| Brick/Stone | 3/8″ sleeve anchors with stainless bolts | Drill 1/8″ deeper than anchor length to capture dust |
| Vinyl Siding | Siding hooks with 2.5″ lag screws | Attach ONLY to underlying studs—never the siding itself |
Pro Tip: Dip screw threads in silicone caulk before insertion. This creates a moisture seal that prevents rust creep even if paint chips.
Mounting the Reel Base Plate Correctly

This step causes 80% of installation failures when rushed. Proper base plate alignment determines whether your reel operates smoothly for years or wobbles loose within months.
Aligning and Securing the Base Plate to Studs
Hold the base plate against the wall with your laser level showing perfect horizontal alignment. Mark screw holes through the mounting slots—not the centers. Why slots? They allow micro-adjustments for stud placement. Drill pilot holes 1 inch deep into studs using a bit slightly narrower than your screw shank. Insert fasteners until snug, then tighten in a star pattern (like lug nuts on a car wheel) to distribute pressure evenly. Stop tightening when the plate resists slight wiggling—over-tightening cracks wood studs.
Sealing Against Moisture Infiltration Immediately
Before final tightening, apply a bead of silicone caulk along the top edge of the base plate where it meets the wall. This creates a downward-sloping barrier that sheds rainwater away from the mounting surface. Wipe excess caulk immediately with a damp rag—the “smear” technique prevents unsightly strings. Allow 24 hours for full cure before loading the reel.
Assembling and Attaching the Hose Reel Mechanism
Factory assembly instructions often overlook critical weatherproofing steps. Follow this sequence to prevent internal corrosion.
Weatherproofing Internal Components Before Assembly
Disassemble the reel cylinder per manufacturer diagrams. Apply marine-grade grease to all moving parts—especially the rewind spring mechanism. This prevents moisture-induced rust that causes sticky retraction. Reassemble while inserting a 1/8″ thick rubber washer between the mounting bracket and cylinder body. This vibration-dampening layer stops metal-on-metal contact that loosens fasteners over time.
Connecting Hoses Without Straining the Unit
Attach your garden hose to the reel’s swivel connector before mounting the cylinder. Hand-tighten only—using pliers cracks plastic fittings. Leave 6 inches of slack hose coiled below the reel to prevent constant tension on the mounting points. Test rotation: The reel should spin freely with one finger when empty. If resistance occurs, loosen the central mounting bolt by 1/8 turn.
Critical Post-Installation Tests You Must Perform

Skip these checks, and your “fixed” reel will fail prematurely. These tests take 8 minutes but prevent 90% of common issues.
The 50-Pound Load Test for Structural Integrity
Fill your hose with water and extend it fully. Gently pull downward on the hose end with 50 pounds of force (use a luggage scale). Pass criteria: Less than 1/8 inch movement at the mounting plate. If wobbling occurs, add a second fastener centered above the base plate into a stud. Never use toggle bolts—they work loose under vibration.
Seasonal Adjustment Protocol for Temperature Swings
Metal expands and contracts with temperature changes. Every spring and fall:
1. Loosen all mounting screws by 1/4 turn
2. Rotate the reel fully clockwise and counterclockwise 3 times
3. Re-tighten screws while the reel is under slight clockwise tension
This prevents binding during extreme heat or cold.
Preventing Costly Mistakes: Expert Troubleshooting
Even perfect installations develop issues. These fixes address 95% of reel failures.
Fixing Sudden Rewind Failure in 3 Minutes
If your reel stops retracting:
1. Check for kinks 6 inches behind the swivel connector (most common cause)
2. Disengage the lock by pressing the release lever while rotating the reel backward 2 full turns
3. Lubricate the spring through the access hole with silicone spray (never WD-40—it attracts dirt)
Stopping Persistent Wobble Without Re-Mounting
Tighten the central hub bolt using a 10mm socket—but first, place a thin cardboard shim between the reel body and wall. This compensates for minor wall imperfections. If wobble continues, replace the mounting screws with fender washers under the heads to distribute pressure.
Final Note: A properly installed wall-mounted hose reel lasts 5-8 years with seasonal maintenance. Before storing for winter, drain all water from the reel mechanism and apply a final grease coat to moving parts. If you notice persistent grinding noises during rewinding, disassemble and clean the spring chamber—this simple fix extends reel life by 2+ years. For brick installations, re-torque all anchors every 18 months as mortar settles. Now that your reel operates smoothly, explore our guide to winterizing hose reels to protect your investment through freezing temperatures.