
Mounting your Dynex television securely to the wall transforms your viewing experience while creating valuable floor space in your living area. When your TV hangs flush against the wall with clean cable management, you achieve that sleek, modern look professionals deliver—but you can accomplish it yourself with the right approach. This guide provides specific, actionable instructions to successfully mount your Dynex TV without common installation mistakes that compromise safety or aesthetics.
Before you begin, understand that proper TV wall mounting requires careful attention to stud location, appropriate hardware, and safety precautions. Most Dynex TV wall mount installations take between 45 minutes to 2 hours for DIYers with basic tools. By following this detailed process, you’ll avoid the frustration of mid-installation surprises and ensure your television remains securely mounted for years. You’ll learn exactly where to position your mount for optimal viewing, how to verify wall stud placement, and the proper techniques for attaching both the wall bracket and television mounting plate.
Gather Your Tools and Materials Before Starting
Having every necessary tool organized and ready prevents frustrating interruptions when you’re halfway through installation. You’ll need a power drill with multiple drill bit sizes, both Phillips and flathead screwdrivers, a reliable 24-inch level to ensure perfect alignment, a high-quality stud finder that detects both wood and electrical wiring, a tape measure for precise spacing, and a pencil for marking locations. Don’t forget safety glasses to protect your eyes from drywall dust during drilling.
Beyond basic tools, inventory all components from your Dynex wall mount package before beginning. Typical contents include the wall mounting bracket, television mounting plate, lag bolts (usually 1/4-inch or 5/16-inch diameter), mounting screws in various lengths, washers, spacers for specific TV models, and possibly cable management accessories. Lay out all hardware on a clean surface and verify against the included parts list—missing components can derail your entire project. If your package lacks specific hardware required for your TV model, contact Dynex support before proceeding to avoid using incompatible fasteners that compromise safety.
Select the Optimal Mounting Location for Comfortable Viewing
Choosing the right wall position prevents neck strain during extended viewing sessions and creates a visually balanced entertainment area. Measure from your floor to eye level while seated in your primary viewing position, then add half your Dynex TV’s height to determine where the screen center should be mounted—typically between 42 and 48 inches from the floor for standard seating arrangements. Avoid mounting above fireplaces due to potential heat damage and uncomfortable upward viewing angles.
Check for potential obstacles behind your chosen location by examining adjacent rooms for plumbing, electrical panels, or HVAC ducts that might interfere with secure mounting. Use your stud finder to verify at least two wall studs align with your mount’s bracket pattern at your desired height. Ensure your location provides adequate space for your TV’s width plus clearance on both sides, and consider how natural light from windows might create glare on your screen at different times of day. The perfect mounting spot balances viewing comfort, structural integrity, and room aesthetics without compromising safety.
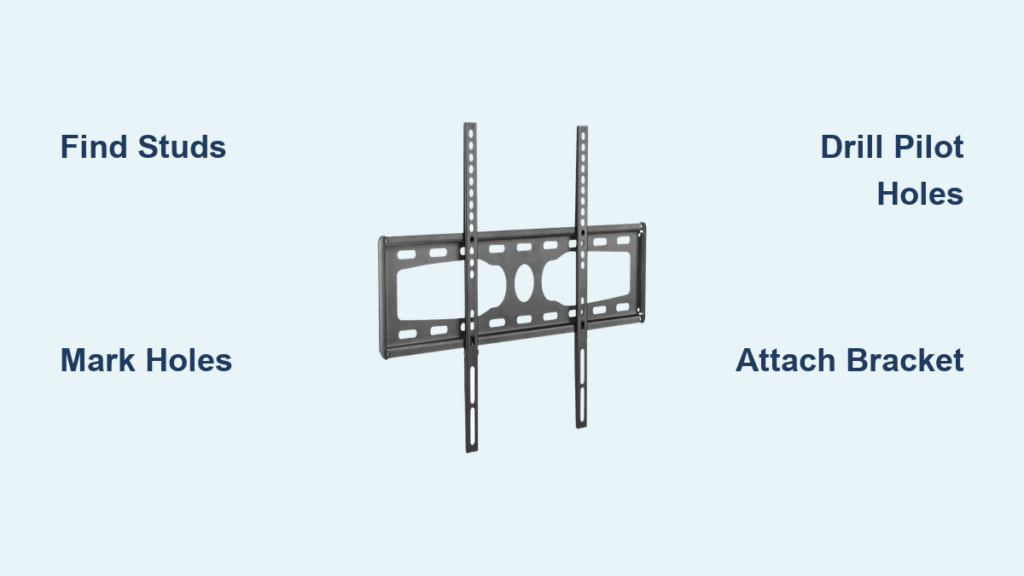
Locate Wall Studs Accurately for Secure Mounting

Your Dynex TV mount must anchor directly to wall studs to safely support television weight—drywall anchors alone cannot handle dynamic loads during viewing or accidental bumps. Start by calibrating your stud finder according to manufacturer instructions, usually by holding it against a known hollow wall section. Move the device slowly horizontally across your wall, marking both edges of each detected stud with pencil.
Most residential walls have studs spaced 16 inches apart (measured from center to center), though some constructions use 24-inch spacing. Measure between your marked stud edges to confirm spacing and calculate the exact center point—this is where you’ll drill pilot holes. If your stud finder detects electrical wiring, mark its location clearly and adjust your mounting position to avoid it completely. Never mount a television by anchoring only to drywall, as even heavy-duty toggle bolts cannot safely support the weight and movement of a television over time.
Mark and Drill Proper Pilot Holes for Lag Bolts
Precise hole placement ensures your wall bracket mounts perfectly level and aligns with stud centers. Position your mount’s template or the bracket itself against the wall at your predetermined height, using your level to ensure perfect horizontal alignment. Mark each mounting hole location with a small, precise pencil dot directly on the wall, double-checking that marks align with your previously located stud centers.
Select a drill bit approximately 1/8 inch smaller than your lag bolt diameter—for standard 1/4-inch lag bolts, use a 3/16-inch bit. Drill each pilot hole to a minimum depth of 1.5 inches to ensure adequate wood engagement, keeping your drill perfectly perpendicular to the wall surface. Vacuum or brush away drywall dust from each hole immediately, as accumulated debris can prevent proper bolt insertion. If you encounter unexpected resistance or the drill bit suddenly drops through, stop immediately—you may be drilling into an electrical box or plumbing line rather than a solid stud.
Attach the Wall Bracket with Proper Hardware
Position your wall bracket against the wall, aligning its holes with your pilot holes, and have a helper support it firmly while you secure it. Insert lag bolts through the bracket into each pilot hole, threading them by hand for the first few turns to prevent cross-threading. Use a socket wrench to tighten each bolt gradually, alternating between bolts to distribute pressure evenly across the bracket.
Tighten bolts until snug but avoid over-tightening, which can strip wood threads or warp the bracket. Properly installed lag bolts should feel solid without excessive resistance. Test bracket stability by attempting to wiggle it firmly in all directions—a secure mount shows zero movement. If any bolt feels loose, remove it, check for proper alignment, and either drill a slightly deeper pilot hole or use a longer lag bolt if necessary. Wait 10 minutes after installation to recheck tightness, as wood may compress slightly during initial settling.
Install the Mounting Plate on Your Dynex Television
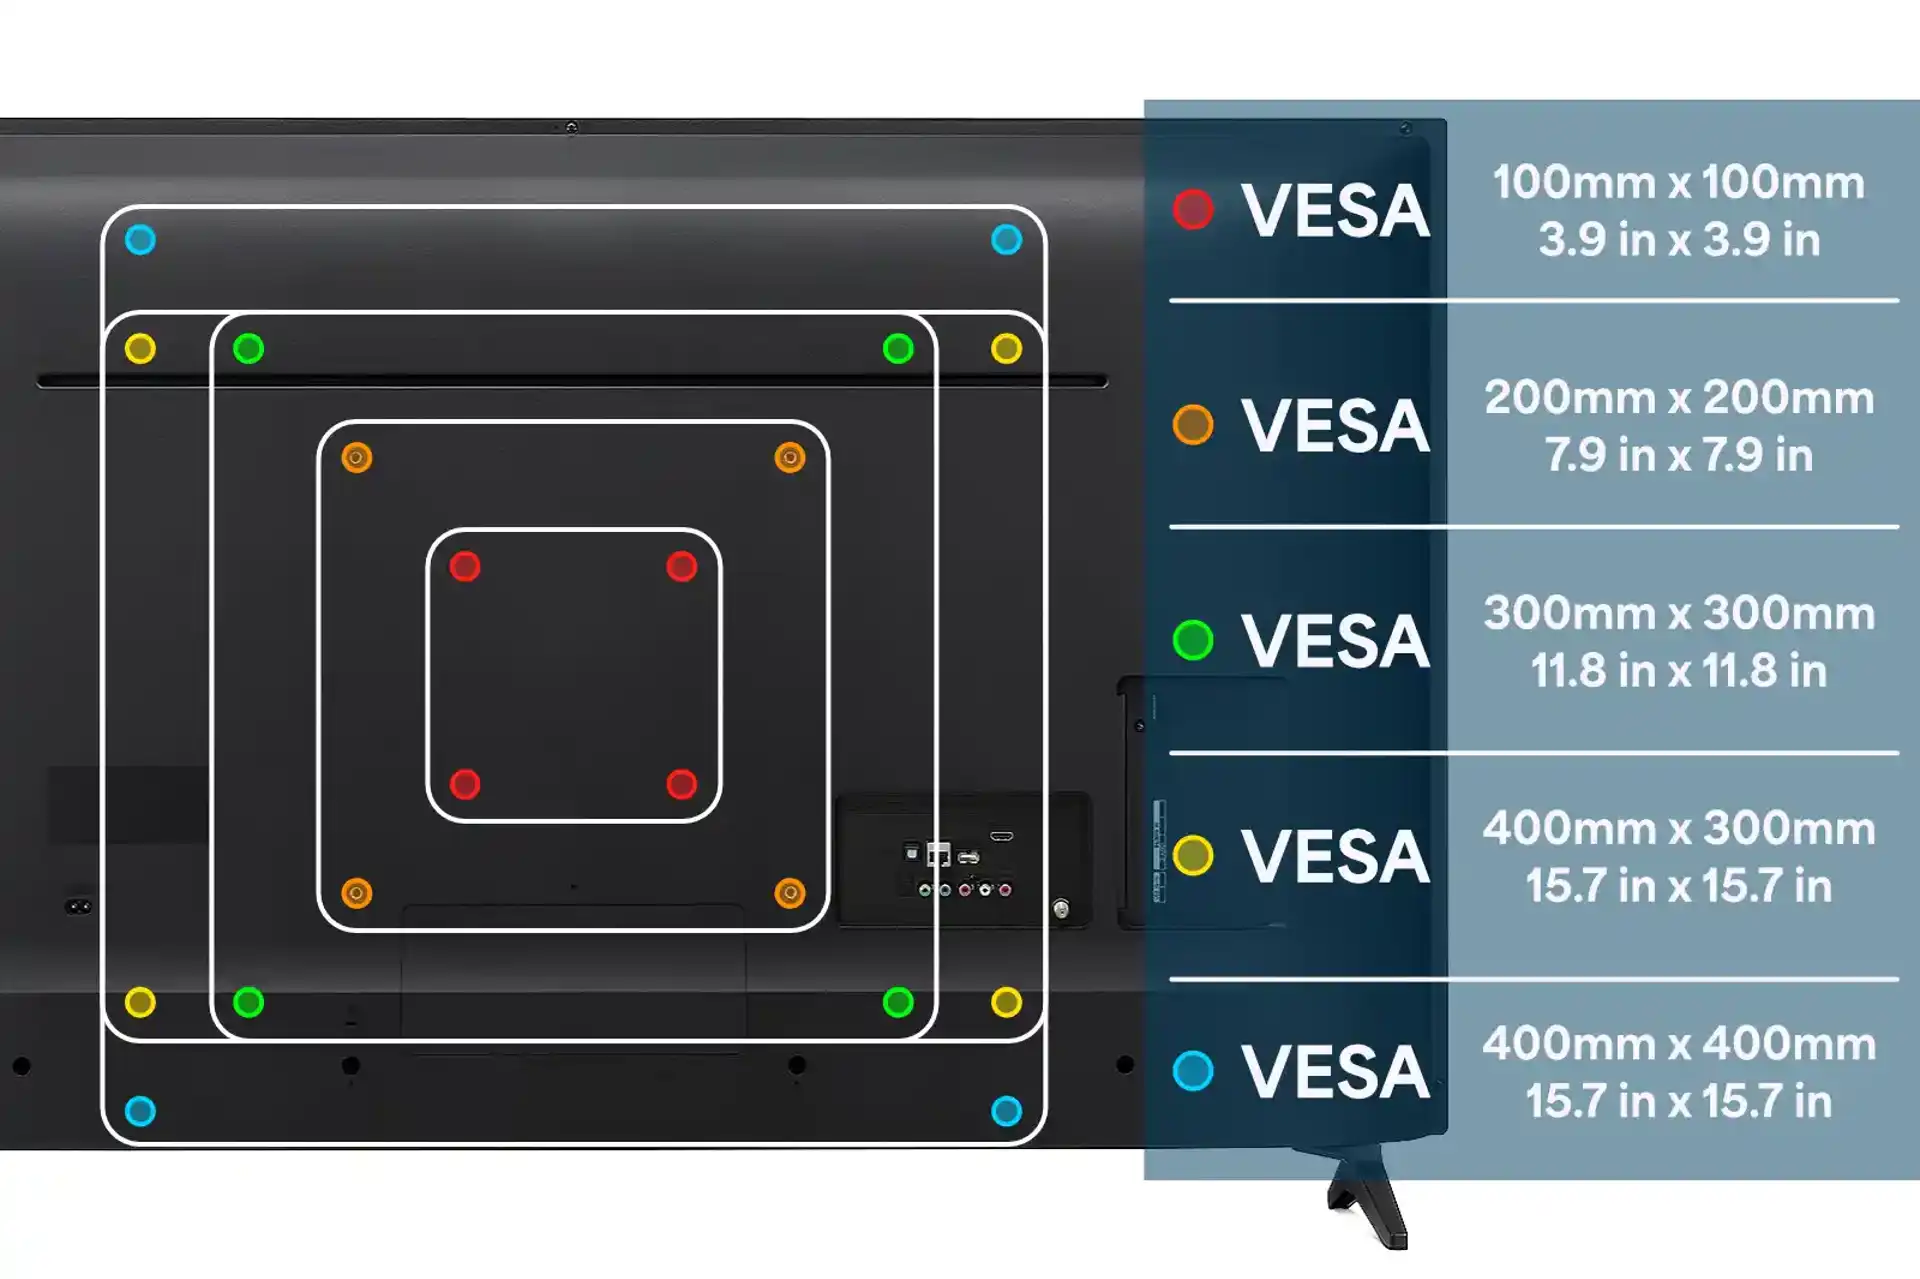
Before attaching hardware to your TV, verify its VESA pattern by measuring the horizontal and vertical distance between mounting holes on the TV’s back panel. Dynex models typically use standard VESA patterns like 200x200mm for smaller sets or 400x400mm for larger screens—consult your TV manual if measurements aren’t clear. Lay your television face-down on a soft blanket on a stable surface to prevent screen damage during this process.
Position the mounting plate against your TV’s back, aligning it with the VESA pattern holes. Insert the provided screws through the plate into the TV, tightening them in a star pattern (opposite corners sequentially) to distribute pressure evenly. Snug the screws firmly but avoid over-tightening, which can crack plastic housings or strip mounting threads. If your mount includes spacers, install them between the plate and TV back to accommodate cable connections or uneven surfaces, ensuring they’re positioned correctly according to your mount’s instructions.
Mount the Television to the Wall Bracket Safely
With both components prepared, carefully lift your Dynex television while a helper supports its weight from behind. Most wall mounts require tilting the TV slightly to engage upper hooks before lowering it into the final position—consult your specific mount’s instructions for the correct engagement technique. Align the mounting plate with the wall bracket’s hooks or slots, then gently lower the TV until it fully seats with an audible click or solid connection.
Verify the television is properly engaged by attempting to lift it slightly—there should be no movement if correctly mounted. Use your level to confirm the TV hangs perfectly straight, making minor adjustments by loosening retention screws if necessary. Test tilt and swivel functions if your mount includes them, ensuring smooth operation through the full range of motion. Give the TV a firm but gentle tug in multiple directions to confirm secure attachment before connecting cables or powering on your television.
Manage Cables for a Professional Finish
Concealing cables transforms a functional installation into a polished, professional result. Start by bundling power, HDMI, and other cables together using zip ties at regular intervals behind the television. Feed cables through any built-in cable management channels in your mount, or install a surface-mounted raceway along the wall that matches your paint color.
For the cleanest appearance, consider running cables inside the wall by drilling through the bottom plate of your wall into the room below, but consult an electrician if you’re unfamiliar with proper in-wall cable installation codes. Leave 6-8 inches of slack at both ends of each cable to prevent strain during future adjustments. When connecting cables to your TV, create service loops by coiling excess length behind the television—this prevents tension on connections when tilting the screen.
Verify Installation Safety Before Finalizing
Before considering your Dynex TV wall mount installation complete, conduct thorough safety checks. Power on your television and verify normal operation on all inputs, checking for any unusual buzzing or interference that might indicate grounding issues. Test all mount functions multiple times to ensure mechanisms engage properly and hold position securely.
Recheck all hardware connections one final time, particularly the lag bolts securing the wall bracket to studs. Gently attempt to move the television in all directions—there should be zero movement at the wall connection point. From your primary viewing position, confirm the height and angle provide comfortable viewing without neck strain or screen glare. If everything checks out, clean any pencil marks from the wall and enjoy your newly mounted Dynex television with confidence in your secure, professional installation.

