
That moment when you need to take your wall-mounted TV down—whether for moving, repair, or rearranging your space—can trigger unexpected anxiety. Despite looking straightforward, removing a television from its wall mount involves specific mechanisms designed to keep your expensive equipment securely in place. Attempting removal without understanding your particular mount type risks damaging your TV, wall, or even causing injury from a falling display. This guide cuts through the confusion by showing you exactly how to remove a TV from any wall mount safely, regardless of size or installation type. You’ll learn to identify your specific mounting system, gather the right tools, and execute the precise release sequence that gets your television down without a hitch.
Most homeowners don’t realize that wall-mounted TVs use specialized hardware requiring different release techniques depending on the mount design. What works for a fixed mount will fail on a full-motion system, and RV mounts often operate completely differently than standard residential installations. By following these steps systematically, you’ll avoid the common pitfalls that leave frustrated DIYers staring at an immovable television.
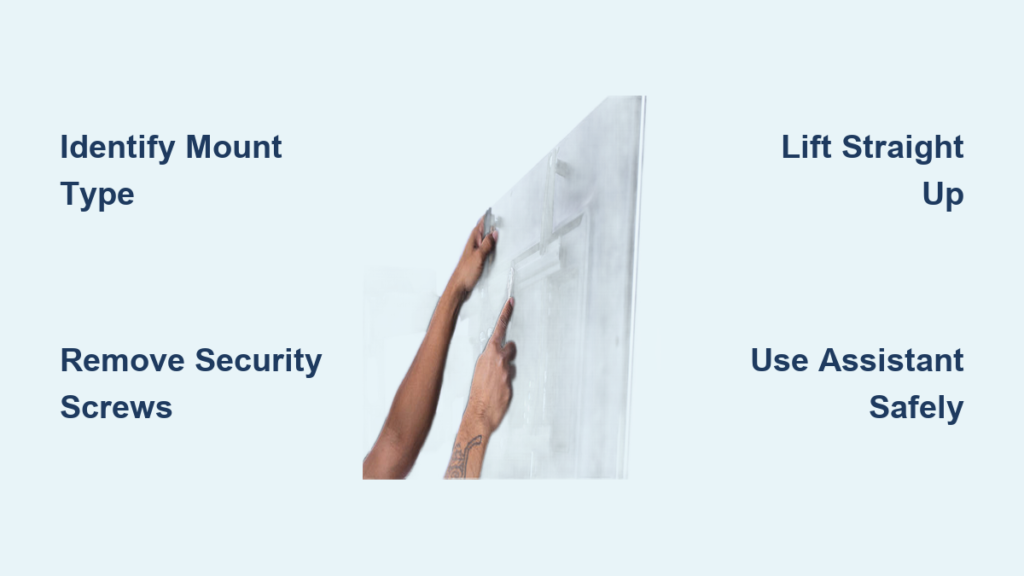
Identify Your Specific TV Mount Type Before Starting

Don’t grab tools until you’ve determined exactly what’s holding your television in place—this critical first step prevents costly mistakes. Fixed or tilting mounts, the most common residential installation, feature a metal mounting plate attached to your TV that hooks over a corresponding wall plate, with two vertically-oriented security screws at the bottom locking everything together. These mounts sit flush against the wall, creating extremely limited access behind your screen that makes identification crucial before you begin.
Full-motion mounts (also called articulating or swing-arm mounts) attach your TV to an extendable armature, allowing you to pull the display outward and adjust viewing angles. These systems typically use vertical security screws facing downward or short horizontal screws entering from the side for attachment. The ability to swing the mount outward gives you better visibility of the release mechanisms, making identification easier than with fixed mounts.
RV and specialty mounts found in recreational vehicles operate completely differently than standard home mounts. These may include triangular brackets with the narrow portion at the bottom, tapered slots that wedge components in place, friction knobs that pull straight out, or pull-down straps hidden behind the television. If you’re working with an RV installation, look for these alternative mechanisms before attempting standard removal techniques.
Gather Essential Tools and Prepare Your Workspace Properly
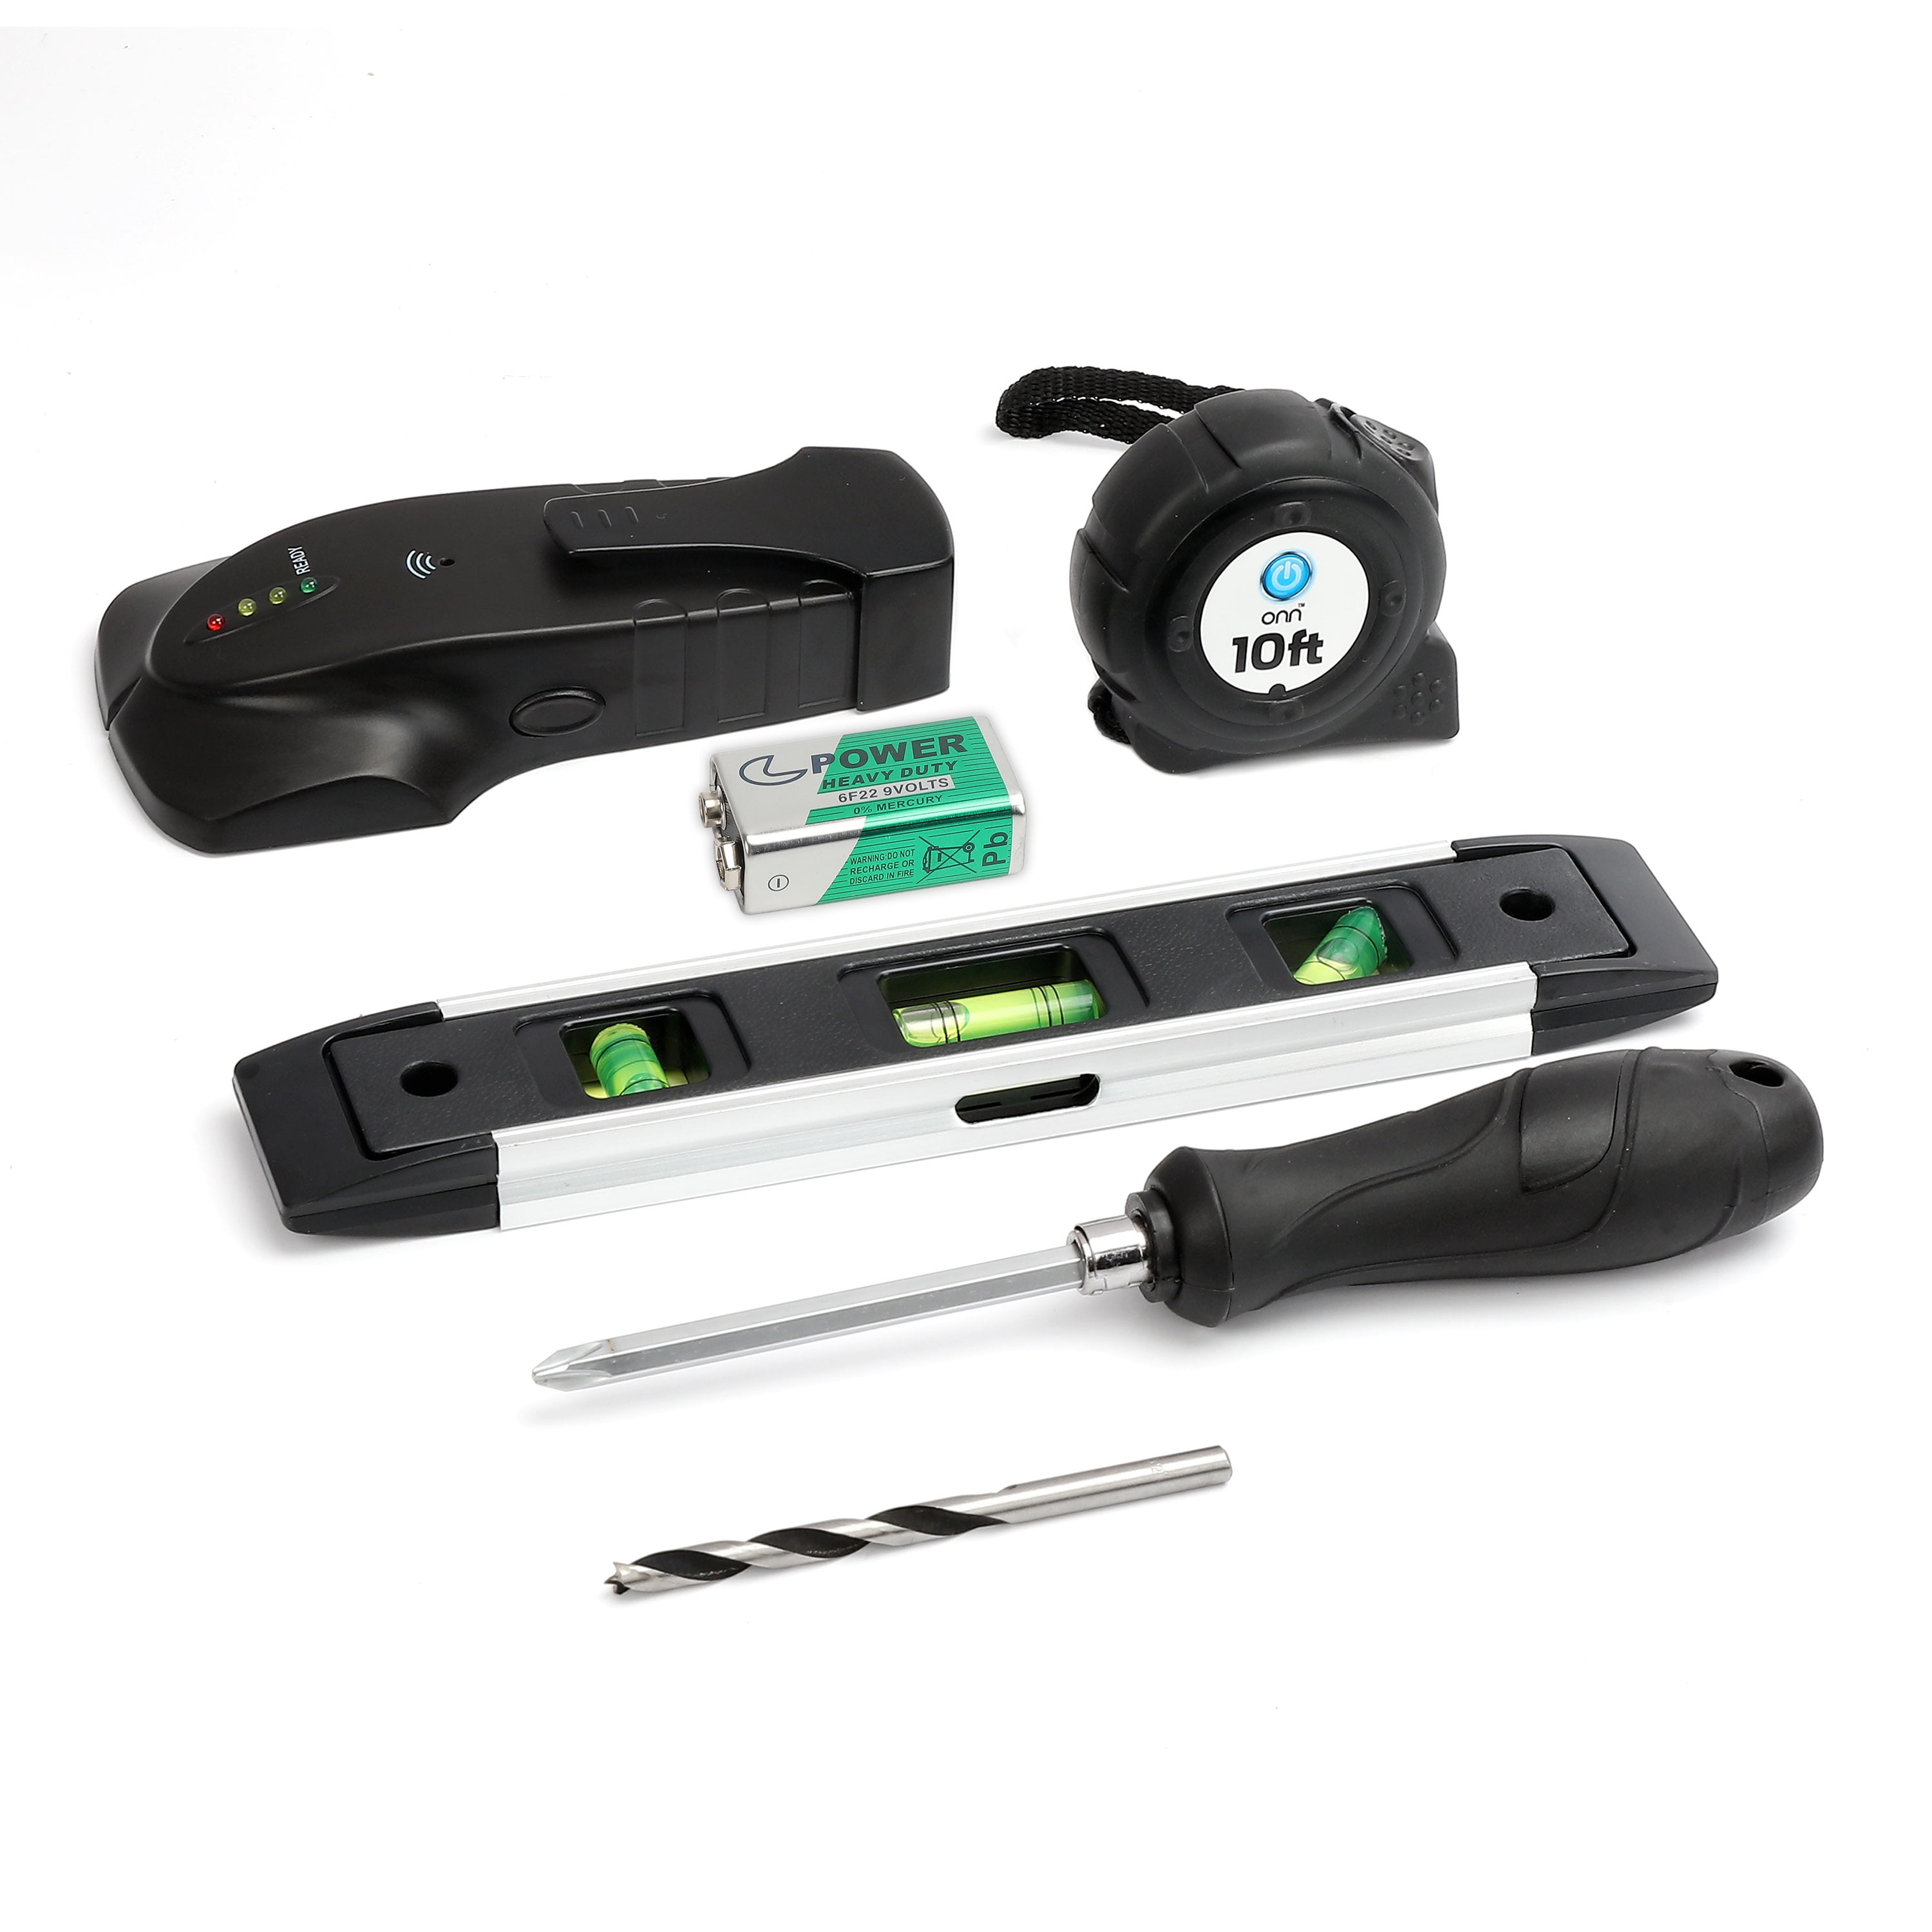
Skipping proper preparation turns a simple 10-minute task into a frustrating, potentially dangerous ordeal. You’ll need a long-handled Phillips screwdriver for better leverage in tight spaces behind your television, a complete set of Allen wrenches to handle hex fasteners common in many mounts, and a bright flashlight to illuminate hidden screws and mechanisms. A dental mirror proves invaluable for inspecting areas you can’t see directly, especially with fixed mounts that sit flush against your wall.
Critical safety note: Never attempt TV removal alone—most 65-inch displays weigh over 50 pounds, 75-inch models reach 85 pounds, and large 85-inch screens approach 100 pounds. Secure an assistant who can safely support this weight while you manage the release mechanisms. Prepare a safe landing zone by placing thick blankets against the wall where your TV will rest after detachment, and ensure adequate lighting throughout your workspace to prevent dropped screws or accidental damage.
Locate and Remove Security Fasteners Correctly
With your assistant positioned to support the television’s weight, begin examining the underside of your TV using your flashlight. Search for two screwheads facing downward—these security screws typically have Phillips heads but may use square or star-shaped designs requiring specialized tools. Some mounts use pull strings instead of screws, so check for small straps hanging down if you don’t immediately see fasteners.
Identify the exact fastener type before attempting removal—using the wrong tool can strip screw heads, creating significant extraction problems. With your assistant holding the TV steady, guide your screwdriver to the first security screw and turn counter-clockwise until fully removed. Repeat for the second screw, keeping track of these small components as you’ll need them for reinstallation.
Execute the Correct Release Technique for Your Mount Type
After removing both security screws, fixed and tilting mounts require you to lift the television straight up at least three or four inches to clear the top ridge of the wall mounting plate. Move the TV carefully to your prepared resting area while keeping it upright to avoid straining internal components. Full-motion mounts need a different approach—after swinging the mount to its fully extended position and unplugging all cords, locate the security screws holding the TV mount to the wall armature. With fasteners removed, lift straight up to unhook the television from the armature.
For spring clamp systems, depress the clamps toward the mount while simultaneously pulling the bottom of the TV toward you and lifting upward. Plastic clip systems require loosening visible set screws first, then pulling the bottom toward you while lifting. Friction knob mounts simply require grasping the knob firmly and pulling it directly outward to release the television.
Handle Tricky RV and Specialty Mount Mechanisms

Recreational vehicle mounts often confuse homeowners with their unconventional designs. Pull strap systems feature small straps hanging down that you must pull downward to release the primary holding mechanism, allowing you to then pull the television forward on the swing arm. Triangular bracket systems require pulling straight upward while simultaneously wobbling the TV left and right to encourage release—be prepared for sudden movement that could cause injury if you’re not properly positioned.
Tapered slot designs present another challenge—they often require giving the bottom of the mount a sharp rap to break the taper loose before the television can be removed. If you’re working with an RV mount and standard techniques fail, look for friction knobs that pull straight out of their receivers or tapered slots that require that distinctive sharp tap to release.
Complete Critical Post-Removal Tasks Immediately
With your television safely detached, don’t skip these essential follow-up steps. Locate all screws and bolts on the TV’s back that attached it to the mounting hardware—these are usually positioned near the corners or along the edges. Gently unscrew each fastener one at a time, placing them in a labeled Ziplock bag along with any small mounting components. Following the manufacturer’s instructions, remove the wall mount itself and store its hardware separately but labeled.
Inspect the wall attachment points for damage, patching any holes with appropriate wall filler if you’re relocating the television permanently. This removal period offers the perfect opportunity to clean dust and debris from the TV’s rear panels and connections that are normally inaccessible when mounted.
Troubleshoot Common Removal Problems Before Panicking
If you’ve removed all visible screws but the television remains firmly attached, your mount likely uses a hidden release mechanism. Examine the mount closely with your dental mirror and flashlight for spring-loaded components or alternative fasteners you might have missed. For mounts with no obvious release strings, try grasping the bottom of the TV and pulling it toward you while simultaneously lifting upward—this technique works with many AVF and similar systems where the television must move slightly outward before unhooking.
When dealing with mounts close to the ceiling or in tight corners, consider sliding the television completely off to one side to examine the mounting system from behind. This approach often reveals hidden release mechanisms not visible from the front and provides better access for removal.
Call a Professional When These Risk Factors Apply
Don’t risk injury or damage when professional help is readily available. Contact an installer if you’re working with televisions exceeding 75 inches, mounts installed above fireplaces or in other elevated positions, systems using non-standard or proprietary fastening mechanisms, or when original mounting documentation is unavailable. The cost of professional removal typically pales in comparison to replacing a damaged television or repairing wall damage from a failed DIY attempt.
Removing a wall-mounted television successfully requires understanding your specific mount type, gathering appropriate tools, preparing your space adequately, and following the precise release sequence for your hardware. By identifying your mount system first and executing the correct technique, you’ll get your TV down safely without damage to your equipment or walls. Remember that two-person removal is essential for safety, and when in doubt about your specific mount mechanism, professional assistance ensures the job gets done right the first time.

