
Discovering your bathroom needs an upgrade but struggling with limited space? Installing a wall mounted toilet transforms cramped bathrooms into sleek, functional spaces while solving persistent cleaning challenges. The floating design eliminates hard-to-clean bases where dirt accumulates, giving you more floor space and a modern aesthetic. However, fitting a wall mounted toilet requires precise planning—especially when existing plumbing conflicts with your installation location. This guide reveals exactly how to fit wall mounted toilet systems correctly, navigate common obstacles like vent stack conflicts, and achieve professional results without costly mistakes. You’ll learn the critical assessment steps most DIYers skip, practical solutions for tricky installations, and maintenance techniques that ensure years of trouble-free operation.
Identify Wall Mounted Toilet Installation Requirements
Before purchasing your wall hung toilet system, understanding the specific requirements prevents costly mid-project surprises. Unlike traditional toilets with exposed tanks, wall mounted models conceal all plumbing within the wall cavity, demanding structural reinforcement and precise coordination with existing drain and vent systems. Standard 2×4 wall construction provides only 3.5 inches of depth for the tank assembly—insufficient when vent stacks occupy the same space.
Critical assessment steps you must complete:
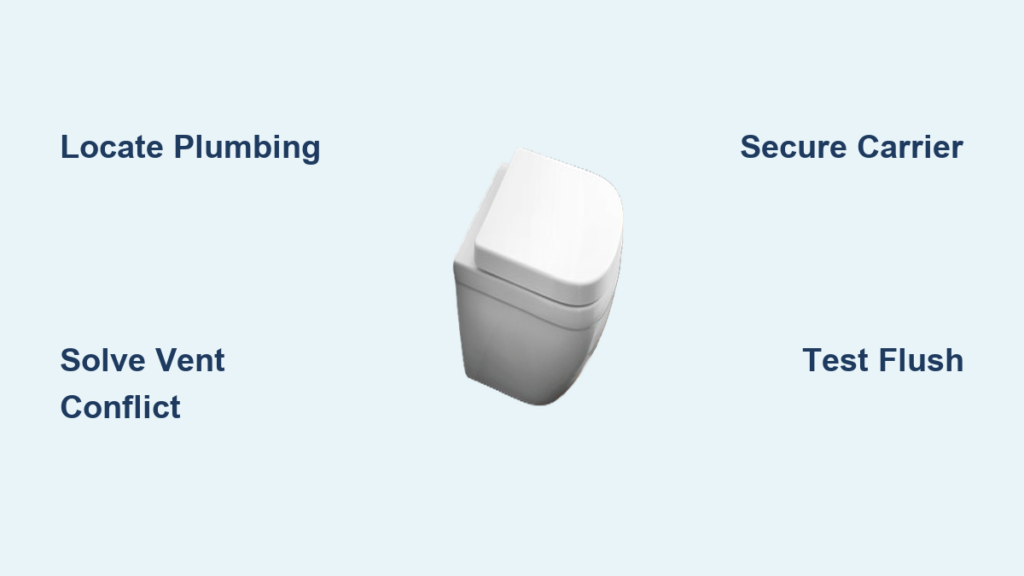
– Locate all plumbing infrastructure using a stud finder and small exploratory openings
– Measure available space between studs, noting exact positions of obstructions
– Verify existing drain pipe material, size, and slope (must maintain 1/4″ per foot)
– Confirm water supply line location and size (typically 3/8″ or 1/2″ compression)
– Document stud spacing (usually 16″ on center but varies in older homes)
Skipping this assessment causes 70% of wall mounted toilet installation failures according to plumbing professionals. The vent stack conflict—where the soil pipe blocks the tank position—represents the most common showstopper. Attempting to fit wall mounted toilet components without this verification leads to expensive rework or abandoned projects.
Solve Vent Stack Conflicts Before Installation

When your assessment reveals a vent stack directly behind the planned tank location, three practical solutions prevent project failure. Each approach requires different skill levels and materials, so choose based on your capabilities and bathroom layout.
Relocate Toilet Position Around Obstruction
Moving the toilet 4-6 inches to one side of the vent stack often provides the simplest solution. This method requires:
– Reframing to create proper support structure at new location
– Installing blocking between studs for secure mounting
– Verifying drain slope remains adequate (minimum 1/4″ per foot)
– Ensuring new position maintains code-compliant clearances (15″ from center to side walls)
Pro tip: Mark your desired seat height (typically 14-17″ from floor) on the wall before positioning the carrier. Measure twice—this adjustment affects user comfort significantly.
Reroute Vent Stack With Proper Slope
When relocation isn’t feasible, rerouting the vent stack demands plumbing expertise but preserves your ideal toilet position. This advanced technique involves:
– Cutting into wall to access existing vent stack
– Installing offset fittings to redirect vent path
– Maintaining proper downward slope toward drain (1/4″ per foot minimum)
– Ensuring rerouted vent doesn’t create airlocks or drainage issues
Warning: Improper venting causes slow drainage, gurgling sounds, and sewer gas entry. Most jurisdictions require permits for vent modifications—check local codes before proceeding.
Upgrade to 2×6 Carrier System
For installations with limited space, switching to a carrier designed for 2×6 construction creates crucial extra room within the wall cavity. The additional 1.5 inches of depth allows:
– Angling the discharge connection around obstructions
– Accommodating offset discharge elbows without major plumbing changes
– Providing more adjustment range for perfect bowl positioning
This solution works best with manufacturers like Geberit that offer enhanced carrier systems specifically for challenging installations. Their technical support teams provide detailed guidance for navigating tight spaces.
Install In-Wall Tank Carrier System Properly
The carrier system forms your wall mounted toilet’s structural foundation—install it incorrectly and face catastrophic failure when weight is applied. Follow these critical steps for secure mounting:
- Position carrier at desired height using level (mark height on wall first)
- Secure to floor joists with 1/2″ lag bolts (minimum 3″ penetration)
- Anchor to wall studs using structural screws (never drywall anchors)
- Test adjustment mechanisms before final tightening
- Verify mounting points align with planned bowl position
Time estimate: 45-60 minutes for experienced installers. First-timers should allocate 90 minutes to avoid rushed mistakes. The carrier must support 500+ pounds—cutting corners here risks bowl detachment and serious injury.
Connect Plumbing Components Without Leaks

Plumbing connections for wall mounted toilets require precision since leaks remain hidden behind walls. Focus on these critical connections:
Water supply connection:
– Use flexible stainless steel supply line (never plastic)
– Apply PTFE tape to all threaded connections
– Route line smoothly without kinks or sharp bends
– Test for leaks before closing wall
Drain connection:
– Install rubber gasket with plumber’s grease
– Hand-tighten connections first, then 1/4 turn with wrench
– Verify proper slope toward main drain line
– Perform leak test with bucket of water before final assembly
Critical check: After connections, flush 5-6 times and inspect all joints with flashlight. Hidden leaks cause mold growth and structural damage within weeks.
Mount Toilet Bowl and Test Operation
With plumbing complete, mounting the bowl requires careful handling to prevent cracking the porcelain:
- Position bowl over mounting studs with alignment guides
- Gently lower onto carrier, ensuring discharge aligns with drain
- Hand-tighten mounting nuts in diagonal sequence
- Torque to manufacturer specifications (typically 35-45 ft-lbs)
- Install decorative caps over mounting hardware
Test sequence you must perform:
– Visual inspection for gaps between bowl and wall
– Flush test with multiple paper loads
– Check for rocking or movement
– Verify complete bowl evacuation
– Confirm proper tank refilling
Warning: Over-tightening mounting bolts cracks porcelain bowls instantly. Use torque wrench—don’t guess.
Maintain Your Wall Mounted Toilet Long-Term
Proper maintenance prevents 90% of wall mounted toilet failures. Follow this routine:
- Monthly: Check flush mechanism operation through access panel
- Quarterly: Inspect supply line connections for leaks
- Annually: Clean tank components to prevent mineral buildup
- Immediately: Address any unusual sounds or incomplete flushing
Pro tip: Keep manufacturer documentation accessible behind the access panel. Most repairs require only basic tools when addressed early.
When to Call a Professional Installer
Certain situations demand professional expertise to avoid costly damage:
- Vent stack modifications requiring permits
- Load-bearing wall structural changes
- Persistent leaks after multiple repair attempts
- Drainage issues affecting multiple fixtures
- Any uncertainty about code compliance
Professional installation costs 20-30% more initially but prevents $2,000+ in water damage repairs from hidden leaks. Many manufacturers void warranties on DIY installations—check your policy before starting.
Wall mounted toilets deliver unmatched aesthetics and functionality when installed correctly. By following this precise how to fit wall mounted toilet guide, you’ll avoid the most common pitfalls and enjoy years of reliable performance. Remember that thorough assessment prevents 80% of installation problems—never skip the wall cavity inspection. With proper planning and attention to detail, your wall mounted toilet installation will transform your bathroom into a modern, efficient space that enhances your home’s value and daily comfort. Start with careful measurement, choose solutions that match your skill level, and test thoroughly before finalizing your installation—your future self will thank you when every flush performs flawlessly for years to come.

