
That persistent drip from your wall-mounted faucet isn’t just annoying—it’s potentially damaging your home’s structure. Unlike standard deck-mounted fixtures, wall-mounted faucets connect directly to plumbing hidden within your walls, making leaks particularly dangerous as moisture seeps into wall cavities where you can’t see it. The moment you notice water dripping from your wall-mounted faucet, whether it’s a slow drip or a steady stream, you need to take action. Left unaddressed, even minor leaks can lead to mold growth, rotting studs, and expensive repairs that far exceed the cost of fixing the faucet itself.
Identifying where your wall mount faucet leak originates is crucial before you grab your tools. Water might be dripping from the spout, leaking around the handles, or seeping at the wall plate where the fixture meets your wall surface. Each location points to different failed components requiring specific repair approaches. Whether you’re dealing with a modern cartridge faucet or a vintage fixture from the early 20th century, this guide provides the exact steps you need to stop the leak permanently and prevent future water damage.
Gather Essential Repair Tools
Before you start disassembling your wall-mounted faucet, ensure you have the right tools for the job—standard household tools often won’t cut it for these specialized fixtures. The right equipment makes the difference between a successful repair and a flooded bathroom.
You’ll need an adjustable wrench for loosening and tightening various connections throughout the repair process. Both Phillips and flathead screwdrivers are essential—some handles use tiny screws hidden beneath decorative caps, while others require gentle prying to remove snap-on covers. For particularly stubborn fittings, a pipe wrench provides the extra leverage needed without damaging the fixture’s finish.
Don’t forget the replacement parts that actually fix the problem:
– Exact-match O-rings and washers (bring old parts to the store)
– Plumber’s tape (Teflon tape) for sealing threaded connections
– Pipe dope or sealant compound for additional protection
– Silicone caulk for resealing wall plates
– Replacement cartridges if your faucet uses them
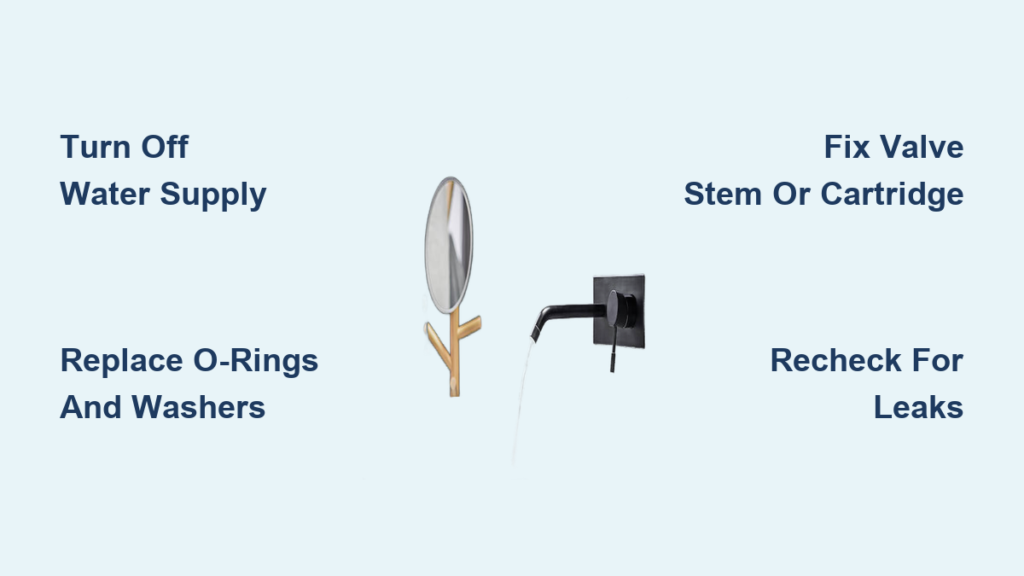
Turn Off Water Supply Before Starting

Shutting off water to your wall-mounted faucet isn’t just important—it’s absolutely critical to prevent catastrophic flooding. Unlike standard faucets with visible shutoff valves under the sink, wall-mounted fixtures often have hidden supply valves that require some detective work to locate.
Search for shutoff valves in these common locations:
– Inside cabinets below the sink area
– In the basement directly below the fixture
– Behind access panels in adjacent rooms
– Sometimes within the wall behind removable panels
Once you locate the correct valves, turn them clockwise until they stop completely. Never assume the water is off—always verify by turning on the faucet handles to confirm no water flows. If water still emerges, continue tightening the shutoff valves or search for additional valves. With water confirmed off, open the faucet fully to drain remaining water from the lines—this prevents unexpected spraying when you begin disassembly.
Locate Your Leak Source

Identifying exactly where water appears determines your entire repair approach. Take time to observe the leak carefully before touching any components—rushing into disassembly often leads to replacing the wrong parts.
Leaks at the spout typically indicate worn O-rings within the spout assembly or deteriorated washers where the spout connects to the wall. When water drips from the spout even with handles fully closed, focus your inspection on internal seals within the spout mechanism. Water appearing around the handles points toward valve stem problems—worn washers, damaged cartridges, or failing packing nuts that should seal around the stem.
The wall plate presents a third critical leak location. Moisture at this junction often means compromised gaskets, degraded O-rings, or failed sealant between the plate and wall surface. This leak is particularly dangerous because water penetrates directly into wall cavities. For tub and shower configurations with multiple handles, carefully observe which component shows moisture to pinpoint the exact failure point.
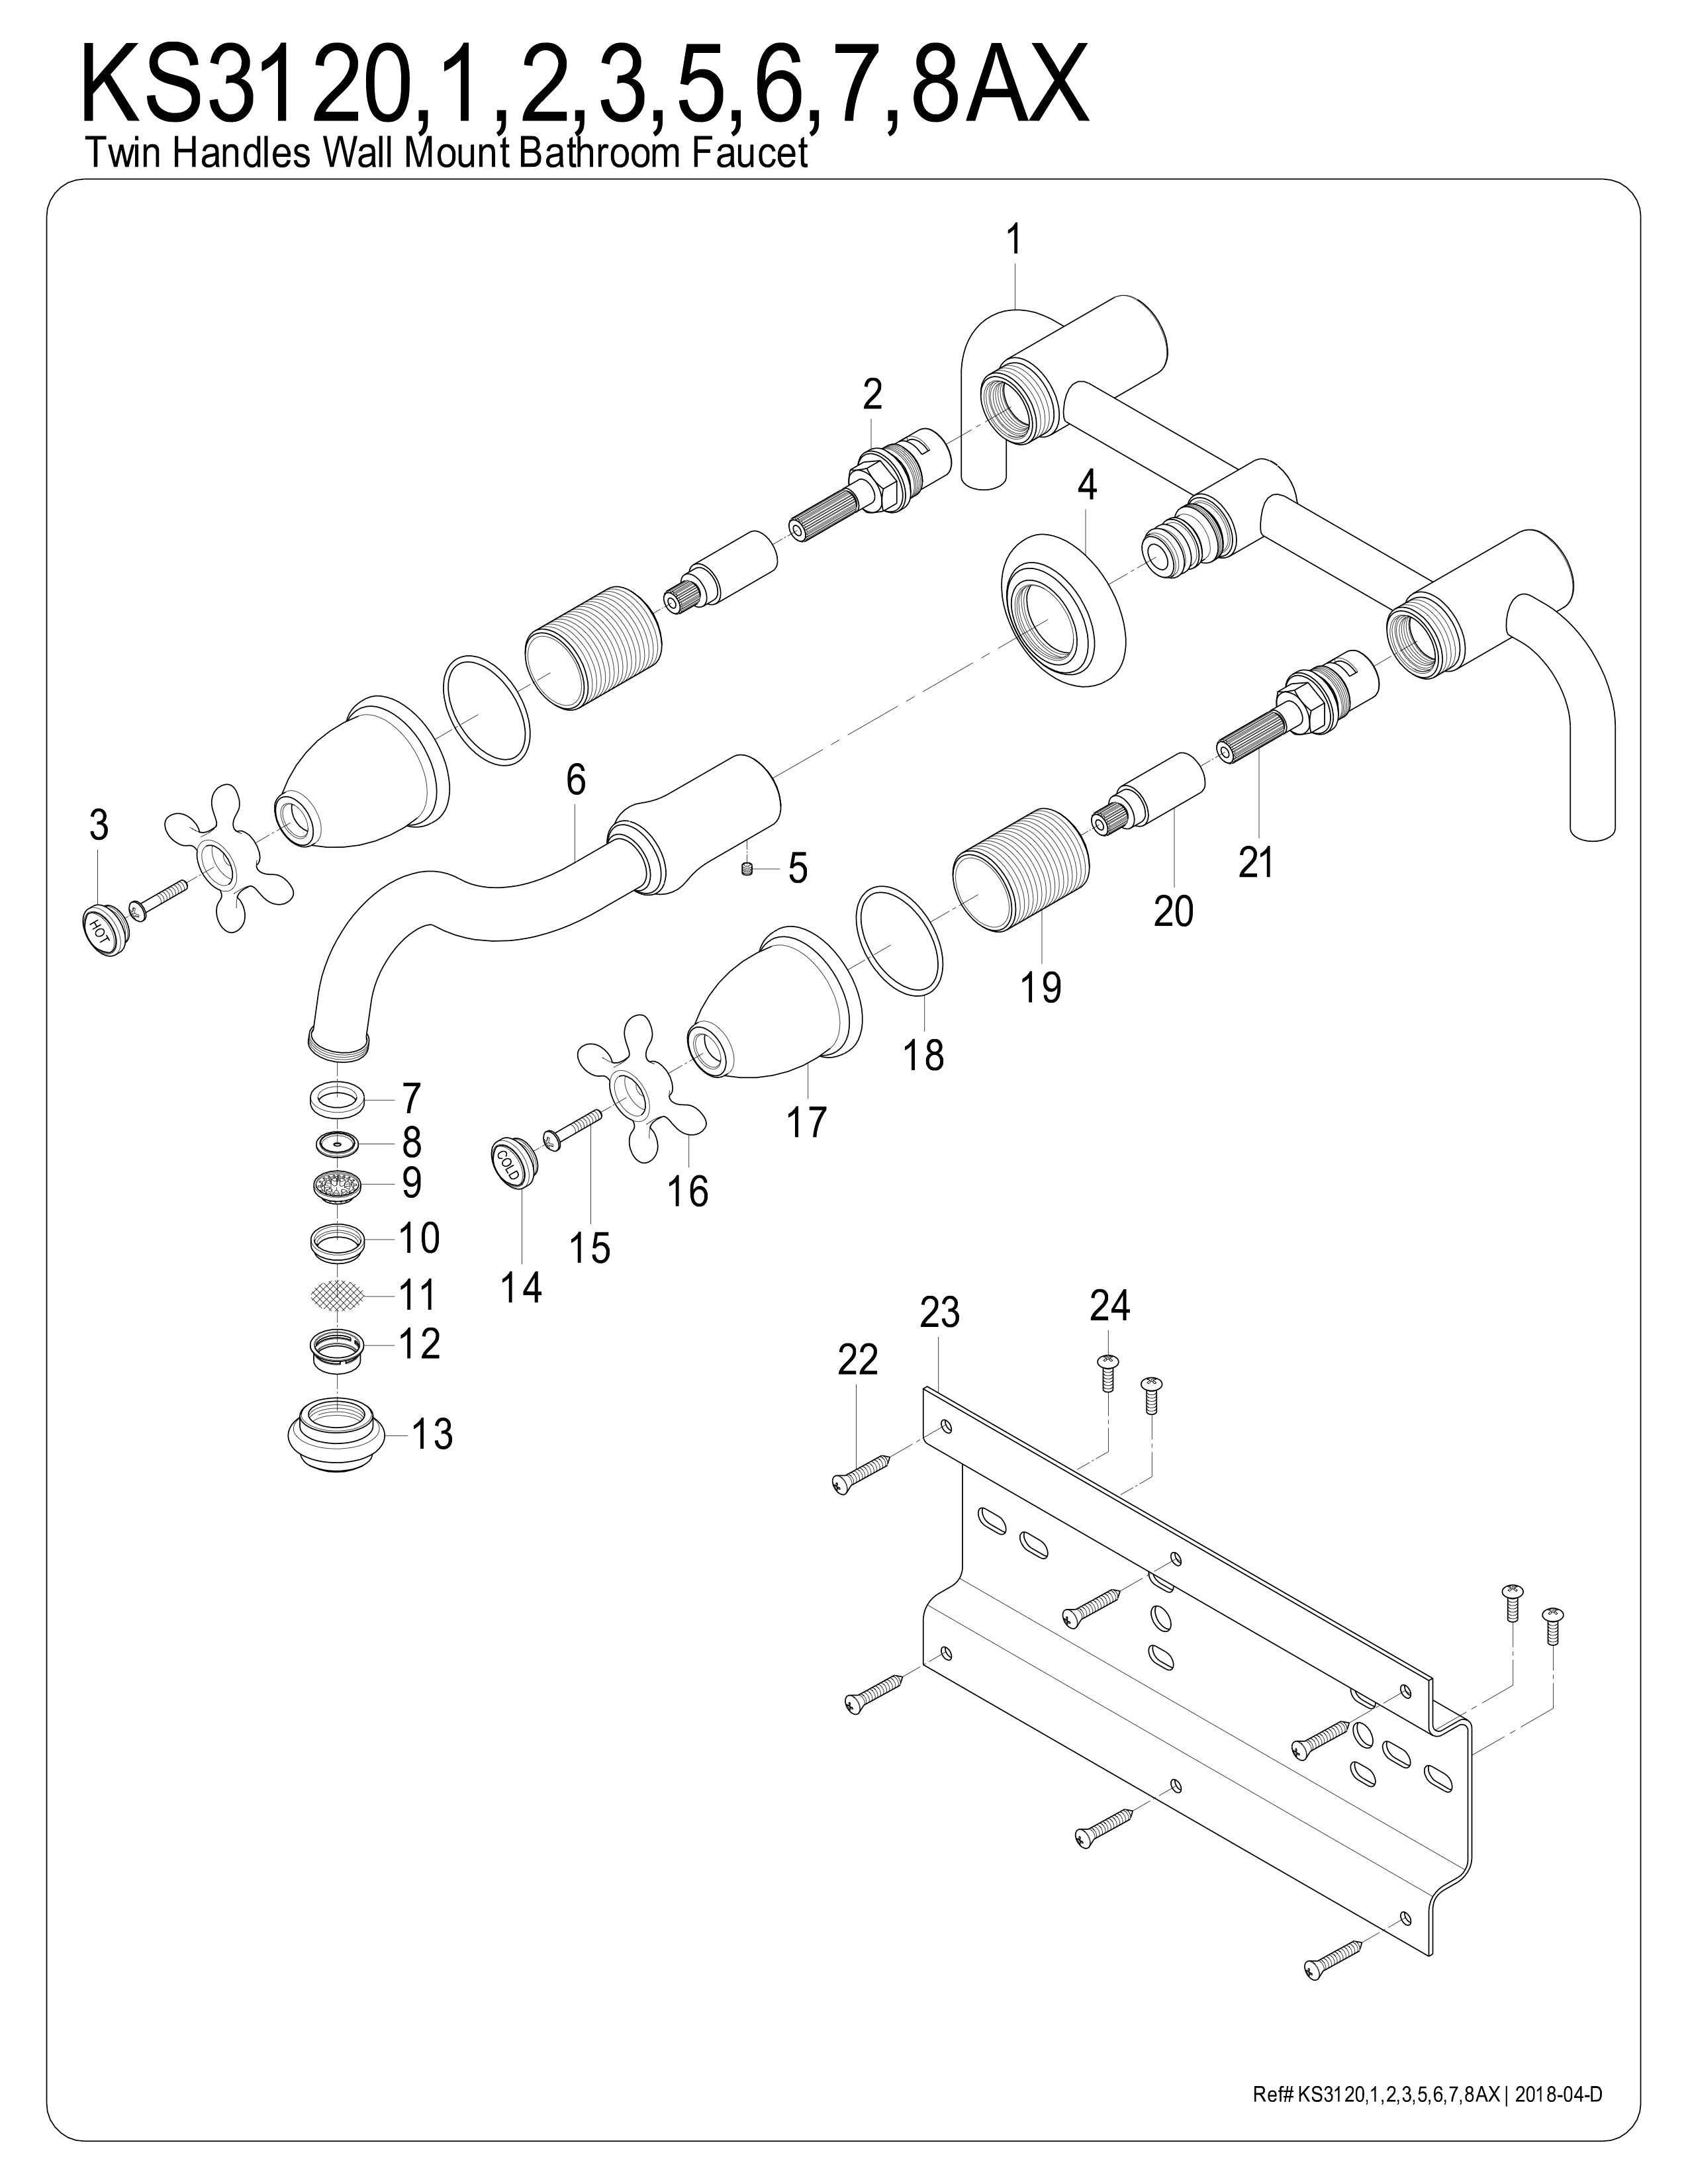
Disassemble Faucet Components
With your diagnosis complete and tools assembled, begin disassembly methodically. Take photos at each step—wall mount faucets often have specific installation orientations that matter during reassembly.
Remove Handles and Expose Internals
Start by removing decorative caps or handle covers. These either snap into position (requiring gentle prying with a taped flathead screwdriver to prevent scratching) or hide small screws beneath hot and cold indicators. Once exposed, unscrew the valve stems counterclockwise using your adjustable wrench. For old or seized stems, apply penetrating oil and wait several minutes before attempting removal—forcing a stuck stem often damages the fixture beyond repair.
Access Spout and Mounting Connections
For spout leaks, the spout assembly may need removal to inspect O-rings. Most spouts thread onto a mounting nipple extending from the wall, requiring counterclockwise rotation. Some stubborn spouts require a special hexagonal extraction tool that inserts into the faucet mounting section—this inexpensive tool prevents damage to finish surfaces that standard wrenches might scratch.
Replace Worn O-Rings and Washers
Worn O-rings cause most wall-mounted faucet leaks. These rubber components deteriorate from mineral content in water, temperature fluctuations, and regular use. Inspect all O-rings for visible cracks, flattening, or deformation—any of these conditions warrants replacement.
Replacement O-rings must match original dimensions exactly—rings too large won’t seal properly, while rings too small may not engage the sealing surface. Bring your old O-rings to a plumbing supply store to ensure correct sizing. Before reinstalling components with threaded connections, apply plumber’s tape clockwise (following thread direction) with three to six wraps depending on thread condition. For connections that previously leaked, consider supplementing tape with a thin layer of pipe dope for additional protection.
Fix Valve Stems and Cartridges
Your faucet’s internal mechanism determines whether you work with traditional compression washers or modern cartridge assemblies. Identifying which type you have directs your replacement strategy.
Compression Faucet Repairs
Traditional compression-style faucets control water by lifting a washer against a brass seat. Inside the valve stem, a small screw at the base holds the washer—unscrew this to remove the worn component and install an identical new washer. The washer must match both in diameter and thickness to seat properly against the brass seat. Some washers use rubber compositions while others use neoprene—match the original material for compatible performance.
Cartridge Faucet Repairs
Cartridge-style faucets use a cylindrical assembly that slides within the valve body. Removing a cartridge typically requires first removing a retaining clip or nut—once this fastener is removed, the cartridge pulls straight out. Take the old cartridge to your plumbing supplier for matching replacement, as cartridge compatibility varies significantly between manufacturers.
Repair Vintage and Antique Fixtures
Faucets from the 1920s and earlier present unique challenges. These fixtures often employed non-standard components requiring specialized knowledge or parts sources. Take one complete stem assembly to a comprehensive plumbing supply house or search online resources dedicated to antique plumbing restoration.
Specialty suppliers sometimes stock period-appropriate components, though availability remains inconsistent. Physical characteristics of antique installations complicate repairs—older wall-mount sinks often have larger mounting holes than contemporary fixtures, and thread configurations may be non-tapered, requiring different sealing approaches. In some cases, the entire faucet assembly must be replaced because individual components have been discontinued.
Troubleshoot Stubborn Leaks
When leaks persist after repairs, several factors typically share responsibility. Incomplete disassembly may leave damaged components in place, while improper reassembly creates new leak paths. Cross-threaded connections damage threads permanently and prevent proper sealing.
Water pressure exceeding fixture ratings can force water past seals designed for lower pressures. If your home’s water pressure runs high (above 80 psi), pressure regulation may become necessary. For installations where standard repair approaches fail, chasing female threads with a pipe tap can restore proper thread geometry and improve sealing capability.
Reassemble and Test Your Work
Reassembly follows the reverse order of disassembly. Ensure each component returns to its original orientation—tighten all fittings to appropriate torque specifications. Handles should operate smoothly without binding or excessive play.
Gradually turn on water supply and observe all connection points carefully—initial pressure often reveals leaks not apparent when dry. Allow the faucet to run for several minutes to reveal hidden leaks. Check wall surfaces behind and below the fixture for moisture indicating leaks within wall cavities. Test both hot and cold settings through their full range to confirm proper function.
Prevent Future Leaks
Regular maintenance extends your wall-mounted faucet’s service life. Inspect fixtures periodically for drips during non-use—even slow leaks indicate seal degradation. Operate handles periodically to prevent stem seizure from mineral deposition, particularly in hard water areas.
Maintain the caulk seal around wall plates to prevent moisture penetration into wall cavities. When this seal degrades, remove old caulk completely before applying fresh material. Ensure bathroom spaces have adequate ventilation to reduce humidity that accelerates component degradation. When leaks develop in older fixtures, address them promptly before they cause water damage to wall structures—small drips can saturate wall cavities over time, creating conditions for mold growth and structural deterioration.

