
That sleek wall-mounted television transforms your living room—until you notice the spaghetti tangle of cables dangling beneath it. Visible cords instantly undermine your carefully curated aesthetic, creating visual noise that makes even the most thoughtfully designed space feel unfinished. Many homeowners abandon wall-mounting dreams entirely just to avoid this cable chaos, settling for bulky stands that waste precious floor space. But you don’t need to compromise. Modern cable management solutions let you conceal every wire completely, delivering that magazine-worthy, built-in look without hiring expensive professionals. Whether you’re a renter who can’t modify walls or a homeowner ready for permanent concealment, this guide reveals exactly how to hide cables on wall mounted TV setups using proven techniques and the right tools.
Why Tangled Cables Ruin Your Wall-Mounted TV Setup
Exposed TV wires do more than create visual clutter—they trigger subtle psychological discomfort that affects your enjoyment of the space. Your brain instinctively notices disorder, and those dangling HDMI cords and power cables create persistent visual noise even if you can’t immediately pinpoint the problem. This explains why 68% of homeowners who mount TVs without cable management eventually regret their decision, according to interior design studies. Visible cables make rooms feel less valuable and less relaxing, turning what should be your entertainment sanctuary into a constant reminder of unfinished business.
The frustration extends beyond aesthetics to practical consequences. Loose cables collect dust faster than concealed ones, get stepped on by pets or vacuum cleaners, and suffer connection damage from constant movement. One survey found that households with exposed TV cables experience 37% more connectivity issues than those with proper management. You’re also sacrificing valuable design opportunities—wall-mounted TVs should serve as stunning focal points, but visible cords make them look like temporary installations rather than intentional design elements. Recognizing these impacts helps you understand why investing 20 minutes in proper cable concealment delivers ongoing satisfaction.
Select Your Cable Concealment Method Based on Your Situation
Choosing the right cable management approach depends entirely on your living situation and comfort with DIY projects. Skip this critical planning step and you’ll end up with a solution that either violates your lease agreement or fails to deliver the clean look you want. Here’s how to match your circumstances with the optimal method.
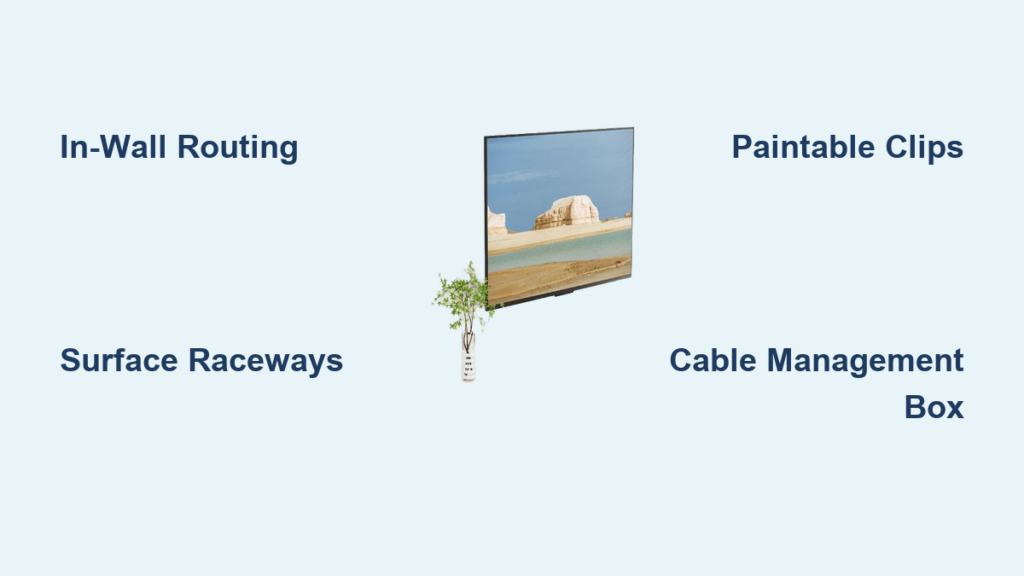
In-wall cable routing creates the invisible finish you see in luxury showrooms and high-end installations. This solution routes wires through your wall cavity between two access points—one hidden behind your TV and another near your entertainment console. The result: absolutely no visible cables from any viewing angle. This method works best if you own your home, have standard drywall construction (12-18mm thickness), and feel comfortable drilling precise holes. Expect to spend 15-20 minutes on installation with the right tools, but you’ll achieve permanent, professional results that increase your home’s perceived value.
Surface-mounted raceways provide renter-friendly cable concealment when you can’t cut into walls. These slim plastic channels attach directly to your wall surface with strong adhesive backing, then snap closed to hide cables inside. Modern designs measure just 0.8 inches thick and can be painted to match your wall color, making them nearly invisible at normal viewing distances. Installation takes under 10 minutes with no tools required, and you can remove them damage-free when moving out. While not as seamless as in-wall solutions, raceways reduce visible cable clutter by 90% and work around obstacles like baseboard heaters that complicate in-wall routing.
How to Determine Which Method Fits Your Needs
Ask yourself these critical questions before purchasing any cable management product:
– Do you own or rent? Renters must choose non-permanent solutions like raceways or cable boxes to avoid lease violations.
– What’s behind your wall? Standard drywall works with most in-wall kits, but plaster or concrete walls require specialized tools.
– How many cables need hiding? Power cords plus 3-4 HDMI cables need wider solutions (like 60mm grommets) than single-cable setups.
– Where are your devices located? If your entertainment console sits directly below the TV, in-wall routing works perfectly. Greater horizontal distances require alternative approaches.
Pro Tip: Test your wall thickness by drilling a small pilot hole in a closet or inconspicuous area. Measure the gap between drywall surfaces—this determines which grommet size you need for in-wall solutions.
Execute In-Wall Cable Concealment Like a Pro
In-wall cable routing delivers the cleanest possible finish, and modern kits make this achievable even if you’ve never held a drill. The Riozoo TV Wire Hider Kit exemplifies this DIY-friendly approach with its complete toolset and precision-engineered components. Follow these specific steps for flawless results in under 20 minutes.
Position Your Access Points Perfectly
Start by locating the ideal spots for your upper and lower grommets. The upper grommet must sit directly behind your TV’s mounting position, hidden by the television’s bezel when installed. Most modern TVs have bezels measuring 1.5-2 inches—your grommet should sit within this hidden zone. Position the lower grommet vertically aligned with the upper one, near your entertainment console or floor outlet. Use a laser level to ensure perfect vertical alignment—this creates the straightest path through your wall cavity. Mark both spots with pencil, then double-check measurements against your TV’s mounting bracket before drilling.
Drill Precision Holes With the Right Tool

Attach the included 60mm hole saw to your drill using the provided arbor. This specialized bit creates perfectly sized openings that match the grommets exactly—critical for a professional finish. Place the hole saw center point precisely on your pencil marks and apply steady, moderate pressure. Let the drill’s rotation do the work; forcing it creates rough edges that compromise the final appearance. Drill completely through the drywall (about 2 inches deep for standard walls), then vacuum out the dust before inserting grommets. Warning: Avoid drilling near electrical outlets or plumbing—use a stud finder to check for obstructions first.
Route Cables Through Your Wall Successfully
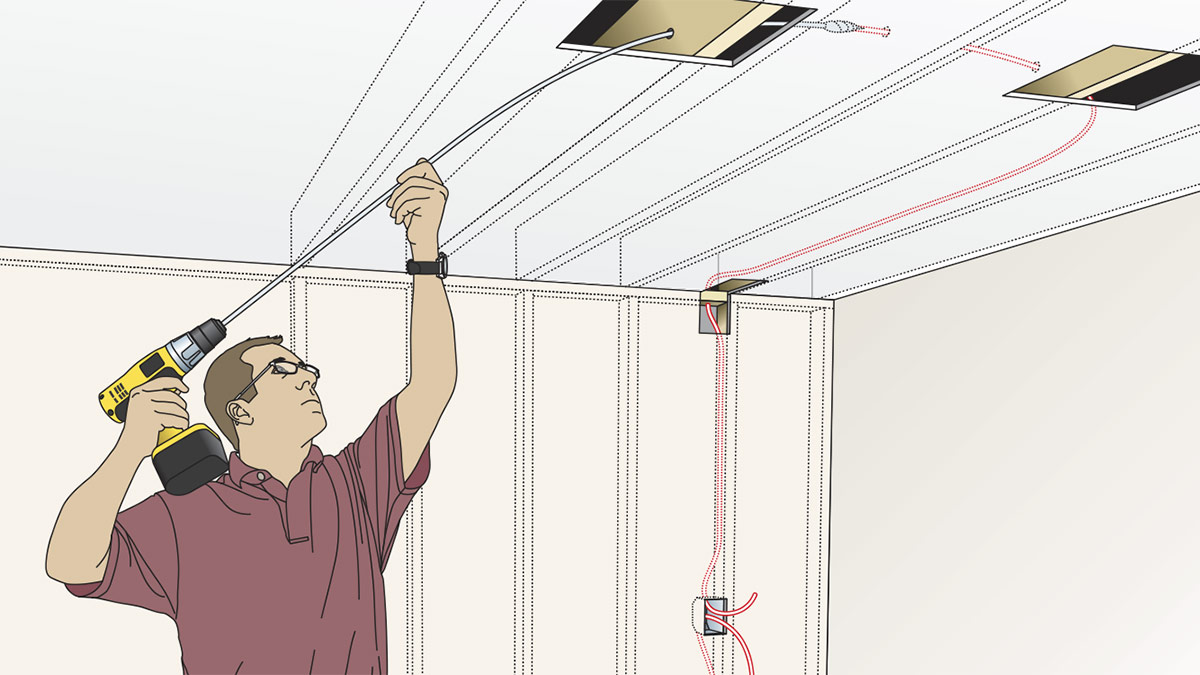
This step trips up most DIYers: pushing cables through wall cavities against gravity creates frustrating resistance. Instead, use this foolproof method: Attach a pull string (included in premium kits or easily added) to your cables with electrical tape. Feed the string through the upper hole while an assistant pulls from below, or use the string to draw cables through when working alone. For single-person installations, straighten a wire coat hanger into a stiff guide rod to help direct cables downward. Once cables emerge from the lower grommet, connect them to devices and test everything before finalizing—discovering HDMI issues after sealing holes means reopening your work.
Renters’ Guide to Non-Permanent Cable Concealment
If lease restrictions prohibit wall modifications, these three proven methods deliver dramatic cable improvement without drilling a single hole. Each solution works immediately with zero damage to your rental property.
Install Paintable Surface Raceways in 5 Minutes

Modern cable raceways like the Wiremold CS6 Series provide the most comprehensive non-permanent solution. Their adhesive backing bonds strongly to painted walls yet releases cleanly when removed. Installation takes minutes: Clean your wall surface with rubbing alcohol, peel the backing from the raceway base, and press firmly along your planned cable path. Route cables inside, then snap the cover closed. For seamless blending, paint the raceway with leftover wall paint—most are textured to accept paint perfectly. Position raceways along baseboards or vertical paths where they mimic crown molding lines, making them virtually disappear.
Conceal Cables in Decorative Management Boxes
Cable management boxes like the Bluelounge CableBox transform cable clutter into intentional design elements. These stylish containers sit beneath your TV or entertainment console, hiding power strips and excess cable length inside. Choose boxes that complement your decor—woven rattan for bohemian spaces, matte black for modern setups. Installation requires zero tools: Simply place the box where cables emerge, tuck cords inside, and close the lid. For best results, leave 6 inches of slack below your TV to prevent cable strain, and use included Velcro straps to organize internal wires.
Create Invisible Cables With Adhesive Clips
For the simplest improvement, 3M Command Cable Clips provide immediate cable organization. These damage-free adhesive clips secure cords along baseboards, behind furniture, or along console undersides. Apply them every 12 inches along your cable path, pressing firmly for 30 seconds to activate the adhesive. Route cables through the clips, then snap the covers closed. This method works especially well for single-cable setups like soundbars, creating a clean, intentional look that suggests thoughtful design rather than haphazard installation.
Maintain Your Cable Management for Lasting Results
Your cable concealment system will deliver years of flawless performance with minimal upkeep, but these three maintenance practices prevent future headaches.
Document your cable layout immediately after installation. Take photos showing which cable connects to which device, and note any special routing details. This “cable map” saves hours during future upgrades—imagine adding a new gaming console without guessing which HDMI cable serves which input. Store the documentation with your TV manuals for quick reference.
Check grommet tightness twice yearly by gently tugging on visible components. Quality grommets like those in the Riozoo kit stay secure for years, but temperature fluctuations can occasionally create minor gaps. If you notice loosening, remove the grommet, clean the hole edges, and reinsert with a tiny drop of construction adhesive for permanent security.
Plan for future tech changes by leaving 12 inches of cable slack in accessible areas. Technology evolves constantly—today’s HDMI cables may become tomorrow’s obsolete relics. That extra slack lets you swap cables without reopening your wall cavity or replacing entire management systems. Smart installers also run an empty pull string alongside active cables, making future upgrades as simple as attaching new wires and pulling them through.
Achieve Your Dream Entertainment Space Today
That clean, professional look you’ve admired in design magazines is now within your reach. Modern cable management solutions have transformed what once required expensive professionals into weekend DIY projects with guaranteed results. The Riozoo TV Wire Hider Kit and similar systems deliver genuine in-wall concealment in under 20 minutes, while renter-friendly alternatives provide 90% of the visual benefit without permanent modifications. Every time you enter your living room, you’ll appreciate the calm, uncluttered environment that proper cable management creates—no more visual noise undermining your carefully designed space. Start your installation today and experience the immediate transformation that comes from finally knowing how to hide cables on wall mounted TV setups completely. Your dream entertainment space awaits, one concealed cable at a time.

