
Mounting your television with an ONN wall mount transforms your viewing experience while maximizing floor space in any room. As you prepare to install your ONN TV wall mount for a 50-inch to 86-inch television, understanding the precise steps will prevent common installation mistakes that lead to crooked screens or unsafe mounting. This guide delivers the exact measurements, tools, and techniques needed to complete your ONN TV wall mount installation correctly the first time—without frustration or costly errors. You’ll discover how to calculate perfect mounting height, locate wall studs accurately, and secure your television safely, ensuring years of worry-free viewing.
Before reaching for your drill, gather all necessary tools and understand the critical height calculation that makes or breaks your installation. Whether mounting above a fireplace or on a standard wall, following these steps precisely will create a professional-looking result that enhances your home theater setup while keeping your family safe from potential television falls.
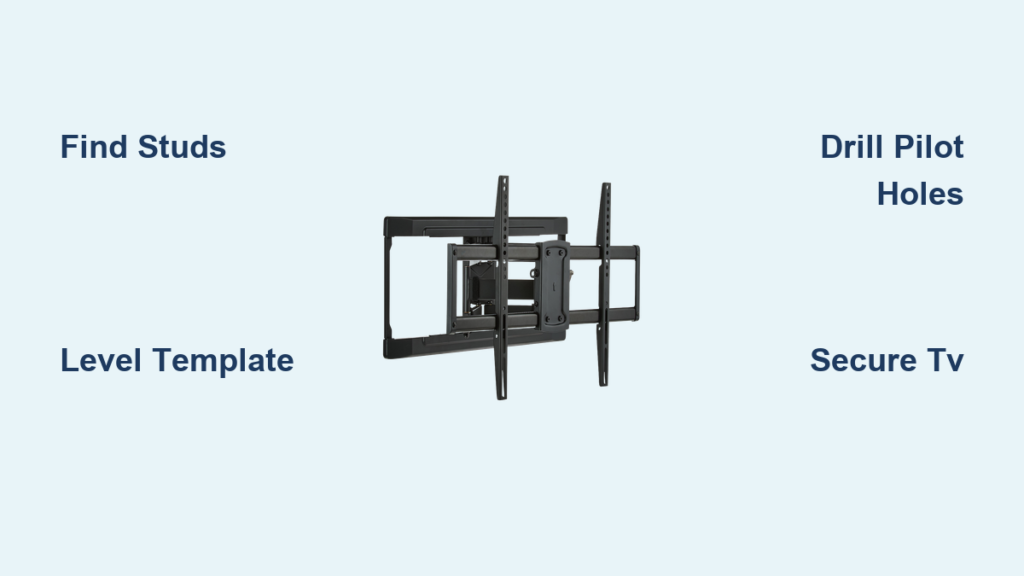
Assemble Your ONN Mount Installation Toolkit
Having the right equipment ready prevents mid-installation frustration and ensures professional results. Your ONN TV wall mount comes with lag bolts, washers, and mounting plate hardware, but you’ll need these essential tools from your own collection to complete the job properly.
Your cordless drill serves as the primary workhorse—select drill bits matching your lag bolt size to create pilot holes slightly smaller than the bolts. This critical step prevents wood splitting while ensuring maximum holding power in wall studs. For drywall-only mounting (not recommended for heavy TVs), you’d need specialized anchors rated for your television’s weight.
A reliable electronic stud finder is non-negotiable for safe installation. Move it slowly across your wall surface, verifying each stud location from both directions before marking. Mark both edges of each stud to visualize the full width—typically 1.5 inches for standard construction. Never mount solely into drywall; the weight of your television will inevitably cause failure.
Complete your toolkit with a 25-foot tape measure for accurate height calculations, a high-quality level to prevent crooked mounting, a pencil for precise markings, and a Phillips head screwdriver for final adjustments. Having these tools within arm’s reach before starting keeps your installation moving smoothly without frustrating interruptions.
Calculate Your Exact ONN Mount Height Position
The perfect mounting height depends on your specific television dimensions and viewing preferences—not arbitrary guesses. Using the ONN mounting template’s critical 10.25-inch reference measurement (from the center of the bottom circle to the top of the template), you’ll determine exactly where to position your mount.
Measure your television vertically from bottom to top of the frame—don’t rely on manufacturer specifications as actual dimensions vary. For example, a 58-inch Hisense TV measures 29.6 inches tall. If you want the bottom of your TV positioned 3 inches above a fireplace shelf, calculate: 29.6 inches (TV height) + 3 inches (desired gap) = 32.6 inches total.
Now subtract the template’s reference measurement: 32.6 inches – 10.25 inches = 22.35 inches. This means you’ll position the center of the template’s bottom circle exactly 22.35 inches above your reference point (the fireplace shelf). This precise calculation ensures your TV sits perfectly where you want it after installation.
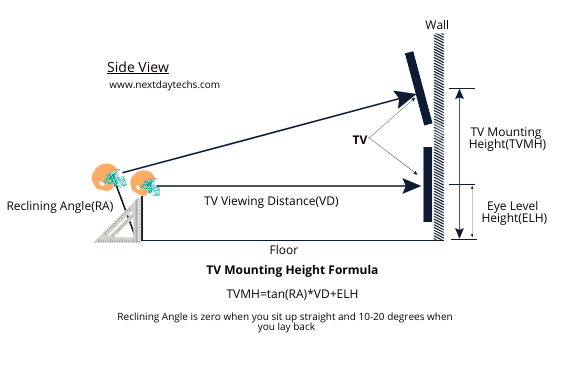
Pro Tip: Sit in your primary viewing position and note where your eye level hits the wall—that’s the ideal center point for your screen. Most comfortable viewing occurs when the screen center aligns with seated eye level.
Position the ONN Mounting Template Correctly

Your ONN mounting template (approximately 11″ high x 25″ wide) contains multiple circle markers corresponding to different VESA patterns for televisions between 50 and 86 inches. Proper template placement determines whether your television mounts securely and at the right height.
Identify which circle markers match your television’s mounting pattern before attaching the template to your wall. Most TVs follow VESA standards, but spacing varies between models—measure your TV’s rear mounting holes to confirm.
Position the template on your wall at the calculated height, using your level to ensure perfect horizontal alignment. The center of the bottom circle must sit at your calculated measurement (22.35 inches above reference point in our example). Hold the template firmly against the wall while checking level from multiple angles—slight tilts become magnified once your television is mounted.
Critical Check: Before marking drill points, verify your template positioning accounts for any soundbars, cable boxes, or decorative elements. Once you drill, correcting height errors requires patching holes and starting over.
Locate Wall Studs for Secure ONN Mount Attachment
Your ONN TV wall mount must anchor directly into wall studs for safety—drywall alone cannot support television weight. Metal stud construction requires special mounting hardware, while concrete or brick walls need masonry anchors, but wood studs provide the strongest mounting surface.
Activate your stud finder and move it horizontally across your wall at the template’s height. When the device signals a stud location, mark both edges with pencil. Measure the distance between marks—standard studs are 1.5 inches wide spaced 16 or 24 inches apart.
Align your template so that mounting holes correspond with stud centers. The ONN template typically requires 2-4 stud connections depending on your television size. If stud locations don’t match the template perfectly, shift your mounting position slightly left or right until alignment occurs—never mount between studs without specialized hardware.
Warning: Always check for hidden electrical wiring or plumbing before drilling. Most building codes require wires to run through the center of studs, but mistakes happen—drilling into wires creates dangerous electrical hazards.
Drill Pilot Holes and Secure the Mounting Plate
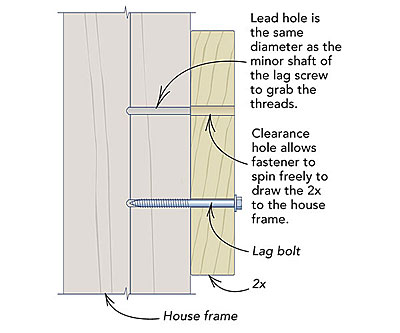
With template positioned and stud locations verified, create precise pilot holes that guide your lag bolts into the wood studs. Select a drill bit slightly smaller than your lag bolts—typically 1/8 inch smaller—to ensure maximum holding power without splitting the wood.
Drill straight through your template markings into the stud centers. For wood studs, you generally don’t need wall anchors—the lag bolts themselves provide sufficient grip when properly installed. Insert the lag bolts through the mounting plate with washers, tightening each bolt firmly but avoiding overtightening that could strip threads or crack the plate.
Test the mounting plate’s stability by applying gentle downward pressure. It should feel completely solid with no movement or wobble. Any play indicates insufficient tightening or misaligned stud connections that must be corrected before mounting your television.
Pro Tip: Apply downward pressure while tightening the final bolts—this compensates for any minor wood compression and ensures the plate sits flush against the wall.
Hang Your Television on the ONN Mount Safely
Mounting your television requires two people—never attempt this step alone. With your helper supporting the TV’s weight, position the television’s mounting points over the wall plate’s hooks. ONN mounts typically use a hook-and-slot system where the TV slides downward into place.
Carefully lower the television until you hear or feel the mounting points fully engage with the wall plate. Many mounts include audible “clicks” when properly seated. Release support gradually while maintaining a firm grip—never let go completely until you verify secure attachment.
Check for any safety screws or locking mechanisms that must be engaged after mounting. These small components prevent accidental disengagement and are critical for long-term safety. Test security by gently attempting to lift the TV from below—it should remain firmly in place.
Warning: Double-check that all mounting bolts on the TV’s rear panel are properly secured before hanging. Loose TV mounting bolts cause the most common installation failures.
Conceal Cables Like a Professional Installer
Visible cables ruin the clean aesthetic of your wall-mounted television. The ONN mount includes built-in cable channels—thread HDMI, power, and other cables through these channels before finalizing your installation.
Group cables together using Velcro ties every 6-8 inches to prevent tangling and create a clean appearance. For the most professional result, consider in-wall cable management using low-voltage rated plates that maintain fire safety codes. This involves cutting access holes behind the TV and near your equipment source, then feeding cables through the wall cavity.
Leave 2-3 inches of cable slack at both ends to allow for future TV adjustments or removal. Taut cables create connection problems and make future maintenance difficult. Label cables at both ends using masking tape to simplify future troubleshooting.
Pro Tip: Install a power outlet behind your TV using a low-voltage bracket—this hides the power cord completely while providing convenient access for future needs.
Verify Installation Security Before Finalizing
Before celebrating your completed installation, perform these critical verification steps. Apply firm downward pressure to the top of the TV frame at multiple points—any movement indicates insufficient mounting that requires immediate correction.
Check horizontal alignment by placing your level across the TV’s top edge. Even slight tilts become visually distracting over time. Some ONN mounts include minor adjustment capabilities, but significant misalignment requires removing the TV and reinstalling the mounting plate.
Power on your television and test all connections. Verify that cable management doesn’t restrict access to ports or create tension on connections. If using in-wall cable management, confirm signal quality remains strong across all input sources.
Final Check: Examine the wall surface around the mounting plate for any signs of stress or separation. These indicate potential mounting issues that require professional assessment before continuing use.
Maintain Your ONN Wall Mount for Long-Term Safety
During the first three months after installation, check mounting bolts monthly for loosening—wood studs can compress slightly under constant weight. Tighten any loose bolts to manufacturer specifications, but avoid overtightening that could damage threads.
Perform annual inspections thereafter, examining both the mounting hardware and wall surface for signs of stress. If you need to remove your television temporarily, follow the manufacturer’s release mechanism carefully to avoid damaging the mount or TV mounting points.
Your properly installed ONN TV wall mount should provide years of reliable service when maintained correctly. The time invested in precise installation pays dividends through enhanced viewing experience and peace of mind knowing your television remains securely mounted.

