
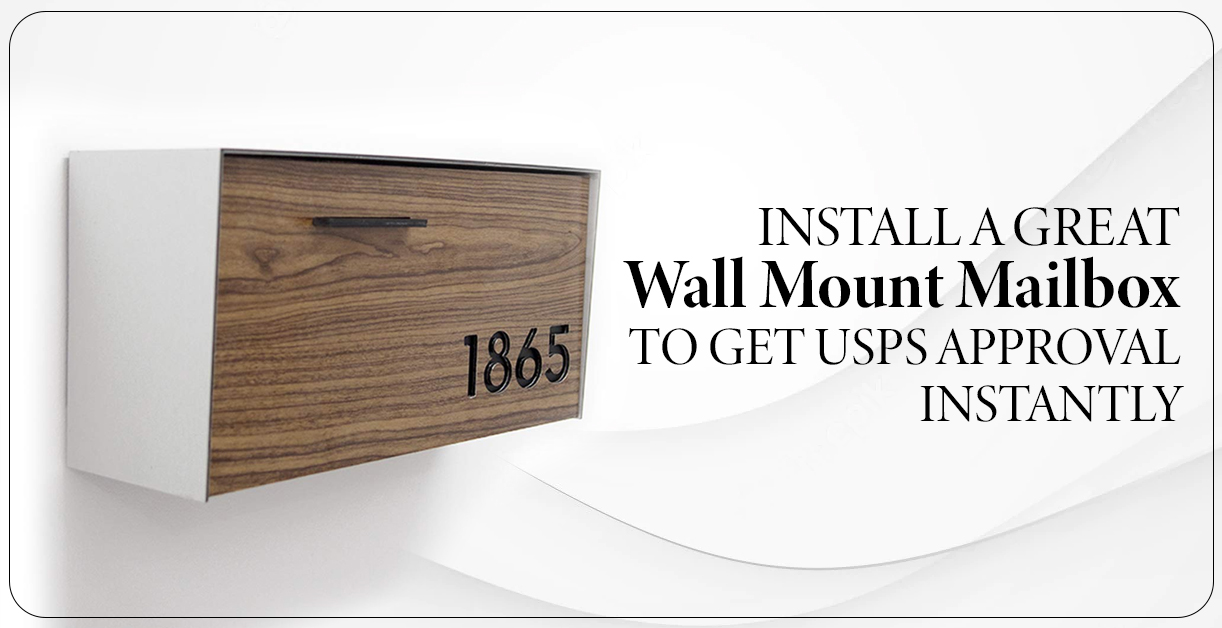
Finding your mail scattered on the ground after a windy storm or discovering a package missing from your curbside box is frustratingly common. Installing a wall mount mailbox solves these problems by securing your correspondence right at your entryway, where you can easily monitor it. This straightforward DIY project takes just one to two hours using basic tools most homeowners already own. Whether you’re replacing an old unit or installing your first wall-mounted mailbox, following proper installation techniques ensures your new mailbox stays secure through all seasons while meeting postal service requirements. You’ll enjoy the convenience of having mail waiting for you right at your door without worrying about weather damage or theft.
Before grabbing your drill, understanding the entire process prevents costly mistakes. This guide covers everything from checking USPS regulations to selecting the optimal location and executing a secure installation. By the time you finish reading, you’ll know exactly how to install a wall mount mailbox that remains firmly in place for years while keeping your mail protected and accessible.
Why Proper Installation Matters
A correctly installed wall mount mailbox does far more than simply hold your mail—it protects your correspondence from wind, rain, and snow while reducing the risk of theft or tampering, especially when you choose a locking model. When your mailbox sits securely mounted on a flat surface, it presents a polished appearance that enhances your home’s curb appeal rather than detracting from it. The installation process also showcases your mailbox design at its best, drawing the eye rather than appearing crooked or poorly secured.
Taking time with proper installation prevents headaches down the road. An improperly mounted unit may wobble when you open or close it, eventually loosening further with daily use. In severe cases, a poorly attached mailbox could fall entirely, damaging both the unit and your wall surface. Most homeowners find this project achievable even without prior DIY experience, making it an excellent weekend undertaking that delivers immediate practical benefits. Skipping critical steps like checking for hidden wires or using inappropriate anchors creates vulnerabilities that compromise both security and longevity.
Gather Your Materials and Tools
Before heading to your work area, collect all necessary materials and tools to prevent mid-project interruptions. Most wall mount mailboxes come with some mounting hardware included, but verifying completeness against the manufacturer’s list ensures you have everything required. Examine each piece carefully for damage such as dents, scratches, or warped components that could compromise installation quality.
Essential Materials Checklist
Your material needs depend largely on your wall surface and specific mailbox model. For brick, stone, or concrete surfaces, you’ll need masonry anchors ranging from 3/16 to 1/4 inch in diameter or concrete screws designed for exterior masonry applications. Vinyl siding or drywall requires exterior-grade anchors that withstand environmental exposure and temperature changes. Quality installations also benefit from exterior-grade silicone or polyurethane sealant applied around screw heads to prevent moisture intrusion, and neoprene or rubber washers provide additional protection on siding or stucco surfaces.
Critical mistake to avoid: Using interior-grade anchors on exterior surfaces leads to premature failure as moisture causes anchors to deteriorate. Always select hardware specifically rated for outdoor use in your climate zone.
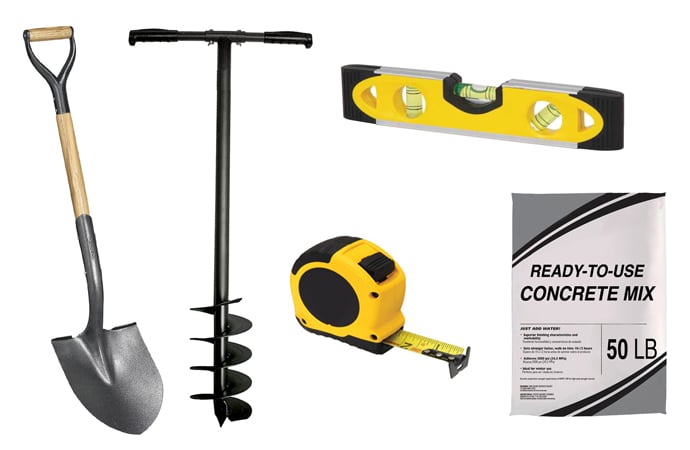
Tools You Must Have
The core tools for this project include a drill with bits appropriate for your wall surface, a level to ensure straight mounting, and a tape measure for accurate height and placement. A screwdriver drives screws securely, while a hammer taps anchors into pilot holes. Keeping these tools within arm’s reach throughout the process prevents constant interruptions. Many installers also keep a vacuum or brush nearby to clear dust from drilled holes, ensuring anchors fit snugly and hardware sits flush against the wall.
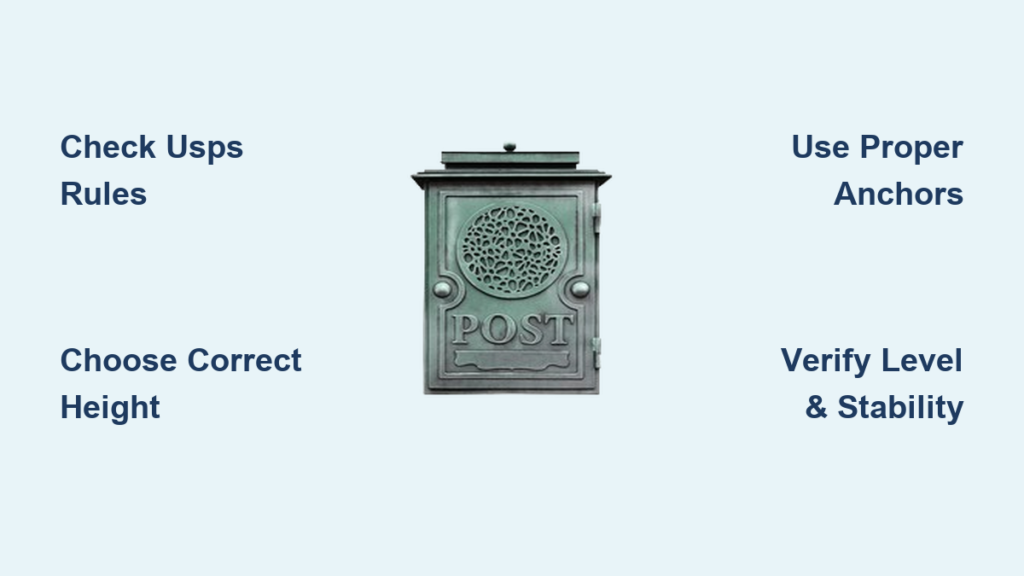
Check USPS Regulations Before You Drill
The United States Postal Service does not provide nationwide guidelines specifically for wall-mounted mailbox locations, meaning your local postmaster determines acceptable practices in your community. Before installing, visit your local post office or call to inform them of your plans and request permission to switch from a curbside box to a wall-mounted unit. Installing without approval risks delivery delays, returned mail, or being required to relocate the entire installation.
When contacting your post office, provide details about the proposed location including height, accessibility, and proximity to your entry door. Some post offices require you to provide them with a key if you install a locking mailbox—this proves invaluable if you ever lock yourself out and need urgent mail access. Your local office has specific regulations you must follow to ensure uninterrupted mail service, and informing them of your installation ensures carriers can easily locate your new mailbox position.
Choose the Perfect Location for Maximum Accessibility
Selecting an accessible, visible spot convenient for both you and your mail carrier determines long-term satisfaction with your installation. Most homeowners install wall mount mailboxes near entry doors or on front porch walls for maximum convenience. The chosen location must allow easy access from both sides—you step outside to retrieve mail, but carriers approach from the opposite direction.
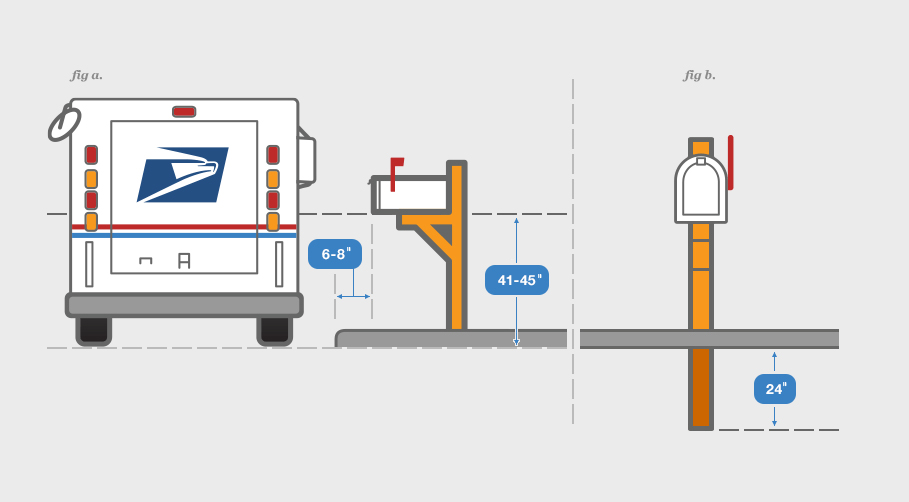
Height Specifications That Meet Postal Requirements
USPS recommends installing wall mount mailboxes at 41 to 45 inches from the ground for optimal accessibility. Measure from the finished ground surface, porch, sidewalk, or road surface to the mailbox bottom. If steps lead to your entry, measure from the landing where carriers stand rather than from ground level at the bottom of stairs. Account for any stairs, decorative elements, or furniture that might affect access from either side. Failure to follow these height specifications is the most common reason for post office rejection of wall-mounted installations.
Surface and Clearance Requirements to Prevent Future Issues
Wall mount mailboxes perform best on flat surfaces including walls, columns, or patios. Your siding type—vinyl, brick, concrete, or another material—dictates necessary tools and hardware for secure attachment. Always check for hidden wires or plumbing before drilling near doorbells or exterior lights. Ensure the mailbox lid opens fully without hitting trim, railings, door hardware, or other obstacles. The mailbox should remain clearly visible from walkways so carriers easily locate it.
Mark Mounting Hole Positions for Perfect Alignment
Accurate marking prevents crooked installations and unnecessary wall damage from misplaced holes. Place your wall mount mailbox against the wall in your chosen position, checking with your level to ensure it sits perfectly straight. Mark the mounting hole locations with a pencil, creating clear targets for drilling.
If your mailbox includes a paper template, attach it to the wall using painter’s tape and verify levelness before marking hole positions. Without a template, simply hold the mailbox in place and mark through the mounting holes. This marking phase proves critical—accurate hole positions ensure proper alignment and prevent frustrating corrections after drilling begins. Pro tip: Mark the top edge of the mailbox with a pencil line first, then position your level against this line to ensure perfect horizontal alignment.
Drill Pilot Holes and Insert Anchors Correctly
With holes marked, set the mailbox aside and prepare to drill. Most wall mount mailboxes require only shallow pilot holes, but consult your installation guidelines for exact specifications. Using the correct drill bit for your wall surface, carefully drill pilot holes at each marked position.
For brick or concrete surfaces, a masonry drill bit creates clean holes appropriate for masonry anchors. Siding or drywall applications require bits designed for those materials. After drilling, brush away dust and debris so anchors fit snugly and mounting hardware sits flush against the wall. On masonry surfaces, vacuuming holes clean ensures proper anchor seating and prevents loose installations.
Insert anchors into pilot holes, ensuring they align straight for secure fits. Tap anchors gently with a hammer until they sit flush with the wall surface. For brick or stone applications, 3/16 to 1/4 inch masonry anchors work effectively for most installations. You have placement options: drilling into mortar joints allows easiest future patching if you ever remove the mailbox, while drilling into the brick or stone face away from edges provides maximum strength on sound masonry.
Complete the Mounting Process and Verify Stability
With anchors installed, you’re ready for the final attachment. Align the mailbox’s mounting holes with your installed anchors and insert screws, leaving them slightly loose until all are in place. This approach allows small adjustments to ensure perfect levelness and positioning before fully tightening.
Drive screws just enough to hold the mailbox in place, then check that the top, side, and bottom remain level from all angles. Once satisfied with alignment, tighten each screw fully until your wall mount mailbox sits flush against the wall, secure and ready for daily use. Avoid overtightening, which could crack the mailbox mounting points or strip anchor holes.
After mounting, gently test stability by pushing, pulling, and lightly shaking the mailbox. A properly installed unit feels solid without wobbling or shifting. If you notice any movement, verify that all screws are fully tightened and anchors remain secure in the wall. For persistent looseness, remove screws entirely, re-seat anchors firmly, and reinstall.
Essential Maintenance to Extend Mailbox Life
Periodic maintenance keeps your installation secure and attractive over time. After severe weather events or if you notice any wobbling, check stability and tighten any loosened screws. Inspect anchors to confirm they remain securely seated, addressing minor issues promptly prevents larger problems.
Apply exterior-grade sealant around fasteners as recommended to prevent moisture intrusion. Using rust-resistant hardware and quality materials extends your installation’s lifespan significantly. Annual maintenance checklist:
– Tighten all mounting screws
– Clean mailbox interior and exterior
– Inspect for rust or corrosion
– Reapply sealant around mounting points
– Check for proper lid operation
These simple maintenance steps ensure your wall mount mailbox continues protecting your mail while enhancing your home’s appearance for years to come.
Frequently Asked Questions
How long does installation take? Most homeowners complete wall mount mailbox installation in one to two hours. Experienced DIYers sometimes finish in under 30 minutes, especially with quality mailboxes including templates and all necessary hardware. Taking time with preparation and marking phases ensures professional-quality results.
Can I install on any wall type? Wall mount mailboxes attach successfully to most surfaces including wood, vinyl siding, brick, stone, concrete, and stucco. Each surface requires specific hardware and techniques—masonry anchors for brick and concrete, exterior-grade anchors for vinyl siding. Always check for hidden wires or plumbing before drilling.
What if I’m not comfortable with DIY installation? Contact a contractor or mailbox expert for professional installation without complicated instructions. This option suits homeowners unfamiliar with power tools, uncertain about wall structure, or simply preferring to invest time elsewhere.
Do I need post office approval? Yes, always contact your local post office before installing a wall mount mailbox. Postmasters determine acceptable locations and requirements in your community, and proper approval prevents delivery issues or mandatory relocation.

