Corbels transform ordinary spaces with architectural elegance while providing essential structural support for shelves, countertops, and mantels. When your decorative wooden brackets or heavy-duty metal supports fail to anchor properly, you risk both aesthetic disappointment and potential safety hazards. This guide delivers the precise mounting techniques needed to secure your corbels firmly to any wall surface. You’ll learn exactly how to match your installation method to your specific load requirements and wall construction, avoiding common pitfalls that lead to wobbly brackets and wall damage. By following these proven steps, you’ll achieve professional results that combine visual appeal with reliable structural integrity.
Plan Your Corbel Installation Project
Before you drill a single hole, proper planning determines whether your corbels will support their intended weight or become a frustrating repair project. Skipping this critical phase causes most installation failures, especially when homeowners underestimate the weight their corbels must bear.
Determine Load Requirements First
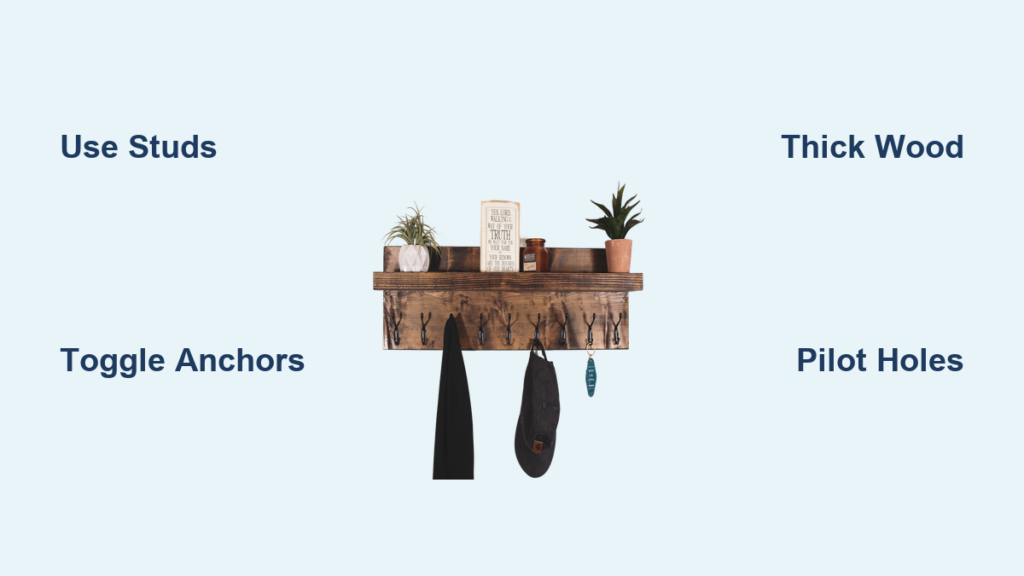
Your corbel’s mounting method depends entirely on what it will support. Decorative corbels holding picture frames or small plants can use drywall anchors rated for 25-50 pounds. Medium-duty installations supporting decorative plates or lightweight shelves require anchors rated for at least 50 pounds or mounting into wall studs. Heavy-duty corbels supporting granite countertops, bookshelves, or functional work surfaces must mount directly into studs with lag screws capable of handling substantial shear and pullout forces.
Calculate your total load by adding the weight of the shelf or mantel itself plus everything you’ll place on it. Then increase this number by 25-50% to create a safety margin for unexpected weight. This calculation determines whether drywall anchors suffice or if you must locate studs for secure mounting. Never assume your wall can handle the load—measure twice, mount once.
Gather Required Tools and Materials
Having everything ready prevents mid-project frustration and ensures continuous workflow. Your essential toolkit includes a cordless drill with multiple drill bits, a reliable stud finder, a precision level, measuring tape, and pencil for marking. For mounting hardware, collect appropriate screws (2-3 inch wood screws for stud mounting), wall anchors rated for your calculated load, and a hammer for anchor installation.
Don’t overlook shims for leveling corbels on uneven walls, wood glue for additional bond strength, and touch-up paint for concealing screw holes. Organize all materials before starting—scrambling for forgotten tools after drilling the first hole creates unnecessary wall damage and delays.
Prepare the Wall Surface
Proper wall preparation creates the foundation for secure corbel mounting and professional results. Rushing through this phase leads to misaligned brackets, weak anchoring, and visible imperfections that undermine your entire project.
Locate and Mark Stud Locations
For load-bearing installations, mounting into wall studs provides the strongest anchor point. Use a quality stud finder to locate framing behind your walls, marking both edges of each stud rather than just the center. Studs typically sit 16 or 24 inches apart, but verify this spacing in your specific walls as older homes often have irregular framing.
When installing corbel pairs for shelves or mantels, note whether your desired spacing aligns with existing stud locations. If only one side aligns with a stud, you’ll need to adjust placement, use alternative hardware, or consider adding blocking during renovation. Never guess stud locations—relying on standard spacing patterns leads to failed installations when reality differs from expectation.
Clean and Inspect Mounting Area
Remove dust, grease, and debris from the mounting area to ensure proper screw engagement and anchor performance. Check for hidden obstacles like electrical wires or plumbing pipes using a utility scanner before drilling—hitting these during installation creates expensive repair headaches.
Examine wall surface condition carefully. Peeling paint, crumbling drywall, or water damage compromises mounting strength and requires repair before proceeding. Patch damaged areas with drywall compound, allowing full drying time before installation. Your mounting surface must be solid, clean, and dry for reliable corbel anchoring.
Mark and Test Mounting Positions
Precise marking prevents misaligned corbels and eliminates the need for patching misplaced holes. This stage separates professional installations from amateur attempts where crooked brackets ruin the entire aesthetic.
Position Corbels and Check Alignment
Hold each corbel in place, using your level to verify perfect vertical alignment. For corbel pairs, position both brackets simultaneously to ensure identical height placement—this prevents the crooked shelves that plague rushed installations. Mark mounting hole positions through the corbel’s pre-drilled holes using a sharp pencil.
Double-check all measurements before drilling. Measure from the floor to each marked position to confirm identical heights. Measure horizontally between corbel positions to match your shelf or mantel length exactly. Step back and visualize the installation—does the spacing complement your room’s proportions? Adjustments now require only pencil marks; adjustments after drilling create unnecessary wall damage.
Pre-Drill Pilot Holes
Create clean pilot holes using the appropriate drill bit size for your screws. For stud mounting, drill holes 1/8 inch smaller than your screw diameter to maximize wood thread engagement. Hole depth should be slightly less than screw length to avoid drilling through studs into hidden obstacles.
For drywall-only mounting, drill holes sized precisely for your wall anchors as specified on the packaging. Using the wrong bit size creates anchor failure—too small prevents proper insertion, too large allows anchors to spin freely. Clean pilot holes thoroughly to remove dust that could compromise anchor performance.
Mount Corbels for Different Wall Types
Your wall construction determines the mounting approach that will deliver reliable, long-term support. Using the wrong method for your wall type guarantees eventual failure, regardless of corbel quality.
Mounting Into Wood Studs
Stud mounting provides the strongest possible anchor for load-bearing corbels. After pre-drilling pilot holes, position the corbel and insert screws by hand initially to ensure proper thread engagement. Finish tightening with your drill, but avoid over-tightening that could crack the corbel or strip wood threads.
For heavy applications, lag screws offer superior holding power. These require pre-drilling with a slightly larger bit for the shank before thread engagement. Tighten lag screws snugly with a socket or wrench—they draw the corbel tight against the wall while providing exceptional resistance to pullout forces. Always use at least two screws per bracket, preferably into separate studs when possible.
Mounting Into Drywall Only
When stud mounting isn’t feasible, choose wall anchors rated for at least twice your calculated load. Self-drilling anchors install without pre-drilling in many cases—simply screw them directly into the drywall. These provide excellent holding power for medium-duty applications.
Expansion anchors offer an alternative for lighter loads. Tap them flush with a hammer, then insert screws through the corbel, tightening to expand the anchor behind the wall. Ensure screws engage fully with the anchor mechanism and draw the corbel tight against the wall surface—loose anchors create immediate wobble and eventual failure.
Secure Corbels Properly
With mounting holes prepared, proper installation technique ensures your corbels remain securely anchored for years. Rushing this phase creates the most common installation failures that manifest as wobbling brackets or sudden detachment.
Install Anchors and Mounting Hardware
For drywall-only mounting, install anchors first according to manufacturer specifications. Ensure they sit flush with the wall surface without wobbling—loose anchors provide poor holding power and must be replaced. Position your corbel carefully, aligning mounting holes with anchor positions.
Insert screws through the corbel into anchors or studs, starting each by hand to ensure proper thread engagement. Tighten screws gradually and evenly, alternating between fasteners to prevent the corbel from shifting during installation. This even pressure distribution creates balanced mounting that withstands everyday use.
Verify Level and Alignment
After initial tightening, check the corbel’s levelness before final securing. A bubble level on the corbel’s upper surface confirms plumb installation. For corbel pairs, verify identical heights—a discrepancy creates visibly crooked shelves that frustrate users daily.
Check alignment with room elements like windows and doors. Does the corbel position complement other architectural features? Is spacing consistent with your shelf dimensions? Making these visual checks before final tightening allows easy adjustments that become impossible once installation completes.
Complete Installation and Final Checks
The final steps transform a functional installation into a professional-quality result that combines structural integrity with aesthetic appeal. Skipping these details leaves even technically sound installations looking amateurish.
Add Decorative and Structural Enhancements
For visible installations, wood glue applied to the corbel-to-wall interface provides additional bond strength while filling small gaps. Apply glue before final mounting, wiping excess immediately to avoid dried residue. For heavy loads, consider adding blocking boards behind walls where stud spacing doesn’t align with corbel positions.
Conceal mounting hardware using wood plugs, caps, or decorative screws matching your corbel’s finish. For painted corbels, fill screw holes with wood filler before painting, sanding smooth once dry to create seamless fastener locations that maintain visual continuity.
Test Load Capacity Before Use
Before placing items on your corbels, test installation strength by applying gradual hand pressure. The corbel should feel solid with no movement, wobble, or creaking. Apply pressure simulating actual loading to verify mounting security.
For heavy-duty installations, conduct a rigorous test by placing comparable weight on the corbel and observing over several hours. This reveals any settling or gradual loosening indicating insufficient anchoring. If movement occurs, immediately reinforce with additional anchors or stud mounting before permanent damage happens.
Maintain and Troubleshoot Corbel Installations
Even properly installed corbels benefit from periodic attention, especially in high-use areas or environments with humidity fluctuations. Regular maintenance prevents minor issues from becoming major failures.
Regular Inspection Schedule
Inspect mounted corbels annually for signs of loosening, damage, or wear. Tighten any mounting screws that have gradually loosened due to temperature and humidity changes. Check for cracks developing near mounting points where stress concentrates.
In kitchens and bathrooms with significant humidity fluctuations, monitor corbels more frequently for moisture damage. Wooden corbels benefit from periodic wood conditioner application, while metal corbels need rust checks at mounting points where protective coatings may have been scratched.
Common Installation Problems and Solutions
If your corbel pulls away from the wall, address it immediately. For drywall-only installations, replace failed anchors with larger or more robust versions, or modify installation to mount into studs. For stud-mounted corbels, check for sheared screws or split studs—both conditions require repositioning the corbel.
Loose, wobbling corbels may simply need screw tightening if original installation had incomplete thread engagement. If tightening doesn’t resolve wobble, fill enlarged mounting holes with wood dowels, allow complete drying, and re-drill pilot holes for new screws in the filled positions.
Key Takeaways for Successful Corbel Mounting
Always match your installation method to your specific load requirements and wall construction. Prioritize stud mounting for any load-bearing application—it provides unmatched reliability compared to drywall anchors. When studs don’t align with your design, choose anchors rated for substantially more weight than needed to build in safety margins.
Take time with planning and preparation—accurate marking, proper pilot drilling, and careful alignment prevent problems that become difficult to fix later. Test installations thoroughly before use and establish regular inspection schedules to catch developing issues early. With proper installation and maintenance, your corbels will deliver reliable support and timeless beauty for decades.