
Removing a wall mounted mirror seems straightforward until you’re staring at that heavy glass rectangle wondering how to get it down without shattering it or damaging your wall. Many homeowners attempt this DIY project only to end up with broken glass, damaged drywall, or even injuries from sharp edges. The good news is that with the right preparation and techniques, you can remove your wall mounted mirror safely and efficiently—whether it’s a small bathroom mirror or a large full-length piece. This guide covers proven methods for every mounting scenario you might encounter, including adhesive-backed mirrors, clip-mounted models, and heavy framed pieces. You’ll learn exactly what tools to use, how to prevent wall damage, and the critical safety steps most beginners overlook when tackling this common home project.
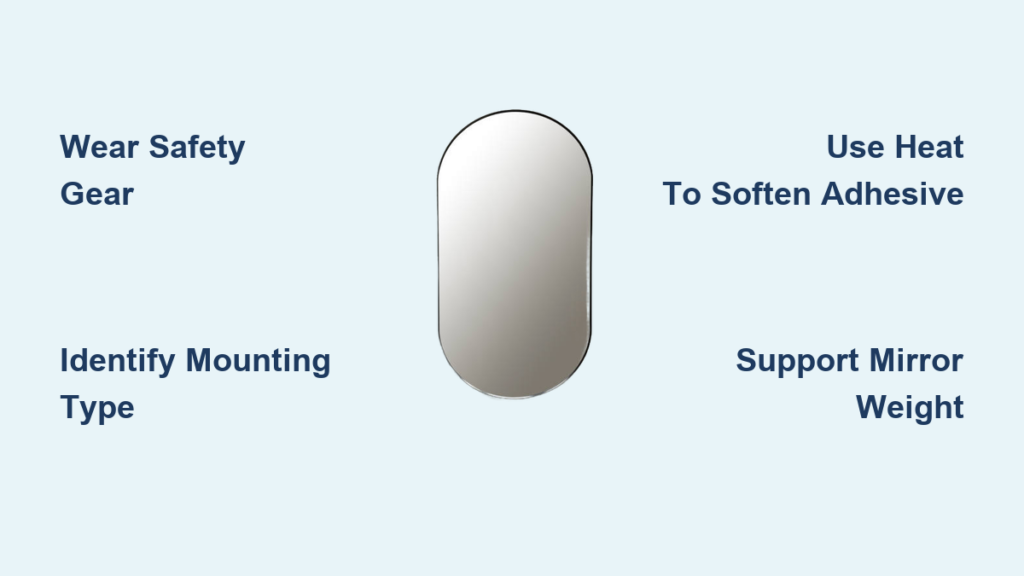
Essential Safety Gear and Preparation Before Starting
Before touching your mirror, gather these critical safety items that prevent serious injuries during removal. Wall mirrors become dangerous projectiles when they break, sending glass shards flying in all directions. You need heavy-duty work gloves that protect against sharp edges, safety goggles to shield your eyes from falling debris, and long-sleeved clothing to prevent cuts. For larger mirrors exceeding 24 inches in any dimension, add a dust mask to avoid inhaling glass particles and have a helper ready—never attempt to remove oversized mirrors alone.
How to Assess Your Mirror’s Mounting Type First
Identify your mirror’s attachment method before applying any force, as different mounting systems require specific removal approaches. Run your fingers along the mirror’s perimeter to detect hidden mounting clips—small metal brackets that often sit flush against the glass. Check for visible screws at the top or bottom edges, which indicate a framed mirror with direct wall attachment. For frameless mirrors, look for adhesive residue around the edges that suggests construction adhesive or mirror mastic was used. If you spot no obvious mounting hardware, your mirror likely uses an invisible mounting system with specialized brackets behind the glass.
Critical Wall Protection Steps You Must Take
Protect your wall surface before mirror removal to prevent costly repairs later. Lay overlapping sheets of painter’s tape along the mirror’s perimeter, extending 2-3 inches onto the wall surface. This tape prevents drywall paper from tearing when the mirror separates from the wall. Place a drop cloth directly beneath the mirror to catch falling debris and glass fragments. For particularly valuable walls or historic homes, apply a thin layer of masking tape over the entire wall surface behind the mirror area—this creates an additional barrier against accidental scratches during removal.
Removing Mirrors Mounted with Clips or Brackets

Most modern bathroom mirrors use discreet metal mounting clips that secure the mirror while remaining nearly invisible. These systems typically feature two top clips that bear the weight and two bottom clips that act as guides. To remove a clip-mounted mirror, start by locating the release mechanism—often a small tab or slot at the bottom of each clip. Insert a flat-head screwdriver into this slot and gently pry downward to disengage the mirror from the clip. Work systematically from one side to the other, supporting the mirror’s weight with your free hand as you release each clip.
How to Handle Stuck Mirror Clips Without Damaging the Glass
When clips resist release after years of paint buildup or corrosion, apply penetrating oil like WD-40 to the clip mechanism and wait 10 minutes before attempting again. Never hammer directly on clips, as vibrations can crack the mirror. Instead, use a plastic putty knife to gently separate the mirror from the wall while simultaneously releasing the clip. For painted-over clips, carefully score the paint line around the mirror’s edge with a utility knife to prevent wall paper tearing during separation. Always maintain three points of contact with the mirror—two hands plus body support—to control its movement as clips release.
Removing Adhesive-Mounted Wall Mirrors Safely
Adhesive-mounted mirrors present unique challenges because construction adhesive creates a powerful bond that requires strategic separation. Start by creating a gap between mirror and wall using a drywall saw with a fine-tooth blade, working slowly along the top edge where gravity assists separation. Insert the saw at a 15-degree angle with the teeth facing the wall to avoid scratching the glass. Once you’ve established a 1/4-inch gap, slide a flexible drywall knife into the opening and work horizontally across the top edge, maintaining consistent pressure to break the adhesive bond without sudden movements.
Using Heat to Soften Adhesive Bonds Effectively
Apply heat from a hair dryer or heat gun on low setting to the mirror’s perimeter for 2-3 minutes per section to soften stubborn adhesive bonds. Move the heat source continuously in circular motions to prevent thermal shock that could crack the glass. After heating, insert a plastic scraper between mirror and wall and gently twist to create additional separation. For particularly strong bonds, alternate between heating cycles and separation attempts—never force the mirror when adhesive remains tacky. This method works exceptionally well on older mirrors where adhesive has become brittle with age.
Heavy Mirror Removal Protocols for Large Pieces

Mirrors exceeding 30 pounds require specialized handling techniques to prevent injury or property damage. Always have at least two people for removal—one supporting the mirror’s weight from below while the other releases mounting hardware. Before starting, measure the mirror’s weight using a bathroom scale and appropriate lifting straps to distribute the load evenly. Position a sturdy worktable directly beneath the mirror at waist height to provide a safe landing zone. For extra security, wrap the entire mirror in heavy-duty moving blankets secured with packing tape before attempting removal—this contains glass fragments if breakage occurs.
How to Remove Oversized Mirrors Without Wall Damage
For mirrors spanning entire walls or ceilings, create a controlled separation path by cutting through adhesive bonds in strategic sections. Start at the top center and work outward in a “V” pattern, maintaining even pressure to prevent sudden detachment. Use multiple drywall knives inserted at regular intervals to distribute separation force across the mirror’s surface. For extremely heavy mirrors, construct a temporary support frame using 2×4 lumber positioned just below the mirror to catch it if mounting fails unexpectedly. This approach prevents the mirror from pivoting toward you during removal, which commonly causes wall damage at the bottom edge.
Cleaning Adhesive Residue and Preparing Walls for Repair
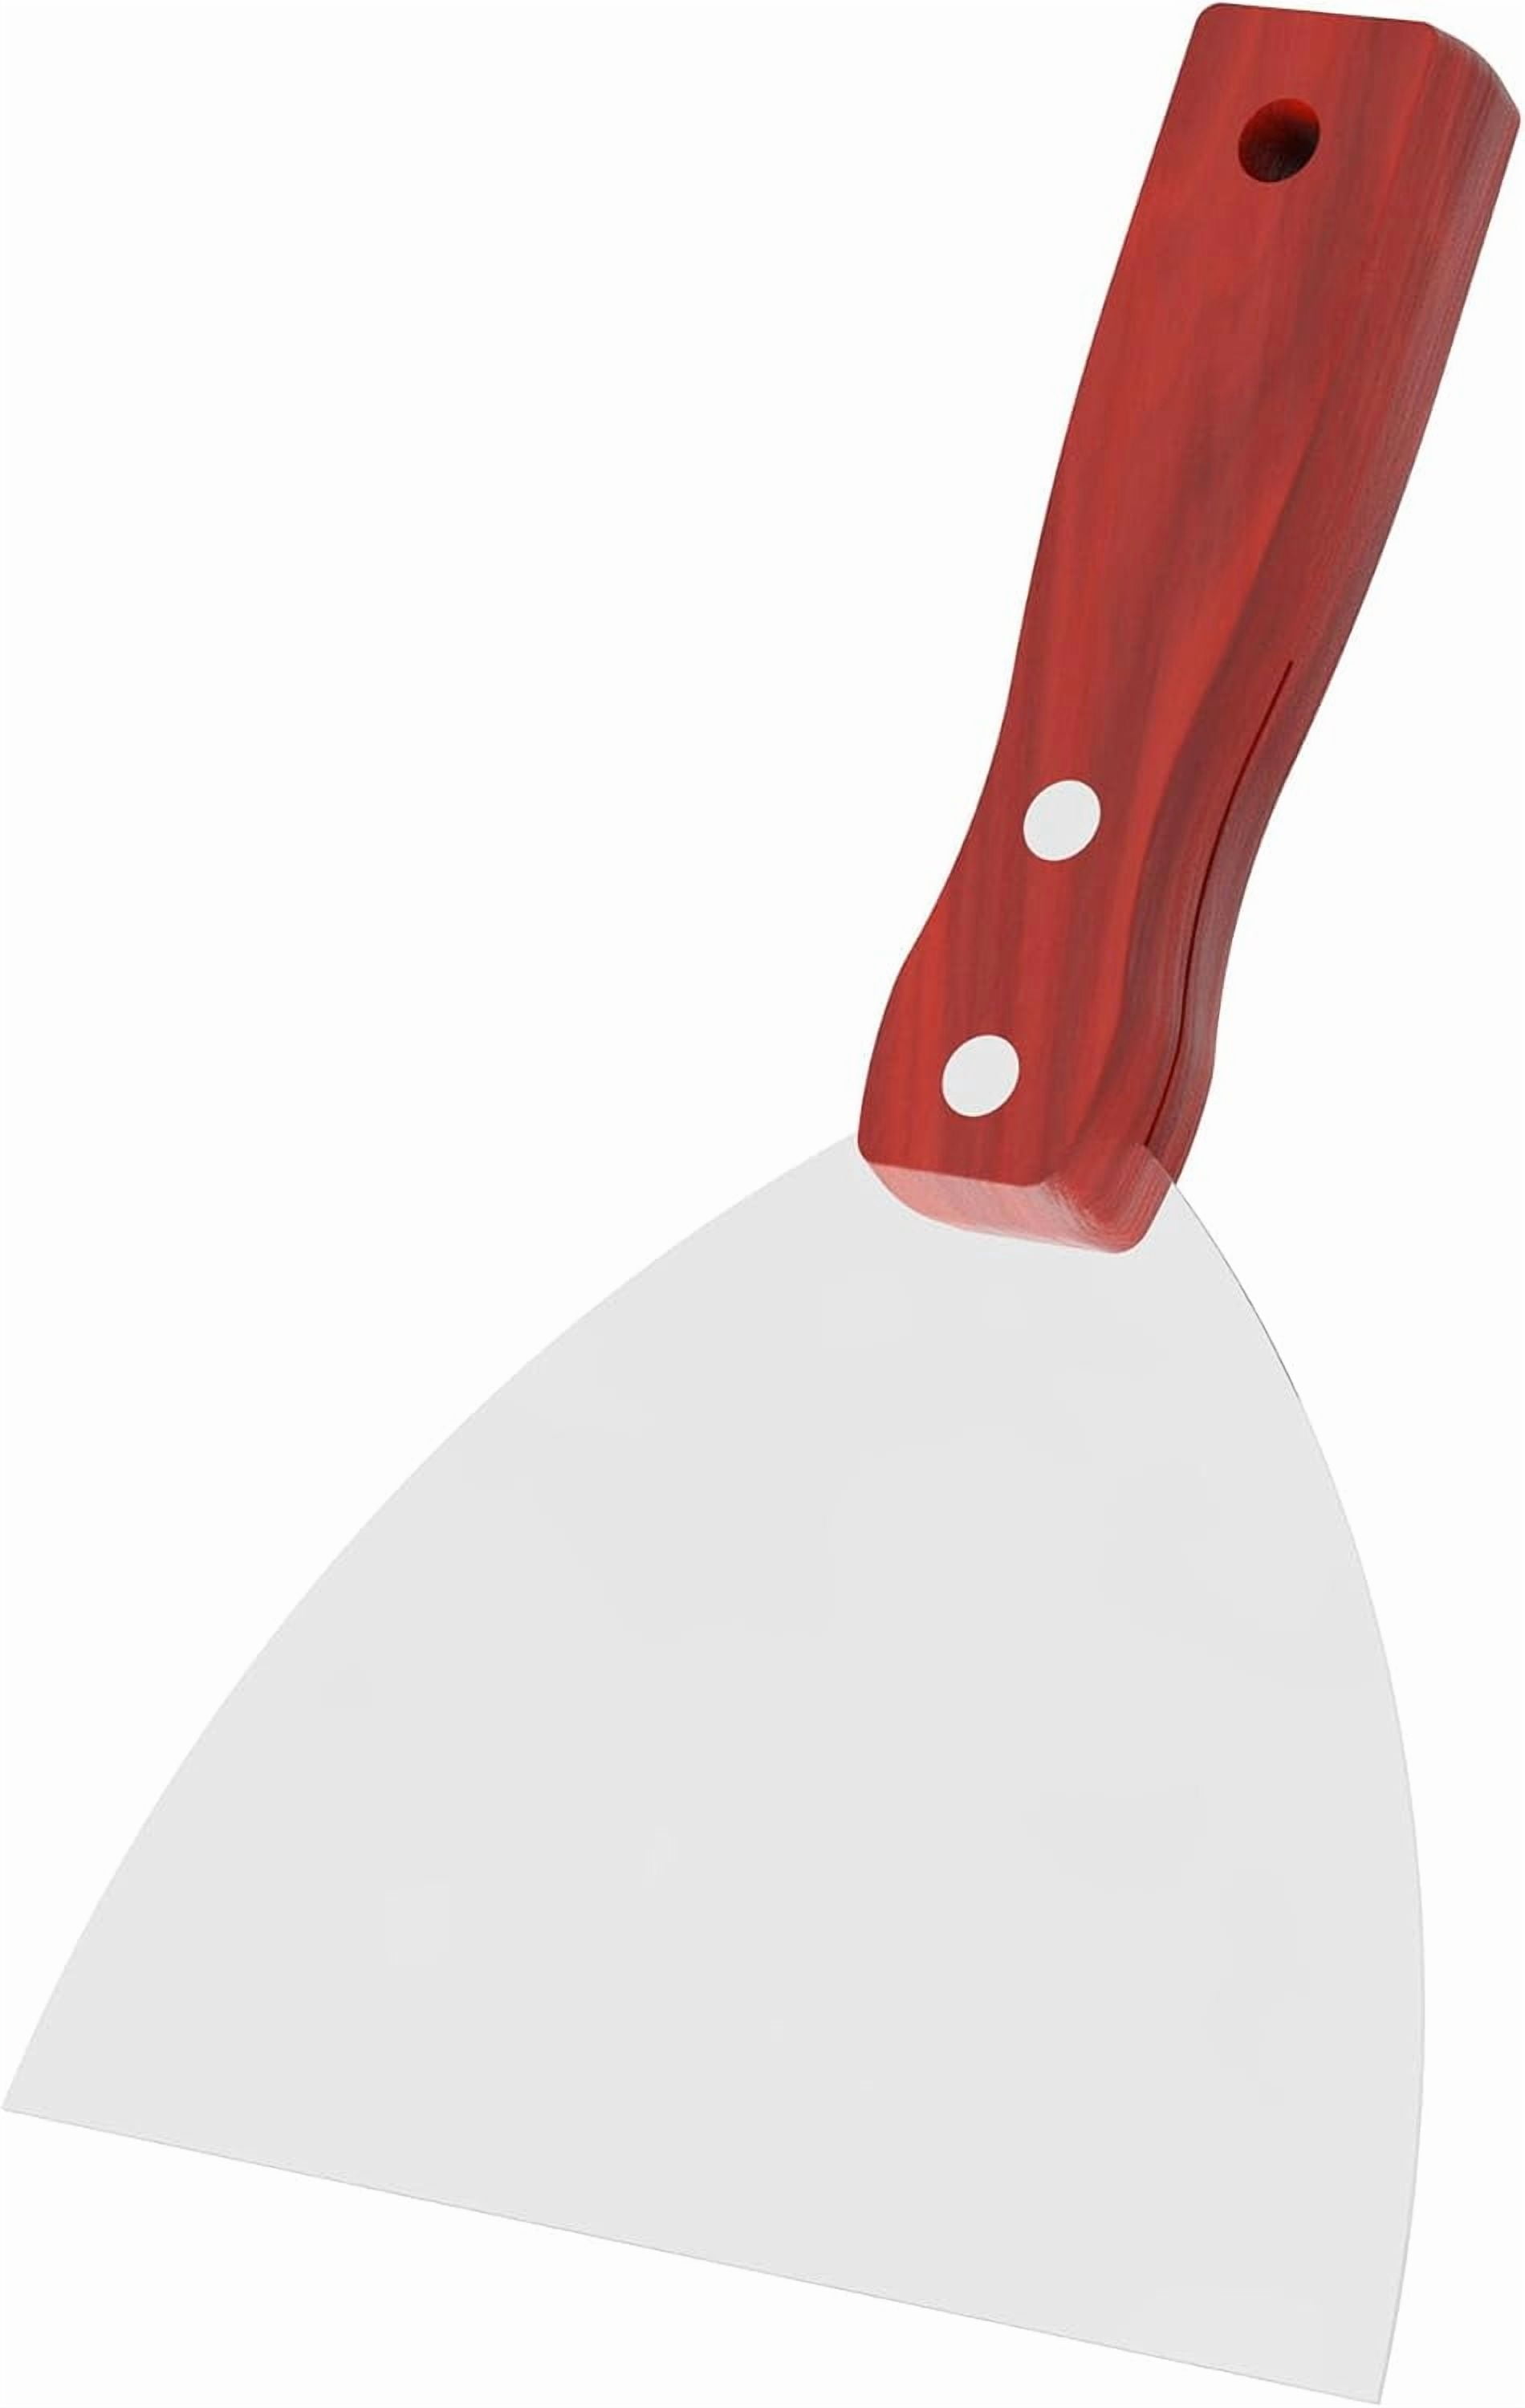
After mirror removal, you’ll face stubborn adhesive residue that requires careful treatment to avoid wall damage. For water-based adhesives, apply a commercial adhesive remover according to product instructions, allowing 5-10 minutes for penetration before scraping with a plastic putty knife. For oil-based mastic, use mineral spirits on a soft cloth to dissolve the adhesive—test in an inconspicuous area first to ensure it won’t damage wall paint. Never use metal scrapers directly on drywall, as they gouge the surface paper and create repair headaches.
Proper Wall Repair Techniques After Mirror Removal
Address minor wall imperfections with joint compound applied using a 6-inch drywall knife, feathering edges smoothly into surrounding areas. For larger damaged sections, cut out the affected drywall in a rectangular shape, install backing wood, and patch with new drywall. Always prime repaired areas before painting to prevent uneven absorption. If your wall features textured finishes, replicate the pattern using aerosol texture cans or specialized tools before painting. Allow at least 24 hours for repairs to dry completely before applying finish paint.
Mirror Disposal and Recycling Options You Should Know
Handle removed mirrors as hazardous waste due to their glass composition and potential silver backing. Never place mirrors in standard curbside recycling bins, as they contaminate glass recycling streams. Contact your local waste management authority about special glass disposal programs—many municipalities offer designated drop-off locations for large glass items. For mirrors in good condition, consider donating to building reuse centers or theater prop departments. When transporting broken mirrors, wrap all fragments in multiple layers of cardboard and label clearly as “broken glass” to alert waste handlers.
Final Note: Removing wall mounted mirrors requires patience and proper technique but becomes manageable when you understand the specific mounting system and follow safety protocols. Always prioritize personal protection over speed, and never hesitate to call professionals for mirrors exceeding 50 pounds or those mounted in hard-to-reach locations. The most successful removals happen when you take time to assess your specific situation rather than rushing into the process. With these methods, you’ll avoid the common pitfalls that lead to expensive wall repairs or dangerous glass breakage during removal.

