
Removing bolts from a TV wall mount seems simple until you’re staring at stubborn hardware that refuses to budge. Whether you’re relocating your television, upgrading your entertainment setup, or preparing your home for sale, knowing how to safely extract mounting bolts protects your expensive TV and preserves your wall surfaces. Most DIYers can complete this project in 30-60 minutes with the right tools and techniques, avoiding costly professional fees while preventing the frustration of broken fasteners or damaged drywall. This essential guide delivers specific, step-by-step instructions for removing every type of mounting bolt you’ll encounter, from standard wood screws to stubborn masonry anchors.
Before you grab your screwdriver, understand that different wall constructions require completely different approaches. Drywall with studs, hollow drywall, plaster-on-block, and concrete each demand specialized techniques for bolt removal. The key to success lies in identifying your specific mounting system first—rushing this step leads to stripped screws, broken anchors, and unnecessary wall repair. By following this proven process, you’ll extract every bolt cleanly while minimizing the damage that requires patching later.
Gather Essential Tools for Bolt Extraction
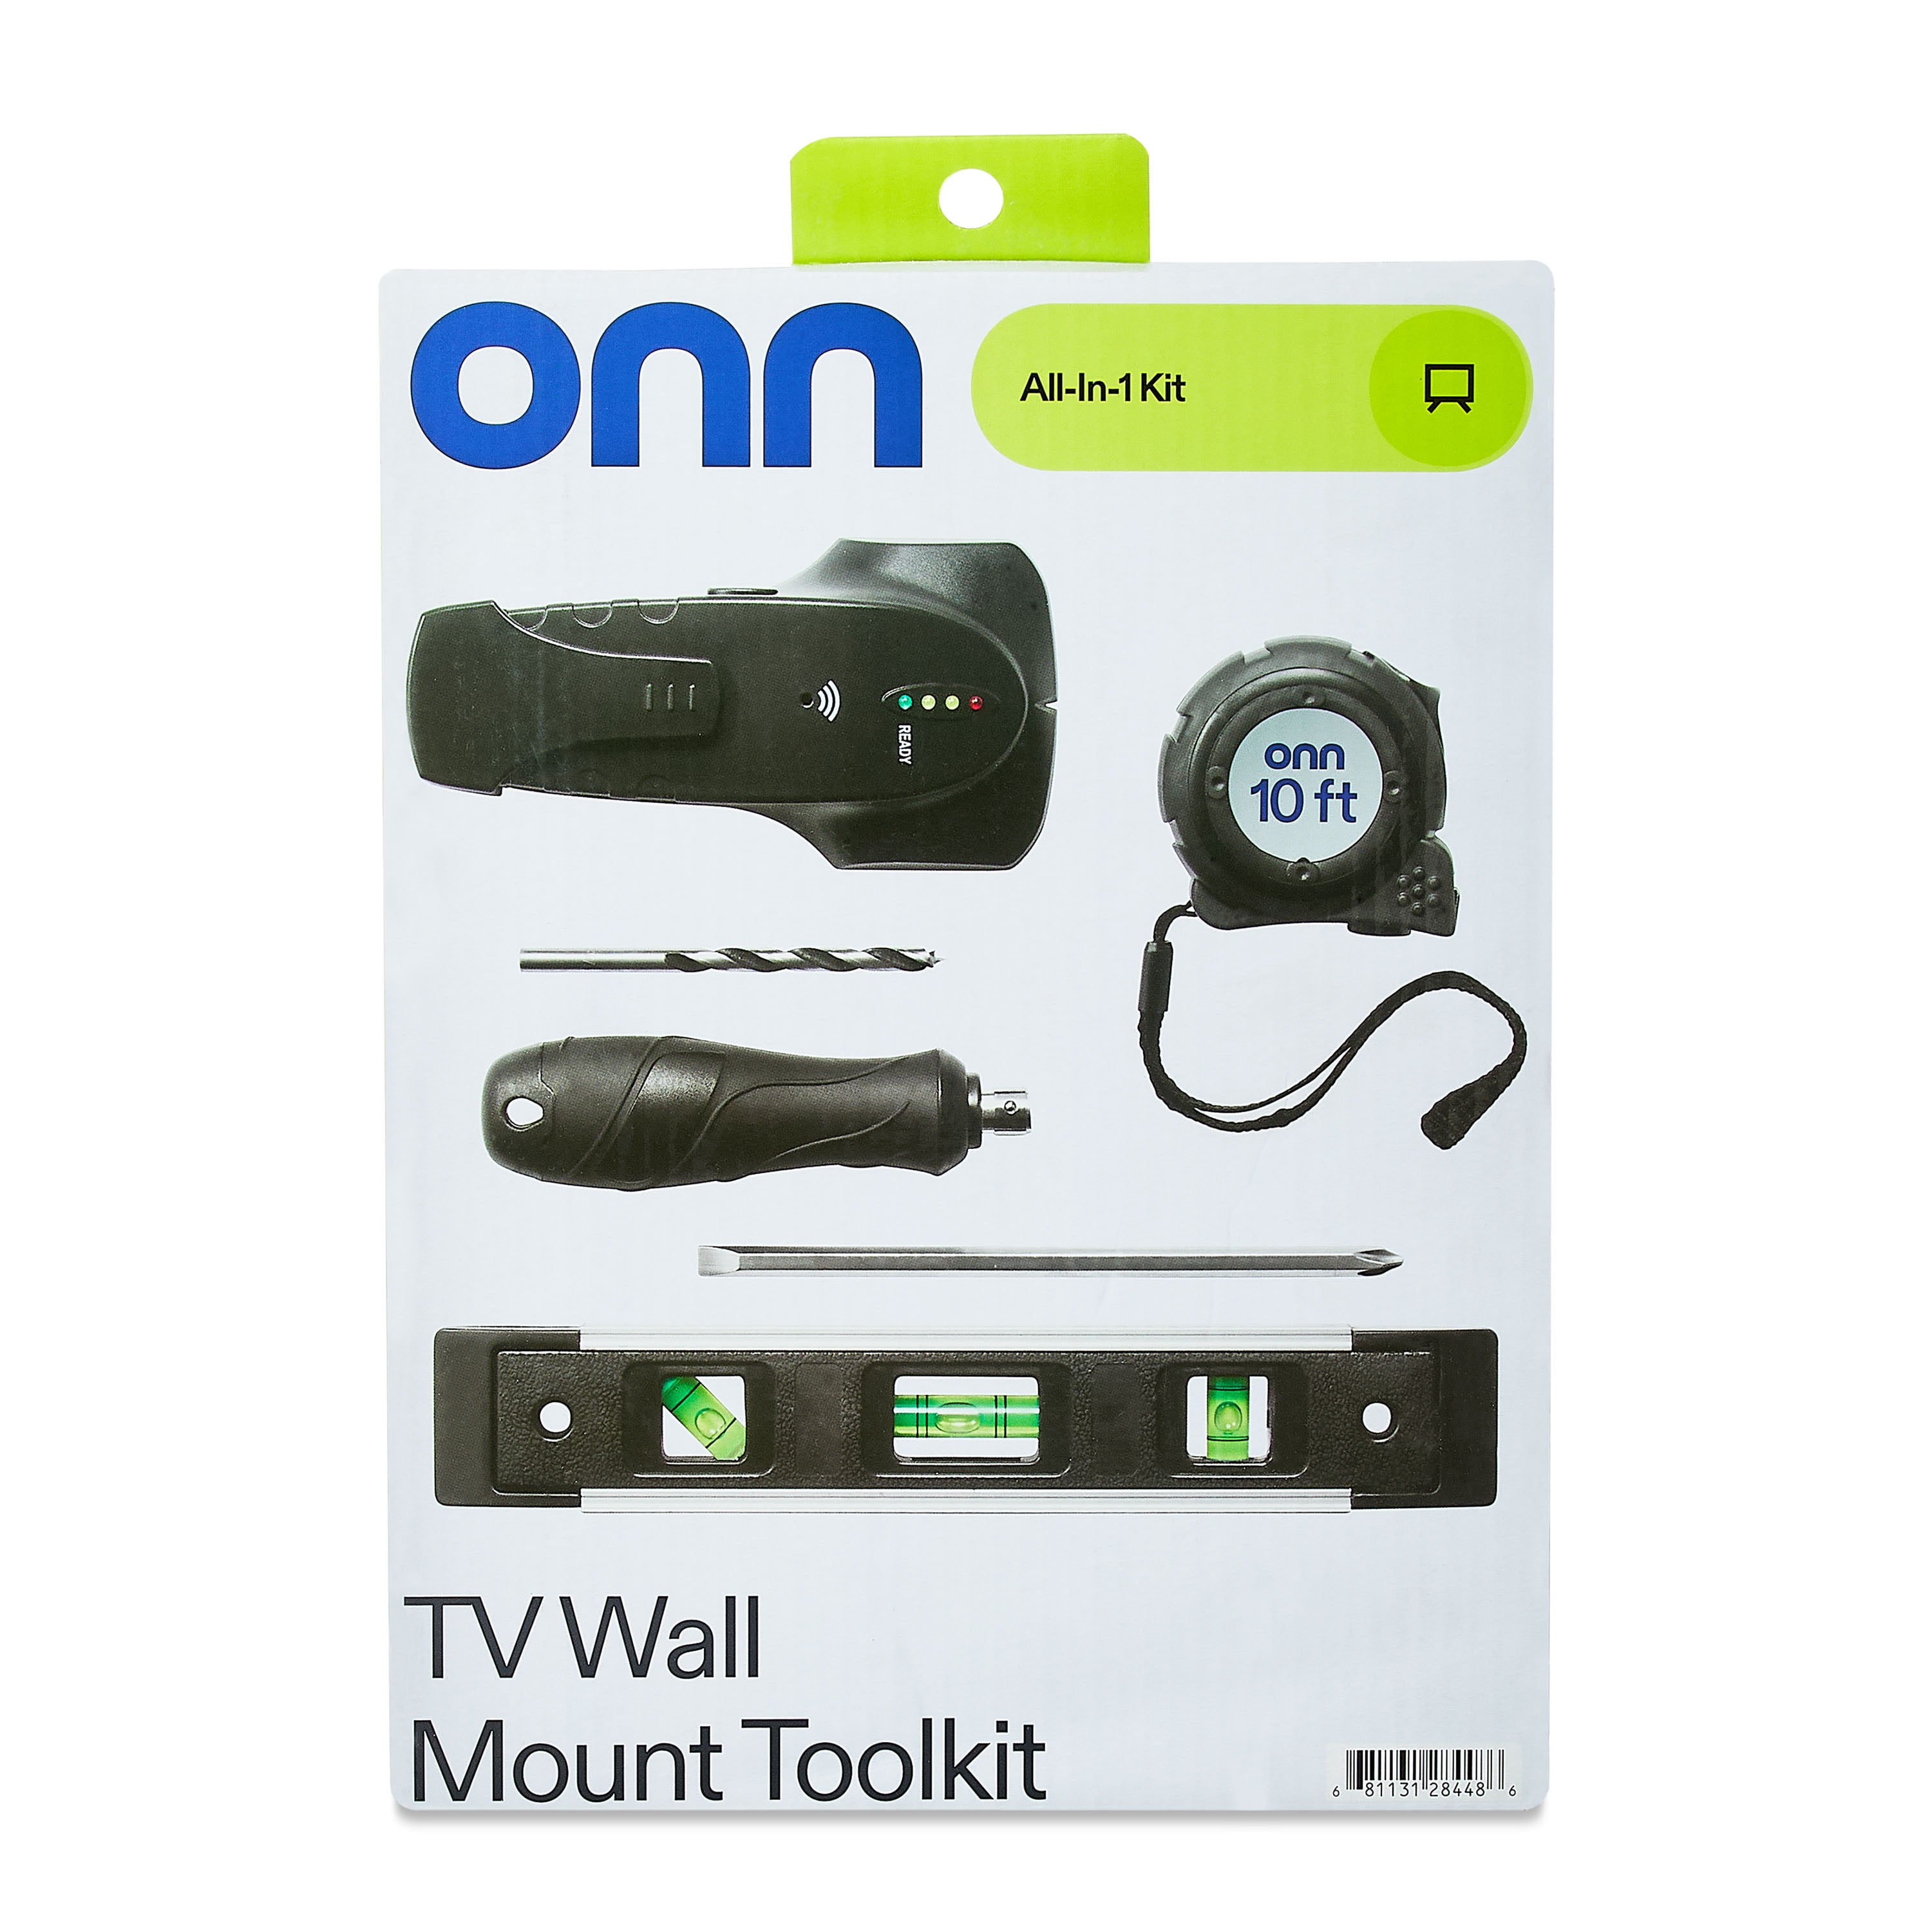
Skip generic tool lists and grab these specific items proven to remove stubborn TV mount bolts: a cordless drill with #2 Phillips and 1/4-inch hex driver bits, adjustable wrench for stubborn nuts, needle-nose pliers for anchor extraction, and penetrating oil like WD-40 for rusted hardware. A stud finder prevents guesswork about where your mount connects to solid framing, while a bright LED work light illuminates hidden screws behind the mounting plate.
Critical safety items you shouldn’t skip:
– Safety glasses to protect eyes from falling debris
– Work gloves with grip for handling sharp metal edges
– Drop cloth to protect flooring from falling hardware
– Painter’s tape to mark cable connections before removal
For masonry walls with sleeve anchors, add a 5/16-inch metal drill bit and angle grinder to your toolkit. Keep these tools organized in a single caddy within arm’s reach—searching for missing tools mid-project increases the risk of dropping your TV or damaging wall surfaces.
Safely Detach Your Television First
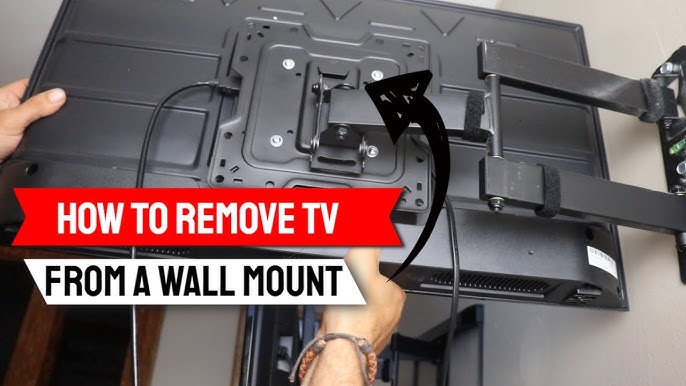
Never attempt bolt removal with your TV still attached—this common mistake causes 70% of DIY TV mounting accidents. Begin by photographing all cable connections before disconnecting power, HDMI, and audio cables. Unplug everything completely, then locate the TV’s release mechanism: quick-release mounts have levers at the bottom corners, while screw-secured models require removing 2-4 Phillips head screws from the mounting bracket sides.
With a helper supporting the TV’s weight, simultaneously remove securing screws while watching for unexpected movement. Lift the TV straight away from the wall plate using controlled, even pressure—never twist or tilt during removal. Place your TV face-down on a padded surface like a moving blanket to prevent screen damage while you work on the wall hardware.
Remove Bolts from Wood Stud Mounts Efficiently
When your mount connects directly to wall studs (confirmed by your stud finder), bolt extraction becomes straightforward. Locate the 2-4 mounting screws typically hidden behind the wall plate’s top and bottom edges. Apply penetrating oil to each screw head and let it soak for 5 minutes to loosen any corrosion from years of use.
Follow this sequence for clean extraction:
1. Set your drill to low torque (15-20 in-lbs) to prevent stripping
2. Insert the correct bit and apply firm downward pressure
3. Turn counterclockwise slowly—sudden force breaks screws
4. Support the mounting plate as the last bolt releases
For stripped screw heads, use a rubber band between the bit and screw for extra grip, or try a specialized screw extractor bit. Once removed, fill stud holes with wood filler using a putty knife, slightly overfilling to account for shrinkage during drying.
Extract Drywall Anchors Without Wall Damage

Plastic expansion anchors (the most common type) require a specific technique to remove cleanly. Grip the anchor flange with needle-nose pliers and pull straight out while gently rocking side-to-side—yanking straight out cracks drywall. If the anchor breaks off, insert a screwdriver into the remaining hole and twist to collapse the anchor wings before extraction.
Different anchors require different approaches:
– Threaded anchors: Unscrew counterclockwise using pliers in the driving slots
– Toggle bolts: Remove the central bolt first, then let wings drop into wall cavity
– Snap-toggle anchors: Push mount upward to release wings before pulling out
For anchors that won’t budge, drive them 1/2-inch deeper into the wall cavity with a screwdriver and hammer, creating a small depression that’s easier to patch than a torn-out anchor hole.
Handle Sleeve Anchors in Masonry Walls Properly
Sleeve anchors in concrete or plaster-on-block walls present the toughest removal challenge since they’re designed for permanence. Never attempt to pull these out—the expansion sleeve grips too tightly. Instead, use this professional technique: tighten two nuts against each other on the bolt shaft, then turn the lower nut counterclockwise with a wrench to unscrew the entire assembly.
When the bolt won’t budge, switch to plan B: drill through the anchor with a carbide-tipped masonry bit slightly larger than the anchor diameter. This creates a clean hole for patching without damaging surrounding material. For plaster walls, cut the anchor flush with an angle grinder, then drive it 1/4-inch below the surface before applying joint compound in thin layers.
Remove Tilting and Full-Motion Mount Hardware Safely
Articulating mounts contain hidden fasteners that complicate removal. Start by positioning the mount arms in a neutral, centered position to relieve tension on mechanical components. Locate safety tabs typically found at pivot points—these small levers prevent accidental TV detachment during normal use but must be released before hardware removal.
Remove decorative end caps along the arms with a plastic spudger to expose hidden screws. Work methodically from the TV connection point toward the wall plate, supporting each section as you remove fasteners. Keep track of different screw lengths—tilting mounts often use varying hardware at different connection points. Never force moving components; if parts resist separation, you’ve likely missed a hidden fastener.
Organize Cables During Removal to Speed Reinstallation
Disorganized cables add 20+ minutes to TV reinstallation. Before disconnecting anything, label each cable with masking tape noting both the TV port and source device (e.g., “HDMI 1 – Cable Box”). Take multiple photos of the connection layout from different angles—these become invaluable references when reconnecting everything later.
Bundle cables by destination device using Velcro straps, not zip ties which can damage conductors. For in-wall cable management systems, note the routing path before detaching channels. Coil cables loosely and store them away from your work area to prevent accidental damage during wall repair. This simple organization step saves significant time when you reinstall your TV elsewhere.
Patch Wall Holes Like a Professional
Small screw holes need only a single application of spackling compound pressed deep with a putty knife. For anchor holes larger than 1/4-inch, apply self-adhesive mesh patch before spreading joint compound in thin layers. Critical patching tip: feather the edges of each layer outward by 2 inches to create an invisible repair—thick blobs stand out after painting.
Allow each layer to dry completely (usually 2-4 hours) before sanding smooth with 120-grit sandpaper. For plaster walls, use setting-type joint compound which bonds better to the harder surface. Prime patched areas before painting to prevent flashing—unprimed patches absorb paint differently, making repairs visible.
Store or Dispose of Hardware Responsibly
If reusing your mount, store all hardware together in a labeled bag noting the mount model and TV size compatibility. Wrap metal components in anti-corrosion paper or include desiccant packets to prevent rust during storage. For mounts no longer needed, check with local electronics recyclers—many accept metal mounting hardware even without electronic components.
Before discarding, verify if your mount qualifies as e-waste (some articulating models contain motors). Donate functional mounts to community centers or schools—they often need display equipment for common areas. When selling online, include photos of all hardware components to set accurate buyer expectations.
Know When Professional Help Saves Time and Money
Call a professional installer if you encounter these red flags:
– Mount attached to crumbling plaster with unknown anchor types
– TV weighs over 70 pounds without helper available
– Sleeve anchors in historic plaster walls
– Signs of water damage around mounting area
Professionals bring specialized tools like magnetic stud finders and anchor extraction kits that save hours of frustration. For high-value OLED or QLED TVs, the $75-$150 service fee protects your $1,500+ investment from accidental damage. When in doubt, stop and consult a pro—rushed bolt removal often creates problems far more expensive than professional assistance.

