
That stubborn Gorilla Glue mounting tape holding your artwork or shelf in place has served its purpose well—until now. When it’s time to remove it, you’re suddenly facing what feels like an impossible task. The industrial-strength adhesive bonds so powerfully that pulling it off directly often results in torn paint, damaged wallpaper, or worse—chunks of drywall coming loose. But you don’t need to live with unsightly residue or call a professional just yet. With the right approach tailored to your specific wall type, you can successfully remove Gorilla Glue mounting tape without leaving a trace of your decor experiment.
This guide delivers proven techniques that actually work on different surfaces, from delicate wallpaper to textured drywall. You’ll discover which household items make effective solvents, when heat works better than chemicals, and the critical mistakes most people make during removal. Whether you’re moving out, redecorating, or simply changed your mind about that hanging location, these methods will restore your walls to their original condition—saving you time, money, and unnecessary stress.
Identify Your Wall Surface Before Starting
Your removal strategy depends entirely on what lies beneath that adhesive. Rushing into removal without checking your wall type often causes more damage than the tape itself. Take thirty seconds to determine your surface before proceeding.
Painted drywall requires different handling than other surfaces. Flat or matte finishes scratch easily during removal, while satin or eggshell paints withstand moderate scraping. If you’re unsure of your paint type, look closely at the wall under angled light—matte finishes absorb light evenly while glossier paints reflect light noticeably. Always test any removal method in an inconspicuous corner first.
Textured walls present unique challenges as adhesive seeps into valleys and peaks. Heavy textures like orange peel or knockdown finishes trap more adhesive, requiring extra patience during removal. For these surfaces, focus on working the adhesive out of the texture rather than trying to pull it straight off.
Wallpaper demands the gentlest approach since solvents can dissolve both the mounting tape adhesive and the wallpaper’s backing. Test removal methods on a seam or inconspicuous area first. If possible, work near a seam where minor damage will be less noticeable.
Tile, brick, and concrete surfaces tolerate more aggressive techniques. These durable materials withstand stronger solvents and firmer scraping without damage. However, avoid harsh chemicals that might discolor grout lines or brick mortar.
Essential Tools for Clean Gorilla Glue Tape Removal
Gather these supplies before starting to avoid mid-project frustration and prevent accidental wall damage from improvised tools.
Heat application tools include:
– Hair dryer (most effective for standard removal)
– Heat gun on low setting (for stubborn applications)
– Never use open flames or excessive heat that could scorch walls
Safe scraping implements:
– Plastic putty knives in multiple sizes
– Old credit cards or plastic IDs for precision work
– Avoid metal scrapers except on tile or concrete surfaces
Effective solvents (start gentle, progress as needed):
– Warm water with dish soap (safest for all surfaces)
– Cooking oils (olive, coconut, or vegetable oil)
– Rubbing alcohol (for non-porous surfaces only)
– Commercial adhesive removers (Goo Gone, Uni-Solve)
– Avoid acetone-based products near paint or wallpaper
Cleaning supplies:
– Microfiber cloths (lint-free wiping)
– Sponge and bucket of clean water
– Paper towels for drying
– Plastic mesh scrub pads for textured surfaces
Protective gear:
– Rubber gloves (especially with chemical solvents)
– Safety goggles if using stronger chemicals
– Work in well-ventilated areas when using solvents
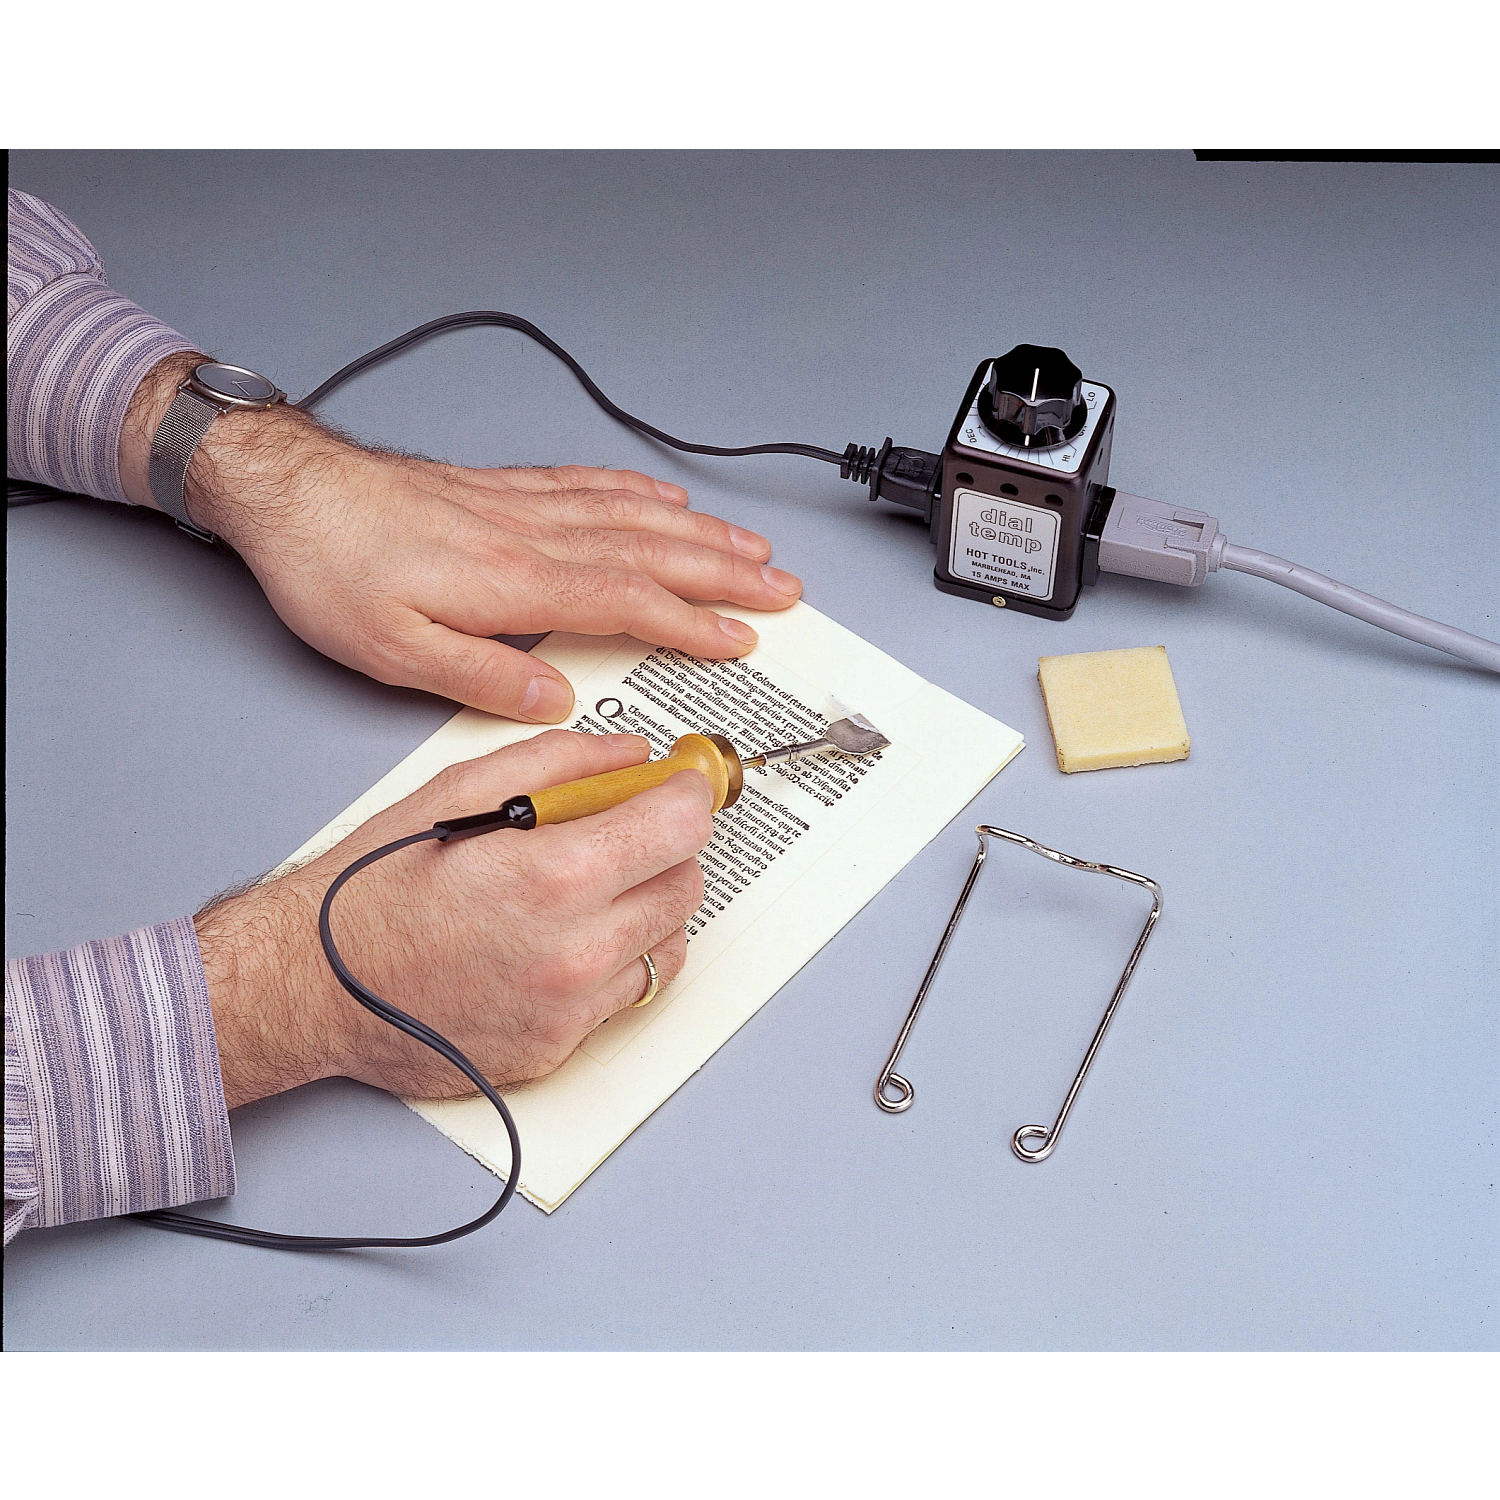
Heat Application Method for Safe Tape Removal
Heat softens Gorilla Glue’s adhesive without harsh chemicals, making it the safest first approach for most wall types. The adhesive becomes pliable around 100-120°F, allowing clean removal.
Set your hair dryer to high heat and hold it 2-3 inches from the tape surface. Move in slow circles for 30-60 seconds until the tape appears slightly glossy—this indicates the adhesive is softening. Test by gently lifting a corner with your fingernail; if it resists, apply more heat to that specific spot.
Peel slowly at a low angle (about 45 degrees), continuing to apply heat just ahead of your peeling motion. This prevents the adhesive from re-hardening as you work. For large areas, remove in 2-3 inch sections rather than trying to heat the entire surface at once.
Textured walls require a different technique—press the heated tape firmly against the wall and use a scrubbing motion rather than peeling. This works the softened adhesive out of the texture peaks. A plastic mesh scrub pad helps lift adhesive from textured surfaces without damage.
If adhesive begins to string or pull away in chunks, stop immediately and apply more heat. Strings indicate the adhesive is cooling too quickly between heating and removal.
Solvent Techniques for Stubborn Adhesive Residue

When heat alone doesn’t work, these solvent methods tackle remaining adhesive without damaging your walls.
Which Solvent Should You Use for Your Wall Type?
For painted drywall: Start with warm soapy water. If ineffective, apply cooking oil with a cloth and let it sit 10-15 minutes before wiping. The oil penetrates and breaks adhesive bonds without harming paint.
For wallpaper: Avoid most solvents—heat application works best. If necessary, use minimal rubbing alcohol on a cotton swab, testing first in an inconspicuous area. Never saturate wallpaper.
For tile or concrete: Commercial adhesive removers work effectively. Apply according to instructions, wait the recommended time, then scrape with a plastic tool. These surfaces tolerate stronger chemicals.
Common Mistakes to Avoid with Solvents
Never soak walls with solvents—apply sparingly with a cloth or cotton ball. Excess liquid can seep behind wallpaper or into drywall seams. Always work from the edges inward, and never use acetone near painted surfaces as it can melt paint finishes.
For large residue areas, cover the adhesive with a solvent-soaked paper towel and let it sit for 5-10 minutes before attempting removal. This “steam treatment” allows deeper penetration without wall saturation.
Precision Residue Removal for Flawless Results
After removing the main tape, you’ll likely face stubborn adhesive residue requiring careful attention.
Effective Residue Removal Steps
- Apply your chosen solvent and wait the full recommended time—rushing causes residue to smear
- Hold your plastic scraper at a 15-30 degree angle to the wall
- Apply steady, even pressure while moving in one direction only
- For textured walls, switch to a stiff plastic brush and use circular motions
- Wipe clean with a damp microfiber cloth after each scraping pass
For persistent residue, apply more solvent rather than increasing scraping pressure. Aggressive scraping often damages the wall surface underneath. If residue remains after multiple attempts, switch to a different solvent method rather than continuing with an ineffective approach.
Wall Restoration After Tape Removal
Complete the process with these finishing touches for walls that look untouched.
Wash the area thoroughly with warm soapy water to remove solvent or oil residue. Rinse with clean water and dry completely. Inspect under good lighting for any remaining sticky spots—these will attract dust over time.
For minor paint scuffs, rub gently with a dryer sheet or tiny amount of furniture polish. Significant damage requires touch-up paint matching your wall color. Keep leftover paint from your original job for situations like this.
Textured walls may need additional attention if scraping disturbed the pattern. Use a small amount of texture compound applied with a sponge or toothbrush to match surrounding areas. Allow to dry completely before painting.
Prevention Strategies for Future Mounting Projects
Avoid future adhesive headaches with these smart mounting practices.
Choose the right adhesive strength for your project—Gorilla Glue offers multiple tape varieties. Standard mounting tape works for pictures and lightweight decor, while heavy-duty versions are designed for permanent installations. Using stronger tape than necessary makes future removal unnecessarily difficult.
Consider removable alternatives like Command strips for items you might reposition. These products use adhesive technology specifically designed for clean removal when following instructions.
Always clean wall surfaces with rubbing alcohol before application. This ensures proper adhesion during use while creating a more uniform bond that removes cleaner later.
When Professional Help Makes Sense
Some situations warrant calling a professional rather than risking further damage.
Extensive coverage across multiple rooms becomes time-prohibitive for DIY removal. Historic homes with original plaster walls or valuable finishes require specialized knowledge. Significant damage from previous removal attempts often needs professional repair for seamless results. Rented properties may have specific restoration requirements that professionals can document properly.
Final Tips for Successful Gorilla Glue Tape Removal
Patience proves more effective than force when removing Gorilla Glue mounting tape. Start with heat application, progress to solvents only as needed, and always prioritize wall preservation over speed. Test every method in an inconspicuous area first, especially with painted or delicate surfaces.
The key insight: Gorilla Glue’s strength becomes an asset during removal when you work with its properties rather than against them. Heat softens the adhesive, solvents break molecular bonds, and gentle scraping lifts residue without damage. By following these methods in sequence, you’ll restore your walls to their original condition—proving that even the strongest adhesive doesn’t have to leave a permanent mark.
Remember that removal takes longer than installation, but the investment in careful technique pays off with walls that look untouched. With these strategies in your toolkit, you can confidently tackle any Gorilla Glue mounting tape removal project knowing you have the knowledge to do it right.

