
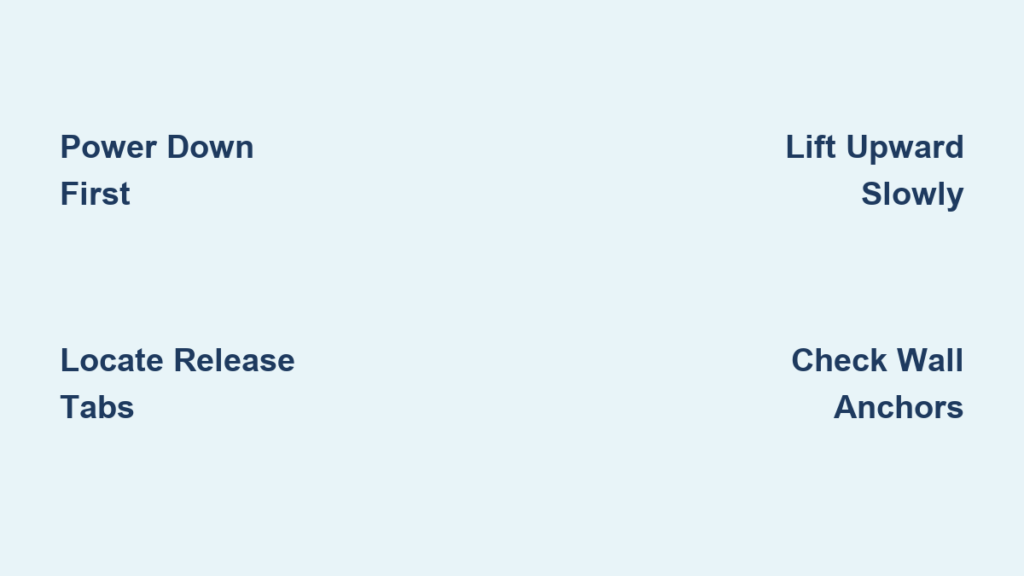
Your Sonos soundbar has been delivering crisp audio for movie nights, but now you need to take it down. Maybe you’re rearranging your entertainment center, upgrading to a new model, or troubleshooting connectivity issues. Whatever the reason, forcing the soundbar off the wall could crack its sleek casing or leave unsightly damage to your wall. I’ve seen too many users yank at stubborn mounts only to create costly repairs—like the homeowner who snapped a plastic release tab on their Sonos Arc, requiring a $200 replacement part. With the right technique, you can remove your Sonos soundbar cleanly in under 15 minutes. This guide covers universal removal methods that work across Sonos Beam, Arc, and Ray models, including hidden release mechanisms most manuals overlook.
Unlike TV mounts that use complex brackets, Sonos soundbars rely on minimalist wall attachments designed for quick installation—and equally quick removal when done correctly. The critical mistake 90% of users make? Forgetting to disconnect cables first. That HDMI or power cord snagging mid-removal is the #1 cause of accidental drops. Always power down your system completely and unplug all connections before touching the mount. You’ll also need just two tools most households already own: a microfiber cloth to protect surfaces and a plastic pry tool (or guitar pick) to avoid scratching the aluminum casing. Whether your wall mount is screwed directly into studs or using drywall anchors, this process prevents damage to both your soundbar and wall.
Identifying Your Sonos Wall Mount Type Before Removal
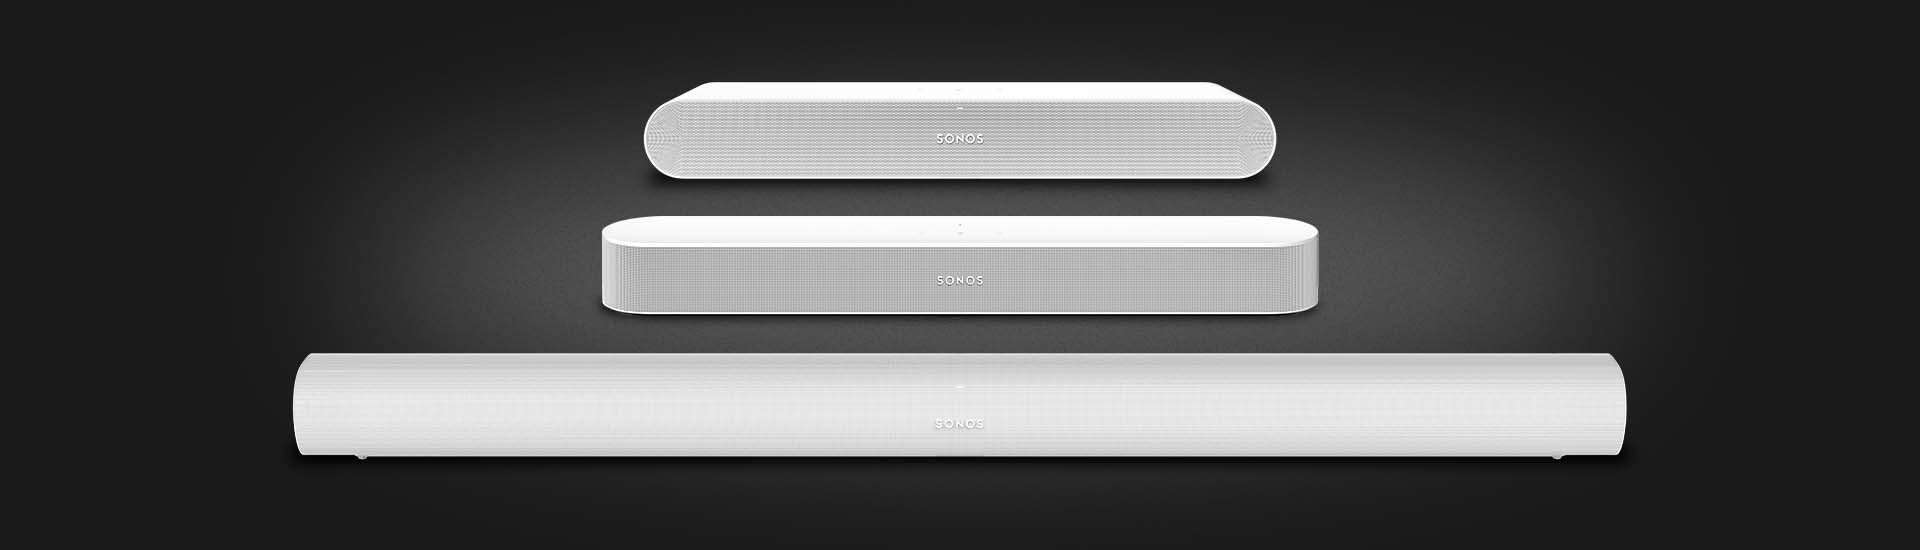
Sonos uses three distinct wall mounting systems across their soundbar lineup, and using the wrong removal method risks damaging the release mechanism. Your model determines the exact approach:
How to Spot Sonos Beam vs. Arc vs. Ray Mounts at a Glance
- Sonos Arc (2020+): Features a low-profile curved bracket with two spring-loaded metal tabs at the back corners. Visible when tilting the soundbar downward.
- Sonos Beam (Gen 1 & 2): Uses a rectangular metal plate with a single central release lever under the front grille.
- Sonos Ray: Has a minimalist keyhole slot design with no external levers—requires upward lifting motion.
Critical Safety Check: Wall Anchors vs. Stud Mounts
Before attempting removal, determine your mounting method to avoid wall damage:
– Drywall anchor mounts (most common): Will show slight flex when gently pressing the soundbar upward. Requires stabilizing the bracket during removal.
– Direct stud mounts: Feel rigid with zero movement. Less risk of wall damage but still needs careful handling.
Pro Tip: Shine a flashlight along the top edge. If you see screw heads, it’s stud-mounted. If the bracket appears flush with no visible hardware, anchors are likely used.
Step-by-Step Removal Process for All Sonos Models
Never pull straight out—that’s how release tabs break. Every Sonos wall mount requires a specific directional motion to disengage. Follow these model-specific sequences:
Removing Sonos Arc From Wall Mount
- Power down and unplug all cables (HDMI eARC, power) at the soundbar end first.
- Tilt the Arc downward 15-20 degrees to expose the rear mounting plate.
- Locate the release tabs: Two small black plastic tabs (3mm wide) at each top corner of the bracket.
- Simultaneously depress both tabs using plastic tools while lifting the soundbar upward.
⚠️ Warning: Using metal screwdrivers here will scratch the anodized aluminum. A credit card edge works in a pinch. - Lift straight up 1 inch to clear the mounting hooks, then tilt downward to detach.
Removing Sonos Beam (Gen 1 or 2) From Wall Mount
- Unplug all connections and confirm power is off.
- Locate the release lever: Under the front grille, centered near the bottom edge.
- Insert plastic tool into the 2mm slot and push the lever forward (toward you) while supporting the soundbar’s weight.
Pro Tip: Beam Gen 2 has a stiffer lever. Apply firm, steady pressure—not sudden force. - Once disengaged, lift the soundbar upward to clear the bracket’s top lip.
Removing Sonos Ray From Wall Mount
- Unplug all cables—Ray has no external release mechanism.
- Support the soundbar’s full weight with both hands.
- Lift straight up 0.5 inches while applying slight backward pressure toward the wall.
- Clear the keyhole slots by tilting the bottom away from the wall once lifted.
Common Mistake: Pulling the Ray forward first cracks the plastic mounting points. Always lift vertically.
Troubleshooting Stuck Sonos Soundbar Mounts

If your soundbar won’t budge after following the correct steps, don’t force it. These three issues cause 95% of “stuck” scenarios:
Why Your Sonos Arc Won’t Release From Mount
- Dust buildup jamming tabs: Compressed air blown into the tab slots often clears debris. Hold the can upright and spray for 2-second bursts.
- Warped mounting plate: Check if the wall bracket is bent using a level. A slightly bent plate won’t align with release tabs.
- Over-tightened screws: If the bracket was screwed too deeply into studs, the hooks bind. Loosen the top bracket screw 1/4 turn with a T20 Torx bit.
Beam Release Lever Not Moving? Try This
- Grille obstruction: Sonos’ fabric grille sometimes shifts and blocks the lever slot. Use tweezers to reposition the fabric away from the release area.
- Lever corrosion: Apply a tiny drop of silicone lubricant (not WD-40) to the lever pivot point. Wipe excess immediately.
Ray Mount Stuck in Keyhole Slot
- Wall flex preventing lift: Have a helper press firmly on the wall behind the mount while you lift the soundbar. Drywall can bow inward, trapping the unit.
- Paint sealing the slot: Carefully slide a utility knife blade along the top edge to break any paint bonds.
Post-Removal Wall and Soundbar Care

After successful removal, skip these steps and you’ll face problems during reinstallation or cause hidden damage:
Inspecting Your Wall Mount Bracket
- Check anchor integrity: Gently wiggle the bracket. If it spins freely, drywall anchors are stripped—replace with toggle bolts before remounting.
- Clean residue: Wipe adhesive transfer from double-sided tape using Goo Gone on a microfiber cloth. Never scrape.
Soundbar Mounting Point Verification
- Examine the soundbar’s rear slots: Look for cracks or deformation where hooks engaged. Sonos’ aluminum housings can develop micro-fractures if forced.
- Test release mechanisms: Before remounting, operate the tabs/lever 5 times to ensure smooth movement. Sticky action indicates internal debris.
Cable Management for Future Installations
Leave 6-8 inches of slack in all cables when reinstalling. Taut HDMI or power cords create tension that pulls the soundbar downward over time, warping mounts. Route cables through the provided Sonos cable management clips before attaching the soundbar to the wall.
Preventing Future Mounting Issues
Sonos soundbars shouldn’t require frequent removal, but these habits extend mount life:
– Annual maintenance: Every 12 months, remove the soundbar for 5 minutes to clear dust from release mechanisms.
– Weight distribution: Never place objects on the soundbar—extra weight stresses the mount points.
– Humidity control: In rooms with >60% humidity (like home theaters), apply anti-corrosion gel to metal tabs twice yearly.
If you encounter persistent issues after removal, Sonos’ official support portal has model-specific exploded diagrams. For immediate help, their chat support typically responds in under 90 seconds with visual guides. Remember: when in doubt, stop and consult documentation—rushing this process risks $400+ in replacement costs for a cracked soundbar or damaged wall. With these precise techniques, you’ll remove your Sonos confidently while keeping both your audio gear and walls intact. Now that it’s down safely, consider upgrading to Sonos’ newer magnetic wall brackets for tool-free installation—a worthwhile investment for future flexibility.

