
Discovering you need to replace a leaky wall-mounted faucet or upgrade your bathroom’s style creates immediate tension when you realize the plumbing is hidden behind the wall. Unlike standard deck-mounted fixtures with accessible connections under the sink, wall-mounted faucets conceal their critical components within the wall cavity, making removal significantly more complex. If you’ve ever wondered how to remove wall mounted faucet hardware without causing extensive damage, you’re not alone—this specialized task challenges even experienced DIYers. This guide delivers the exact steps to safely extract your wall-mounted faucet while preserving your wall integrity and preparing for seamless replacement.
Wall-mounted faucets offer sleek aesthetics but create unique removal challenges due to their hidden mounting hardware and water connections. Without proper preparation, you risk flooding your bathroom, damaging wall surfaces, or leaving critical components inaccessible for your new installation. By following these systematic procedures, you’ll gain confident access to concealed plumbing, avoid common pitfalls, and complete your faucet removal project without calling a professional for help.
Gather Essential Tools Before Starting
Your success in removing a wall-mounted faucet begins with having the right tools organized and ready. Working in tight spaces behind walls demands specialized equipment that standard plumbing kits often lack, so gathering everything beforehand prevents frustrating interruptions mid-project. Attempting this job with improper tools risks damaging your faucet, wall surfaces, or plumbing connections—problems that turn a straightforward removal into an expensive repair nightmare.
Start with a bright LED flashlight or portable work light since you’ll be working in dark wall cavities where visibility determines your ability to identify fasteners and connections. A digital stud finder helps you locate framing members accurately, guiding safe placement for any access openings you need to create. For cutting through drywall, a keyhole saw with fine teeth provides controlled cuts with clean edges that simplify later repairs—avoid using power saws that create ragged openings requiring extensive patching.
A basin wrench is non-negotiable for this project—you simply cannot reach the mounting nuts otherwise. These specialized tools feature long, narrow shafts with spring-loaded jaws designed specifically for confined spaces behind walls. Bring multiple sizes (typically 10-14 inches long) since faucet manufacturers use varying fastener dimensions. Standard pipe wrenches complement these for operations where space permits larger tool engagement. Don’t forget these essentials:
- Phillips, flathead, and Robertson screwdrivers in multiple sizes
- Adjustable wrenches (8-inch and 10-inch)
- Penetrating oil for stubborn fasteners
- Bucket and multiple towels for water management
- Plastic sheeting to protect floors from debris
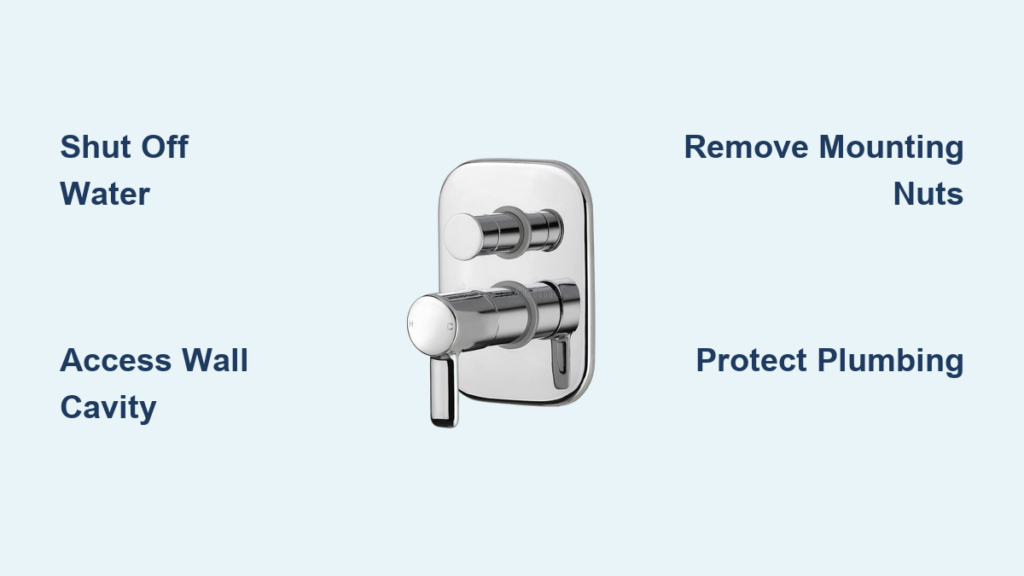
Shut Off Water Supply Completely
Before touching any faucet components, you must eliminate water pressure from both supply lines—failure here guarantees flooding and potential water damage throughout your home. Your shutdown approach depends on whether your plumbing has individual stop valves or requires main supply shutoff.
First check for individual shutoff valves located under adjacent sinks, behind toilets, or in nearby access panels—these localized valves isolate water to just your faucet without disrupting household water service. Turn these clockwise until tight (compression valves require multiple rotations while quarter-turn ball valves need only 90 degrees). Always verify successful shutoff by attempting to run the faucet—you should get no water flow after proper closure.
When individual valves are missing or unresponsive, locate your main household water shutoff—typically found where the supply line enters your home (basement, utility room, or exterior access pit). Shutting this off affects all household water, so plan accordingly. After closing the main valve, open multiple faucets throughout your home to drain residual water from the pipes. Critical safety tip: Apply penetrating oil to stiff valve stems and wait 15 minutes before attempting operation—forcing old valves often causes breakage.
Access Concealed Plumbing Components
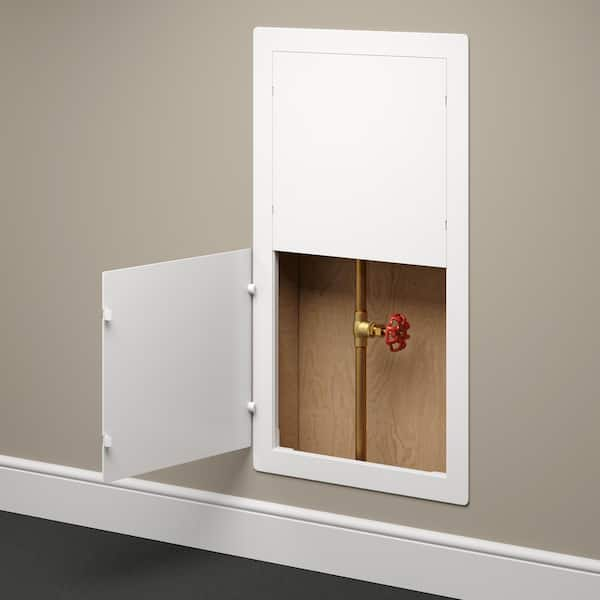
The defining challenge of how to remove wall mounted faucet hardware lies in reaching the mounting nuts and water connections hidden within the wall cavity. Your access strategy depends entirely on whether your installation includes existing access panels or requires creating new openings.
Check first for access panels positioned on adjacent walls—professional installations often include them in linen closets or utility spaces directly behind the faucet location. These panels provide ideal access without wall cutting, featuring removable doors over framed openings sized for hand access to mounting hardware. If present, simply remove the panel cover and proceed directly to hardware disconnection.
When no access panel exists, creating a wall opening becomes necessary. Use your stud finder to locate wall studs near the faucet, marking their positions to identify safe cutting zones between framing members. Your access hole should provide direct line-of-sight to the faucet mounting hardware while avoiding structural elements. With your keyhole saw, make straight, clean cuts between studs to create an opening roughly 8×12 inches—large enough for tool access but small enough to patch easily later. Pro tip: Cut from the top down to control drywall fragments, and place a shop vacuum at the opening to capture dust.
Disconnect Mounting Hardware Systemically
With water supplies confirmed off and adequate access established, you can now disconnect the mounting hardware securing your faucet. This phase benefits enormously from having an assistant hold the faucet steady from the room side while you work behind the wall.
Illuminate your workspace thoroughly before touching any fasteners—take photos documenting the current configuration for reference during reinstallation. Begin by loosening the mounting nuts securing the faucet body to threaded studs extending from the valve assembly, typically using your basin wrench. Work methodically around the fixture, turning nuts counterclockwise in quarter-turn increments to avoid binding.
Critical warning: As each fastener loosens, your assistant must maintain gentle counterpressure on the faucet to prevent sudden movement that could damage surrounding surfaces. When all mounting nuts release, coordinate with your assistant to carefully pull the faucet away from the wall, exposing the threaded connections. Place towels strategically to catch residual water draining from supply lines—this prevents staining and potential water damage to surrounding areas.
Handle Common Removal Challenges

Even well-prepared DIYers encounter unexpected complications during wall-mounted faucet removal. Understanding these common issues helps you overcome obstacles without damaging your wall or plumbing.
Corroded or seized fasteners frequently complicate removal, especially in moisture-rich bathroom environments. When standard wrenches won’t budge stuck nuts, apply penetrating oil generously and wait at least 30 minutes for capillary action to break corrosion bonds. For severe cases, carefully apply heat with a propane torch to expand the metal—never use excessive heat that could damage adjacent materials.
Unexpected configuration discoveries sometimes occur when you open the wall, revealing non-standard mounting arrangements or previous modifications. When confronted with unfamiliar components, stop work immediately and document the situation with photos before proceeding. This information proves invaluable when consulting professionals or researching compatible replacement parts.
Prepare for New Fixture Installation

Successful removal establishes the foundation for proper new faucet installation, but only if you properly prepare the work area during transition. Immediately after removing the old faucet, protect exposed threaded connections from debris using plastic caps or masking tape. Verify that mounting brackets securing the valve assembly to wall studs remain tight—loose brackets cause future leaks and operational issues.
Cover the access opening with plastic sheeting secured by painter’s tape to prevent dust and pests from entering the wall cavity. Preserve all removed components, even if damaged, as they provide critical reference for selecting compatible replacement parts. The photos and measurements you gathered during removal should guide your new faucet selection—never assume compatibility based solely on visual appearance.
Essential Safety Precautions Throughout
Working with concealed plumbing requires specific safety measures to prevent injury and property damage. Always wear cut-resistant gloves when handling sharp drywall edges and metal components—these protect against serious lacerations from unexpected sharp edges. Use safety glasses when cutting drywall to shield your eyes from falling debris.
Critical electrical warning: Keep all electrical devices away from water sources and ensure hands remain dry when working near electrical outlets or wiring. If your access opening reveals electrical components near plumbing, stop work immediately and consult a professional before proceeding. Never rush the removal process—taking extra time for proper preparation prevents costly mistakes that turn a simple faucet replacement into a major renovation project.
Removing a wall-mounted faucet demands patience, proper tools, and systematic attention to concealed components. By following these comprehensive steps—from initial preparation through final extraction—you’ll successfully complete this challenging project while minimizing wall damage and setting yourself up for smooth installation of your new fixture. Remember that proper documentation during removal saves significant time during installation, and when in doubt about any step, consulting a professional plumber prevents expensive errors that compromise your home’s plumbing integrity.

