
Your garage door wall control suddenly stopped responding. The display looks dim, or maybe it’s completely dark. You press the button multiple times with no result. This frustrating scenario happens to countless homeowners when the battery in their wall-mounted garage door opener needs replacement. Most modern wall controls rely on batteries to maintain settings and operate the unit, especially during power outages. The good news is that replacing this battery takes just minutes and requires minimal tools. Whether you own a Chamberlain, LiftMaster, Craftsman, or Genie opener, this guide provides step-by-step instructions to get your wall control functioning properly again without calling a technician.
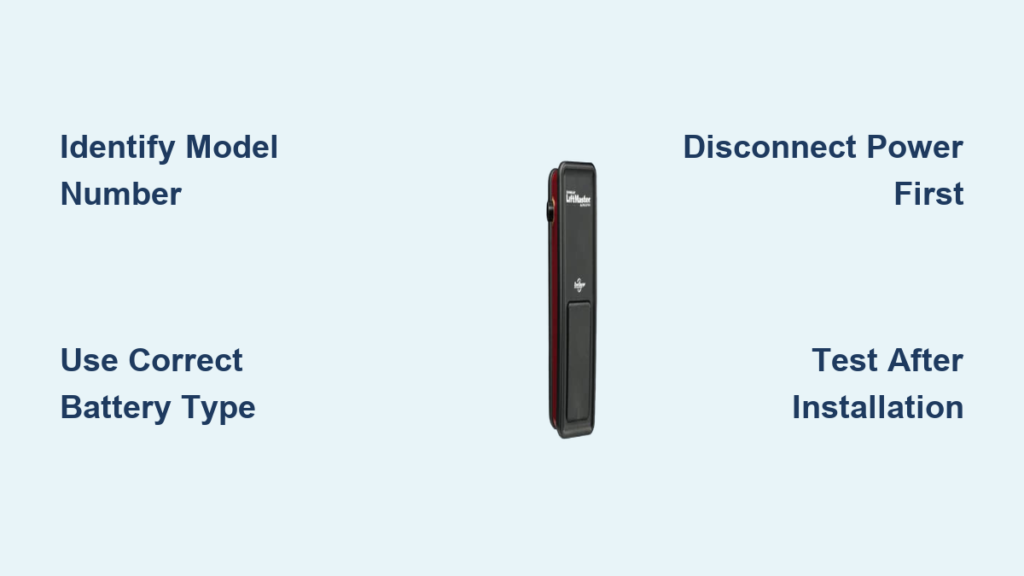
Locate Your Wall Control Unit Model Number

Before purchasing any battery, you must identify your specific wall control model to ensure compatibility. Different manufacturers use various battery types, and installing the wrong one can damage your system or create safety hazards.
Examine the back or sides of your wall-mounted control for a label containing the model number. For Chamberlain and LiftMaster units, carefully remove the faceplate to reveal the information sticker underneath. Genie models typically display their model number on the front faceplate behind the push buttons. Look for identifiers like 41A, 41D, or 41V prefixes for Chamberlain products, while LiftMaster often uses 41A or 82 series numbers. Write down the complete model designation and cross-reference it with your owner’s manual or the manufacturer’s website to confirm the exact battery specifications.
When labels are faded or inaccessible, use visual identification techniques. Chamberlain and LiftMaster wall controls from recent years generally feature a circular motion sensor near the bottom and a learn button on the side panel. Genie units usually have a distinctive curved housing with a digital display panel. If uncertain, capture a clear photo of your unit and visit your local hardware store’s parts department—they can often match your photo to the correct battery type.
How Do I Know If My Wall Control Uses a Coin Cell or Lead-Acid Battery?
Newer digital wall controls with LCD or LED displays typically require standard CR2032 or CR2016 lithium coin-cell batteries. These small, round batteries power the unit’s electronics and memory. Older models with backup battery systems often use larger 12V 4Ah or 12V 7Ah sealed lead-acid batteries that maintain operation during power outages. Check your unit’s specifications—most manufacturers clearly state the required battery type in the owner’s manual or on their website’s support section.
Prepare Your Replacement Battery and Tools

Gathering everything before starting prevents unnecessary interruptions during the replacement process. For most modern wall-mounted garage door openers, you’ll need one CR2032 lithium coin battery (about $3-$5 at any drugstore or supermarket). Older units with backup systems require the appropriate 12V sealed lead-acid battery available at electronics retailers.
Essential Tools Checklist
- Correct replacement battery (CR2032 for most digital controls)
- Small Phillips-head screwdriver
- Soft microfiber cloth
- Optional: Flashlight for better visibility
- Optional: Plastic bag for old battery disposal
Verify your battery type before purchasing—substituting alkaline for lithium or using an incorrect voltage can cause leaks, premature failure, or damage to your wall control circuitry. Manufacturers strongly recommend using the exact battery type originally specified for your model to ensure optimal performance and safety.
Disconnect Power to Your Garage Door System
Safety comes first when working with any electrical component, even low-voltage devices like wall-mounted garage door controls. Proper power disconnection protects both you and your garage door system from potential damage.
First, close your garage door completely using your handheld remote. This prevents accidental door movement during battery replacement. Next, locate your garage door opener’s power cord and unplug it from the wall outlet. If your opener connects directly to household wiring through a junction box, switch off the corresponding circuit breaker in your electrical panel instead.
Wait approximately 30 seconds after disconnecting power before proceeding. This crucial step allows any residual electrical charge stored in the system’s capacitors to dissipate safely. Notify household members that you’re working on the garage door system to prevent someone from accidentally restoring power while you’re handling components.
Access and Remove the Old Battery
With safety precautions complete, you can now access the battery compartment. The location varies by manufacturer, but most wall controls feature either a slide-out tray or a screw-secured cover.
For Chamberlain and LiftMaster units, locate the small release tab near the battery compartment edge. Press or slide this mechanism to disengage the cover, which will either pop open or slide out slightly. Carefully observe the battery’s orientation—most units have clear positive (+) markings indicating proper placement. Take mental note of which side faces upward before removal.
If your unit uses a screw-secured cover, use your Phillips-head screwdriver to remove the single fastening screw, then lift off the cover plate. Some Genie models house the battery behind the circuit board, requiring additional disassembly steps—consult your owner’s manual for these specific procedures. Once exposed, gently lift the old battery from its compartment, being careful not to damage any connecting wires or terminals. Set the spent battery aside for proper disposal.
What If My Battery Is Stuck or Corroded?
If the old battery appears stuck or shows signs of corrosion, proceed carefully. Use plastic tweezers or non-conductive tools to avoid creating electrical shorts. For minor corrosion on terminals, gently clean with a cotton swab dipped in white vinegar, then dry thoroughly before installing the new battery. Never use metal tools directly on battery terminals as this can cause dangerous short circuits.
Install Your New Battery Correctly
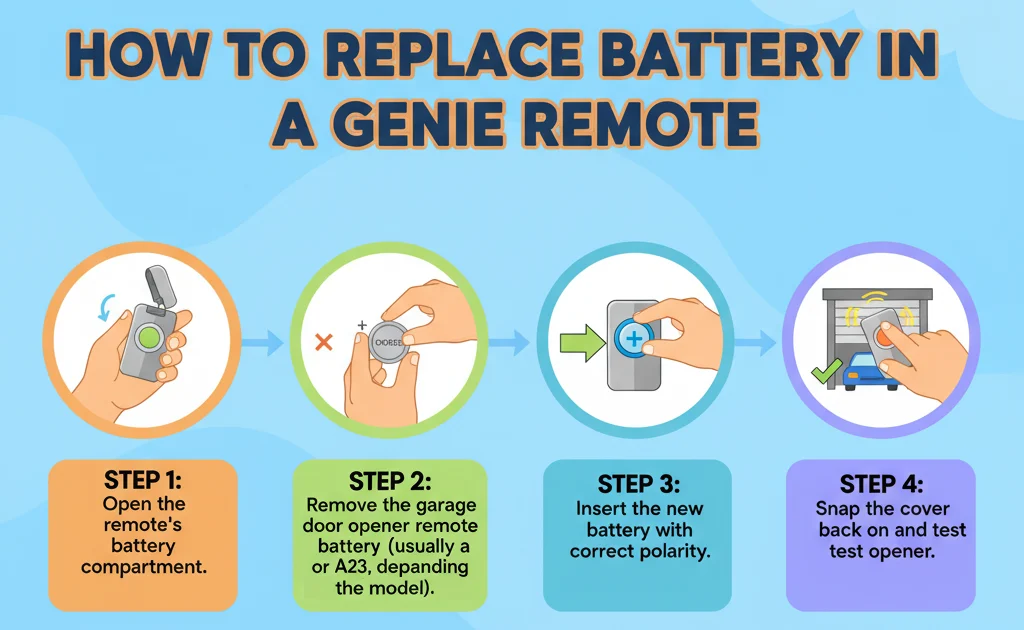
Proper installation ensures optimal performance and prevents damage to your wall control unit. Align the replacement battery exactly as the original was positioned, matching positive and negative markings to compartment indicators.
For CR2032 coin-cell batteries, the side marked with the battery brand and voltage (positive side) typically faces upward. The battery should settle firmly into place with a slight click—never force it. If it feels loose, double-check the orientation; reversed polarity prevents proper function and can damage the circuitry.
For sealed lead-acid backup batteries, connect the red wire to the positive terminal and the black wire to the negative terminal before securing the battery in its compartment. These heavier batteries require careful handling—support them from below while making connections to prevent stress on terminal wires. Ensure the battery sits securely without shifting when you replace the cover.
Replace the battery cover by aligning it with its original position and pressing firmly until it clicks into place, or reinsert the securing screw if applicable. Avoid overtightening screws, which can crack plastic housings or strip threads.
Verify Proper Operation After Replacement
Restoring power and testing your wall control confirms a successful battery replacement. Plug your garage door opener back into the wall outlet or switch the circuit breaker to the ON position. Allow 15-30 seconds for the opener’s motor unit to complete its startup sequence—most units indicate readiness with flashing lights or an audible tone.
Test your wall control by pressing each button individually. The garage door should respond immediately with smooth opening and closing motions. Digital displays should illuminate clearly without flickering or dimming. If your unit includes a motion sensor, verify its functionality by waving your hand in front of it to confirm light activation.
Troubleshooting Common Post-Replacement Issues
If the wall control still doesn’t function properly after battery replacement, first check that you’ve installed the correct battery type for your specific model. Remove the cover and verify the battery is properly seated with correct orientation. Ensure all connections for lead-acid batteries are secure and properly matched to positive and negative terminals. If problems persist, consult your owner’s manual for model-specific troubleshooting procedures.
Schedule Regular Battery Maintenance
Proactive battery replacement prevents unexpected failures and extends your wall control’s lifespan. Most lithium coin-cell batteries last 12-24 months depending on usage frequency and environmental conditions. Sealed lead-acid backup batteries typically require replacement every 18-36 months.
Establish a maintenance routine by checking your wall control’s display brightness and button responsiveness every six months. Replace batteries immediately if you notice dim displays or unresponsive buttons rather than waiting for complete failure. Some newer Chamberlain and LiftMaster models feature built-in battery status indicators—address these warnings promptly.
Extreme garage temperatures significantly shorten battery life. If your garage regularly exceeds 100°F or drops below freezing, replace batteries annually instead of biennially. Store spare batteries in a climate-controlled area of your home to maintain their charge and readiness.
Dispose of Your Old Battery Responsibly
Never discard batteries in regular household trash—they contain materials that can contaminate soil and water. Both lithium coin-cell and lead-acid batteries require special disposal methods.
Recycle coin-cell batteries at retail stores with battery collection bins, municipal recycling centers, or e-waste events. Place the old battery in a plastic bag before disposal to prevent short-circuiting with other metal objects. Sealed lead-acid batteries must be recycled at authorized facilities—many automotive parts stores accept them for free through recycling programs. Never attempt to open sealed lead-acid batteries as they contain corrosive acids that can cause severe burns.
By following proper disposal practices, you ensure valuable materials like lithium, lead, and copper get recovered and reused rather than ending up in landfills.
Replacing the battery in your wall-mounted garage door opener takes less time than making a cup of coffee but restores reliable operation to one of your home’s most frequently used systems. By identifying the correct battery type, following safety procedures, and testing your work thoroughly, you can complete this essential maintenance task with confidence. Establishing a regular battery replacement schedule prevents frustrating failures and ensures your garage door operates smoothly for years to come. Keep this guide handy for your next battery change—you’ll appreciate having these clear instructions when that dim display first appears.

