
Mounting your Starlink dish on a wall eliminates the constant repositioning required with the standard tripod and provides a permanent solution that withstands weather while maintaining optimal signal strength. Whether you’re dealing with limited yard space, harsh environmental conditions, or simply want a cleaner installation for your satellite internet, a properly mounted wall setup ensures your dish maintains a clear line of sight to the sky. This guide covers every critical step of the installation process, helping you achieve reliable satellite internet access without professional installation costs. The right wall-mounted Starlink setup can dramatically improve your connection stability while protecting your equipment from wind, rain, and temperature extremes.
Before grabbing your tools, recognize that wall mounting requires careful planning and attention to safety—especially since you’ll be working at height and modifying your home’s exterior. The Starlink wall mount kit includes most necessary hardware, but you’ll need basic tools and potentially additional materials depending on your wall type. For most homeowners with fundamental DIY skills, the installation typically takes 1-2 hours to complete. By following this detailed guide, you’ll create a professional-grade installation that keeps your dish secure, properly aligned, and protected from the elements for years of reliable service.
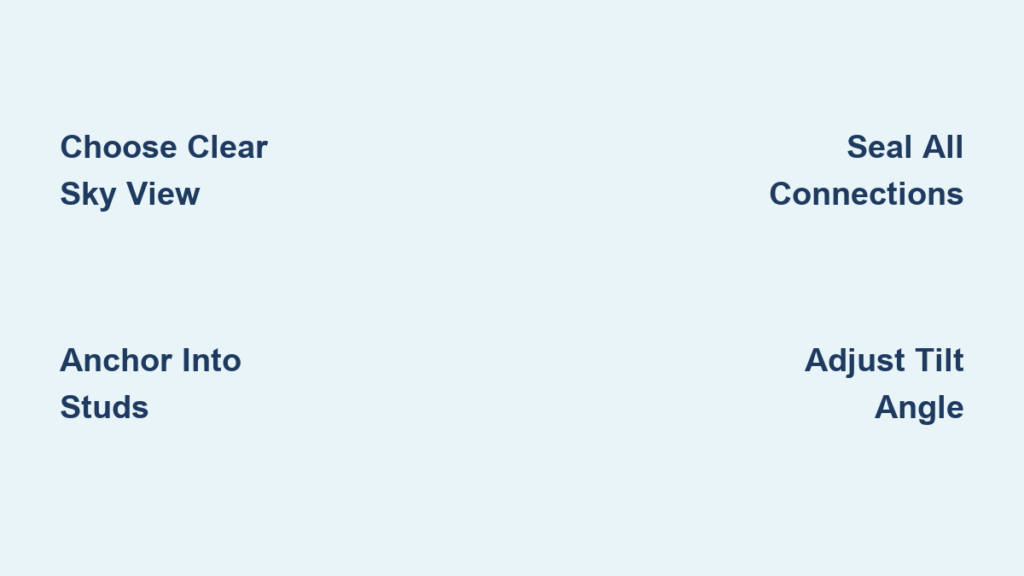
Gather Essential Installation Tools and Materials
Having all necessary tools and materials ready prevents frustrating interruptions and ensures a smooth installation process. The Starlink wall mount kit includes the primary mounting bracket, stainless steel mounting hardware, and rubber gaskets for weather sealing, but you’ll need to provide several tools and potentially additional materials based on your specific wall type.
For any installation, you’ll need a power drill with appropriate bits, a 4-foot level for accuracy, a Phillips head screwdriver, a socket or wrench set, and safety gear including work gloves and safety glasses. A pencil for marking drill holes, a tape measure, and appropriate footwear are also essential. If you’re working at height, a sturdy ladder is critical—never overreach or stand on unstable surfaces.
Consider your wall material when gathering additional supplies. For wooden siding or stucco, the provided lag screws typically work when anchored into wall studs. However, brick, concrete, or brick veneer installations require special masonry anchors and a hammer drill with masonry bits. If mounting on masonry, purchase a quality masonry anchor kit rated for outdoor use with a minimum pull-out strength of 150 pounds per anchor, as the standard Starlink kit hardware is designed primarily for wood and metal stud installations.
Select the Optimal Mounting Location

Your chosen location determines whether you’ll enjoy consistent, high-speed internet or face constant service interruptions. Starlink requires a clear view of the northern sky (for Northern Hemisphere users), as satellites orbit in patterns providing coverage from that direction. Before marking any holes, spend time observing your property at different times of day to identify areas with minimal obstructions from trees, chimneys, rooflines, or neighboring structures.
The ideal spot places your dish at least 12 inches away from vertical obstructions to prevent signal interference during satellite hand-offs. Most homeowners find that a side wall facing north or northwest works best, positioned near the roofline but below the peak to minimize wind exposure while maintaining clear sky visibility. Avoid areas prone to snow accumulation, falling leaves, or ice dams that could obstruct the dish’s view, and consider how the location affects cable routing to your indoor router.
Accessibility matters for long-term maintenance. While you won’t need daily access, occasional cleaning or inspection becomes necessary, especially after severe weather. Mounting too high makes this difficult without professional assistance, while mounting too low increases risk from lawn equipment, pets, or vandalism. Aim for a height where you can safely reach the dish with both feet firmly on a standard ladder—typically 8-12 feet above ground level works well for single-story homes.
Prepare Your Wall Surface and Equipment
Proper preparation transforms a potentially problematic installation into a straightforward project. Begin by clearing the installation area of obstacles like outdoor furniture, potted plants, or decorations that might interfere with your ladder or work space. Lay down a drop cloth to protect landscaping and catch debris during drilling.
Inspect your chosen wall surface for existing damage before proceeding. Wood siding should be intact without soft spots or evidence of water damage. For stucco, check for loose or crumbling sections that won’t provide secure anchor points. When mounting on brick or masonry, ensure mortar joints are in good condition—repairs should be completed before installation.
Unpack your Starlink wall mount kit and verify all components are present: mounting bracket with adjustable tilt (usually 0-30 degrees), stainless steel mounting plate, lag screws with washers, rubber sealing washers, and cable management clips. If your kit appears incomplete or damaged, contact Starlink support for a replacement before proceeding.
Secure the Wall Mount Bracket
Position the mounting plate against your wall at the predetermined location, using your level to ensure it’s perfectly plumb before marking any holes. Even a slightly crooked mount won’t affect dish performance but may complicate alignment later.
Mark all mounting hole positions with a pencil, then double-check your marks against the actual hole pattern. For wood-frame walls, anchor into wall studs whenever possible—the provided lag screws are designed to penetrate at least 1.5 inches into solid wood framing. If holes don’t align with studs, you’ll need to choose a different location or install backing boards.
Drill pilot holes using a bit slightly smaller than your lag screws for wood installations or appropriate masonry bits for brick and concrete. For masonry, blow out all dust from holes and insert anchors before proceeding. Position the mounting bracket over the holes, insert all lag screws with rubber sealing washers, and tighten gradually in a cross pattern. Avoid overtightening, which can strip holes or crack wall material—tighten until washers compress slightly but the bracket remains adjustable.
Attach and Align Your Starlink Dish

Your Starlink dish connects to the mounted bracket using Starlink’s proprietary quick-connect system, which provides both physical support and electrical connection. Before lifting the dish, inspect the connection point on the bracket for debris, then verify the dish’s mounting foot is clean and undamaged.
The mounting foot slides onto the bracket’s arm and locks with a satisfying click—confirm the lock engages fully before releasing your grip. Once mounted, adjust the tilt angle for optimal satellite tracking. A good starting point matches your latitude (e.g., 40-degree latitude = 40-degree tilt). Loosen adjustment points, position the dish while checking signal quality in the Starlink app, then retighten. Small adjustments of 5-10 degrees significantly impact performance, so take time finding the sweet spot.
Secure all adjustment points once optimal positioning is achieved. Overtightening can damage mechanisms or strip threads, but loose hardware allows dish shifting in wind, gradually degrading signal. Use a wrench to snug all hardware, then check alignment one final time.
Properly Route and Secure Cables

Effective cable routing protects your installation from weather damage and maintains a professional appearance. Plan your cable route to minimize exposure to foot traffic, lawn equipment, and extreme weather while taking the most direct path to your router.
For the most durable installation, run the cable through your exterior wall rather than over siding. Drill a hole slightly below the dish to create a downward slope preventing water entry. Use a 1-inch hole saw, drill from outside inward, feed the cable through, and apply exterior-rated silicone sealant around the penetration point on both sides. Install a cable entry cover for additional protection.
Secure the cable along its route using outdoor-rated cable staples or clips. Leave 6-8 inches of slack at both dish and entry points to accommodate thermal expansion. Avoid crushing the cable with staples—use a staple gun with a spacer or hand-staple carefully—and never run cables through areas where they might be pinched by doors or windows.
Activate and Test Your Starlink System
With your dish mounted and cables routed, activation requires just a few simple steps. Position your Starlink router centrally in your home, plug it into power, connect the dish cable to the router’s “Starlink” port, and wait approximately one minute for both devices to boot up.
Download the Starlink app and create an account if needed. The app automatically detects your system and begins activation, typically taking 5-10 minutes as your dish establishes satellite contact and downloads updates. During this process, monitor real-time signal quality metrics in the app—aim for “Healthy” status with download speeds matching your service tier.
Once activated, run a speed test through the app to verify performance. If speeds are significantly below expectations, return to alignment and make small adjustments to your dish’s tilt angle. The app’s “Obstruction View” feature helps identify any remaining obstacles in your dish’s field of view.
Weatherproof Your Installation for Longevity
Protecting your investment ensures years of reliable operation. Apply a continuous bead of exterior silicone sealant around the mounting bracket where it meets the wall, covering all screw heads and gaps. This prevents water from seeping behind the mount and causing structural damage over time.
Inspect all cable connections, particularly where the dish cable meets the dish and enters your home. The weatherproof boots should seat fully and form tight seals—any gaps allow water penetration that could cause signal issues or corrosion. In severe weather areas, consider installing a small protective canopy above the dish that blocks direct rain without obstructing sky visibility.
Perform seasonal inspections to maintain weatherproofing. Check sealant joints for cracking, verify hardware remains tight, and clear debris from around the dish. After severe storms, inspect for damage even if everything appears normal—high winds can loosen hardware or create small cracks in sealant that worsen over time.

