

Wall-mounted fans deliver powerful cooling where space is limited, making them perfect for apartments, kitchens, and offices where ceiling height or floor space prevents traditional fan installation. Unlike bulky floor models that clutter your living area, these compact units provide targeted airflow exactly where you need it while freeing up valuable floor space. Modern wall-mounted fans with brushless direct current (BLDC) motors cut electricity costs by up to 70% compared to older models, offering both comfort and energy savings. Whether you’re a seasoned DIYer or tackling your first home improvement project, this comprehensive guide shows you exactly how to install a wall mounted fan safely and effectively in under two hours.
Before grabbing your tools, strategic planning determines whether your installation succeeds or becomes a frustrating mess. The optimal location balances airflow efficiency, safety, and electrical accessibility. Position your fan on a side wall rather than directly in front of seating areas—people unconsciously position themselves between the fan and colleagues, blocking intended airflow patterns. For households with children, mount the unit at least 7 feet high to prevent accidental contact with moving blades. Crucially, verify proximity to a power outlet since wall-mounted fans plug in rather than hardwire like ceiling fans, eliminating the need for complex electrical work.
Pinpoint Your Ideal Fan Position for Maximum Airflow
Avoid Common Location Mistakes That Reduce Cooling Efficiency
Selecting the wrong spot wastes energy and delivers disappointing results. Never mount your wall fan directly above seating areas—this creates uncomfortable downdrafts while failing to circulate air throughout the room. Instead, position the unit 4-6 feet above floor level on a wall perpendicular to prevailing airflow patterns. In kitchens, install near cooking surfaces but at least 3 feet from stovetops to avoid grease buildup. For bedrooms, angle the fan toward the bed but not directly at pillow level to prevent disruptive drafts while sleeping.
Check these critical factors before marking your wall:
– Confirm 18-24 inches of clearance on all sides for unobstructed oscillation
– Verify no furniture or door swings will interfere with fan movement
– Ensure the wall surface can support 15+ pounds (drywall requires proper anchors)
– Measure distance to nearest electrical outlet (power cords typically reach 3-6 feet)
Gather Specialized Tools for Flawless Wall Fan Installation

Drill Bit Selection Based on Your Wall Material
Your wall’s construction determines which tools you’ll need for secure mounting. Wood stud walls require standard drill bits and 2.5-inch wood screws, while concrete or masonry surfaces demand a hammer drill with masonry bits and sleeve anchors. Drywall installations without stud access need heavy-duty toggle bolts rated for 20+ pounds. Every toolkit must include:
- Stud finder (essential for locating solid mounting points)
- Level (prevents wobbling during operation)
- Pencil for precise marking
- Screwdriver set (Phillips #2 and flathead)
- Measuring tape (for accurate height placement)
Pro Tip: Rent a stud finder with AC wire detection if drilling near existing electrical boxes—this prevents accidental contact with hidden wiring.
Secure the Mounting Bracket Without Wall Damage

Create Pilot Holes That Prevent Drywall Cracks
Drilling incorrectly causes unsightly cracks that compromise your fan’s stability. For drywall installations, drill pilot holes 1/8-inch smaller than your anchors to ensure a tight fit. When mounting into wood studs, angle your drill slightly upward to maximize grip. Apply gentle pressure when drilling masonry—excessive force causes bit wandering and uneven holes. After inserting anchors, tap them flush with a rubber mewhile avoiding hammer strikes that crack surrounding material.
Critical Warning: Never overtighten mounting screws—this strips anchor holes and creates dangerous instability. Stop tightening when resistance increases noticeably, then back off 1/8 turn before final securing.
Assemble Fan Components in Correct Sequence
Prevent Motor Damage During Blade Installation
Most installation failures occur during component assembly. Always attach the rear guard before installing blades—this protects motor shaft bearings from accidental damage. Position blades so the curved edge faces airflow direction (typically concave toward you). When securing the blade cap, rotate counterclockwise until snug, then give one final quarter-turn with moderate pressure. Forcing the cap damages internal threading and causes dangerous wobble during operation.
Visual Cue: Properly installed blades should cast uniform shadows when backlit—irregular shadows indicate misalignment requiring adjustment.
Connect Electrical Components Safely
Eliminate Tripping Hazards with Cord Management
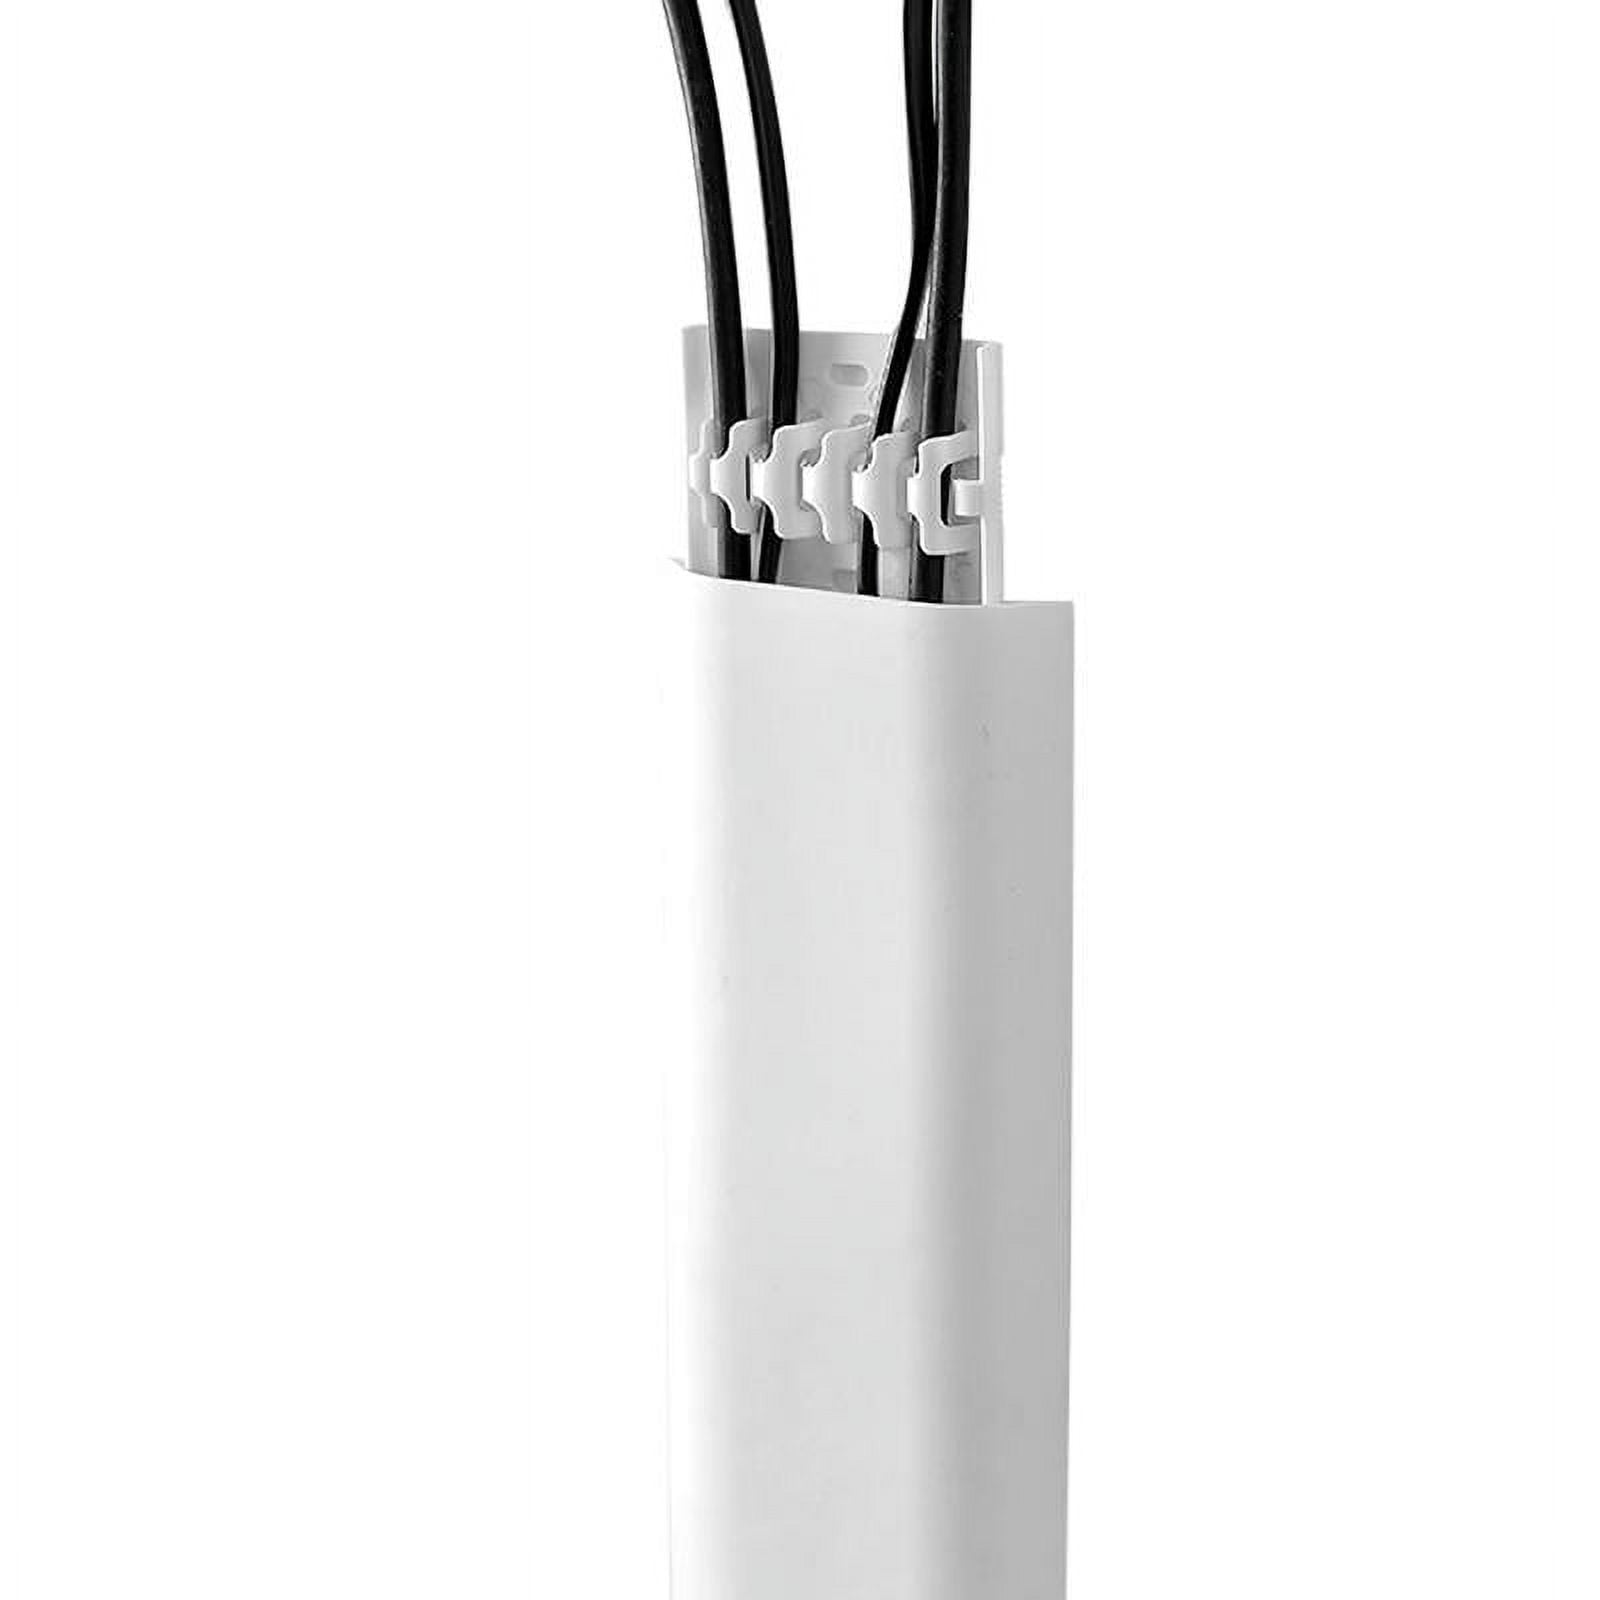
Visible power cords create safety risks and visual clutter. Route cords along baseboards using adhesive cord covers that match your wall color. For seamless installations, run cords through wall cavities by:
1. Drilling 3/4-inch holes behind baseboards
2. Using fish tape to pull cords through
3. Installing decorative raceways at outlet points
Never staple or nail cords to walls—this damages insulation and creates fire hazards. Leave 6 inches of slack at both ends to prevent tension on connections.
Test and Troubleshoot Before Final Mounting
Diagnose Common Issues in Under 5 Minutes
Always perform a bench test before wall mounting. Plug in the fan and verify:
– Smooth operation across all speed settings
– Consistent oscillation through full range
– No unusual vibrations or grinding noises
If oscillation fails:
1. Check remote batteries first (90% of “broken” remotes just need new batteries)
2. Ensure no obstructions block gear movement
3. Verify oscillation knob isn’t accidentally locked
If fan wobbles:
– Tighten blade cap (most common cause)
– Clean debris from blade edges
– Adjust mounting bracket alignment
Maintain Peak Performance with Simple Routine Care
Monthly Maintenance That Doubles Fan Lifespan
Dust accumulation reduces airflow by up to 40% within three months. Clean your wall fan monthly using this professional method:
1. Power off and unplug the unit
2. Remove front guard (typically 2-4 quick-release clips)
3. Wipe blades with microfiber cloth dampened with vinegar solution
4. Use soft brush to clean motor housing vents
5. Reassemble and test operation
Seasonal Checklist:
– Before summer: Lubricate oscillation gears with silicone grease
– After summer: Remove and store fan if in humid climates
– Annually: Tighten all mounting hardware and electrical connections
Optimize Placement for Specific Room Types

Kitchen-Specific Installation Techniques
Mount kitchen fans 30-36 inches above countertops angled toward cooking surfaces. Install near but not directly above stovetops—grease buildup requires more frequent cleaning. Use stainless steel models resistant to kitchen humidity, and position fans to draw steam toward existing range hoods. For galley kitchens, mount fans at opposite ends to create cross-breeze circulation.
Office and Bedroom Placement Strategies
In workspaces, position fans to blow across desks rather than directly at seating—this creates gentle background airflow without disrupting papers or concentration. Bedroom installations work best angled toward the foot of the bed, circulating air without creating uncomfortable drafts on pillows. Use models with timer functions to automatically shut off after 30-60 minutes of sleep.
Upgrade Your Installation with Smart Features
Modern wall fans offer game-changing convenience through smart technology. Install Wi-Fi enabled models that integrate with your existing smart home system for voice-controlled operation. Look for features like:
– Auto-shutoff timers (prevents overnight operation)
– Energy monitoring displays
– Sleep mode with gradual speed reduction
– App-based scheduling for daily routines
These upgrades typically add $20-40 to the fan cost but pay for themselves through reduced energy use and enhanced comfort.
Final Safety Verification Before Regular Use
Complete these critical checks before considering your installation finished:
– Confirm all screws are tight but not stripped
– Verify no wires are pinched in mounting hardware
– Test fan at highest speed for 10 minutes
– Ensure oscillation covers intended area without obstruction
– Check for excessive vibration (more than 1/8 inch movement)
If any component feels loose or makes unusual noises, disassemble and recheck alignment before continuing use. A properly installed wall-mounted fan operates silently except for gentle airflow—even at maximum speed.
By following these precise steps, you’ve successfully completed how to install a wall mounted fan like a professional. Your new installation delivers efficient cooling while maintaining clean aesthetics throughout your space. Remember to perform monthly maintenance checks and seasonal adjustments to maximize performance and longevity. When installed correctly, your wall-mounted fan provides reliable comfort for 10+ years—far outlasting temporary cooling solutions like portable units. Now enjoy the breeze of accomplishment along with your improved air circulation!

