
Mounting your Dyson docking station without damaging walls or cabinets is a common challenge for renters and careful homeowners. Traditional screw installations often conflict with lease agreements or risk unsightly holes in pristine surfaces like laundry cupboards. While Dyson’s official hardware requires drilling, forum users have successfully created screw-free solutions using clever modifications. The core issue? Dyson mounts feature a webbed back with minimal flat surface area, causing standard adhesive hooks to fail under daily use. When one Whirlpool user tried 7.2kg-rated 3M picture hooks, the mount collapsed within a day—even though the vacuum’s weight fell within specifications. This failure highlights a critical oversight: Dyson mounts endure dynamic stress from repeated docking and removal, not just static weight. Through community-tested methods, you can achieve a secure, screw-free installation that lasts years. This guide reveals exactly how to build a reliable mounting system using a flat backing plate and heavy-duty adhesive strips, based on real-world successes from Dyson owners who’ve avoided drilling for over a decade.
Why Adhesive Hooks Fail on Dyson Mounts
Standard adhesive hooks collapse under Dyson mounting because they’re designed for static loads, not the dynamic stress of daily vacuum use. When one Whirlpool user installed 7.2kg-rated 3M picture hooks, the mount failed immediately despite the vacuum’s weight being within limits. The problem lies in physics: pulling your vacuum free and slamming it back creates leverage that peels adhesive strips from edges. As forum member Arrowman explains, “The Dyson docking station is not a static load. It is repeatedly placed under stress as the vacuum is removed and returned.” Dyson’s webbed mount back worsens this—only scattered contact points transfer force to the adhesive, concentrating stress on tiny areas. Cheap tapes or single-strip solutions can’t handle this repeated torsion. Even properly rated strips fail if applied directly to the mount’s uneven surface. Recognizing this dynamic-load challenge is essential; it’s why successful screw-free installations require a complete approach—not just stronger glue.
Build a Flat Backing Plate for Full Surface Contact

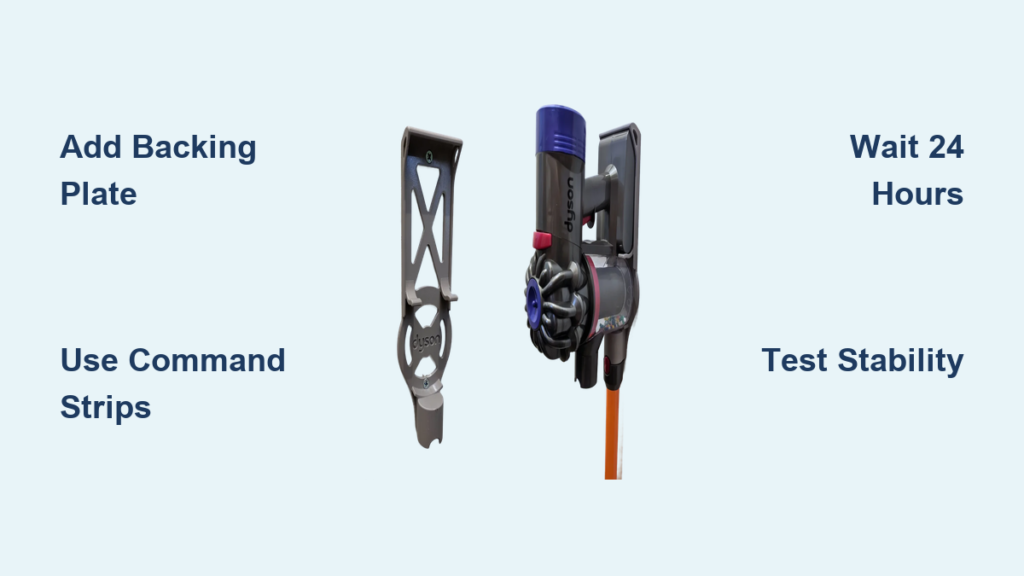
The single most effective fix is adding a solid backing plate between the Dyson mount and adhesive strips. Forum users consistently report success by screwing the Dyson mount to a flat panel before bonding it to the wall. As Alikzandr states: “Screw the Dyson mount to a plate of Perspex or a thin DAR wood plank to get a good backing plate. Then bond this plate to the cupboard with Command strips.” This transforms minimal contact points into full-surface adhesion. Jebus Cripes proved this works long-term: “I used MDF, and 4 stickers—two at the top, two at the bottom. Had it on there for 10 years (DC59 was on there previously).” Ideal materials include 3–5mm MDF (inexpensive, easy to cut) or acrylic/Perspex (moisture-resistant, sleek finish). Cut the plate slightly larger than the mount’s footprint to maximize bonding area. Crucially, attach the Dyson mount to the plate first using its original screws—this creates a unified unit that distributes stress evenly across the adhesive strips. Skipping this step guarantees failure, as the mount’s webbing prevents proper adhesion.
Select Heavy-Duty Adhesive Strips for Dynamic Loads

Not all adhesive strips handle Dyson’s repeated stress. Standard picture hooks or double-sided tape lack the engineered flexibility to absorb docking impacts. Whirlpool users unanimously recommend 3M Command strips as the only viable solution. Paulm1au confirms: “This stuff is very good,” while akaGeorge emphasizes using “several of them” applied per instructions. For V8–V15 models, use strips rated for at least double the vacuum’s weight (e.g., 4kg strips for a 2kg vacuum). Jebus Cripes’ decade-long success used four strips: “two at the top, two at the bottom” of his MDF plate. Position top strips to bear vertical weight when docked, and bottom strips to resist outward tilting during removal. Avoid construction adhesives—they damage walls during removal. Command strips’ unique resin technology accommodates micro-movements from dynamic loads, unlike rigid tapes that crack under stress. Always check packaging for “repositionable” or “damage-free removal” labels; these indicate the flexibility needed for vacuum docking cycles.
Apply Adhesive Strips with Precision Timing
Proper application timing separates temporary fixes from decade-long mounts. Most failures occur because users load the mount too soon. Whirlpool’s johnw2003 warns: “Instructions say to wait 1 hour before attaching the load; I’d leave it until the next day, especially in cool conditions.” Cold temperatures slow adhesive curing, common in laundry rooms. Here’s the verified process:
1. Clean the wall surface and backing plate with a dry cloth to remove dust
2. Press strips firmly onto the plate’s back for 30+ seconds (avoid touching adhesive)
3. Attach the plate to the wall, applying firm palm pressure for 60 seconds per strip
4. Wait 24 hours minimum before docking the vacuum—even if strips feel solid
Rushing this step risks immediate failure. The adhesive needs time to form molecular bonds with the surface, which cool, humid laundry environments slow significantly. During this wait, avoid testing the mount’s strength; any movement compromises the bond. If mounting in winter, extend the wait to 48 hours. This patience mimics Jebus Cripes’ “10-year” installation where strips achieved full strength before handling daily stress.
Test Mount Stability Before Trusting Your Vacuum
Never assume your mount is secure after the cure period. Conduct these stability checks:
– Wiggle test: Gently shake the backing plate. No movement should occur at edges.
– Simulated docking: Without the vacuum, mimic insertion/removal 10x. Listen for “popping” sounds indicating partial detachment.
– Visual inspection: Check for gaps between plate and wall, especially at strip corners.
If any test fails, remove the plate immediately. Common fixes include:
– Adding 1–2 extra strips (prioritize bottom corners to resist tilting)
– Replacing strips if surface was dusty during application
– Switching to thicker-gauge strips for heavier models like V15
Whirlpool user akaGeorge stresses: “Best solution is to drill… but if avoiding screws, follow instructions precisely.” This testing phase prevents costly drops. Jebus Cripes’ 10-year success likely included initial cautious use—he notes his mount held “V6” and “DC59” models, implying gradual confidence building. Once stable, dock gently for the first week to condition the adhesive.
When Screw-Free Mounting Isn’t Possible
Even with perfect technique, some surfaces can’t support adhesive mounts. If you’ve tried the backing plate method twice with Command strips and still experience failure, drilling may be unavoidable. AkaGeorge bluntly states: “Best solution is to drill a neat hole.” In these cases:
– Target cabinet interiors: Drill into cupboard doors or side panels where holes stay hidden
– Use minimal hardware: One small pilot hole with a plastic anchor suffices for most mounts
– Patch strategically: Fill holes with painter’s putty before moving out to comply with leases
If drilling remains undesirable, explore alternative locations. Mounting inside a rarely used cabinet door (away from moisture) often provides better adhesion than laundry cupboards. As Alikzandr notes, his fire extinguisher mount succeeded on a “good flat surface”—prioritize smooth, non-porous areas like melamine-coated cabinets over textured walls. When all else fails, use the vacuum’s stand on a shelf; it’s less convenient but preserves walls.
Maintain Your Adhesive Mount for Longevity
Even successful installations need proactive care. Check your mount monthly for:
– Corner lifting: Gently press separated edges with a credit card to re-adhere
– Adhesive discoloration: Yellowing indicates UV damage—relocate if near windows
– Plate flexing: If the mount tilts when docking, add reinforcement strips immediately
Humidity fluctuations in laundry rooms accelerate adhesive fatigue. During seasonal changes, reinforce with extra strips at stress points (bottom corners). Never hang accessories like hose attachments on the mount—Arrowman’s dynamic-load warning applies doubly here. If strips lose grip after 2+ years, replace them entirely: Pull the release tab slowly at 180 degrees to avoid wall damage, clean residue with rubbing alcohol, then reinstall with fresh strips. Following these steps, Jebus Cripes maintained his mount for a decade—a testament to proper maintenance.
Installing your Dyson wall mount without screws demands strategic modifications, not just stronger glue. By adding a flat backing plate to distribute stress, using multiple 3M Command strips rated for dynamic loads, and respecting the 24+ hour cure time, you create a system that survives daily docking cycles. Real-world evidence proves this works: Whirlpool users have maintained adhesive mounts for 10 years through consistent technique. If your first attempt fails, reevaluate surface prep or strip placement—don’t blame the method. When executed precisely, this screw-free approach delivers the convenience of wall mounting while protecting your walls from permanent damage. For renters facing strict lease terms or homeowners preserving cabinetry, it’s the only viable path to a clutter-free, functional Dyson station.

