
Have you ever needed to take down your Ring doorbell for maintenance, relocation, or security concerns? Many homeowners find themselves unexpectedly stumped when trying to remove their Ring doorbell from its mounting bracket. Whether you’re preparing for a home renovation, moving to a new house, or simply need to clean behind your device, knowing the proper removal technique prevents damage to your doorbell, your wall, and most importantly—your fingers. This guide provides essential information for safely detaching your Ring doorbell from its wall mount without causing unnecessary damage or frustration.
Unlike traditional doorbells that require electrical wiring knowledge, Ring doorbells use a clever mounting system designed for homeowner-friendly installation and removal. However, the exact removal process varies significantly between different Ring models, and attempting removal without understanding your specific model’s mechanism can lead to stripped screws, damaged brackets, or accidental disconnection of wiring. You’ll learn the critical differences between models, discover why some Ring doorbells seem “stuck” to their mounts, and get clear instructions for successful removal regardless of your specific Ring version.
Ring Doorbell Model Identification Before Removal
/cdn.vox-cdn.com/uploads/chorus_asset/file/13456056/ring_comparo_doorbells.jpg)
Before attempting any removal procedure, correctly identifying your specific Ring doorbell model is absolutely essential. Ring has released multiple generations with different mounting mechanisms, and using the wrong removal technique can cause permanent damage. The most common models include the original Ring Video Doorbell, Video Doorbell 2, Video Doorbell 3/3 Plus, Video Doorbell 4, and the newer Wired models, each with unique mounting characteristics.
How to Identify Your Ring Doorbell Model
Look for these distinguishing features to determine your exact model:
- Original Ring Video Doorbell: Rectangular shape with camera centered above the ring button, requires removal of faceplate before accessing mounting screws
- Video Doorbell 2: More rounded edges, interchangeable faceplates, removal requires sliding mechanism
- Video Doorbell 3/3 Plus: Slimmer profile, weather-resistant design, uses a different bracket system than earlier models
- Video Doorbell 4: Includes physical privacy shutter, requires specific release mechanism
- Wired Models: Often have different mounting hardware that connects directly to existing doorbell wiring
Why Model Identification Matters for Removal
Attempting to remove your Ring doorbell without confirming the model often leads to frustration and potential damage. Each generation uses different mounting hardware—some require screw removal while others use slide-and-release mechanisms. The Video Doorbell 2, for example, has a completely different removal process than the Video Doorbell 4. Mistaking one model for another could mean applying force in the wrong direction, stripping screws, or accidentally disconnecting wiring that shouldn’t be disturbed during standard removal.
Standard Removal Process for Most Ring Doorbell Models
Once you’ve positively identified your Ring doorbell model, follow these general steps for safe removal. Remember that specific models may require slight variations to this process, so always verify with Ring’s official documentation for your particular model before proceeding.
Pre-Removal Safety Checks
Before touching any hardware, complete these critical safety steps:
- Disable power to your Ring system through the Ring app to prevent accidental triggering
- Check if your model is hardwired—if so, consider turning off the circuit breaker for safety
- Prepare your workspace with adequate lighting and a soft surface to place the doorbell
- Gather necessary tools (typically a small Phillips head screwdriver)
- Have your smartphone ready to take reference photos of wiring positions
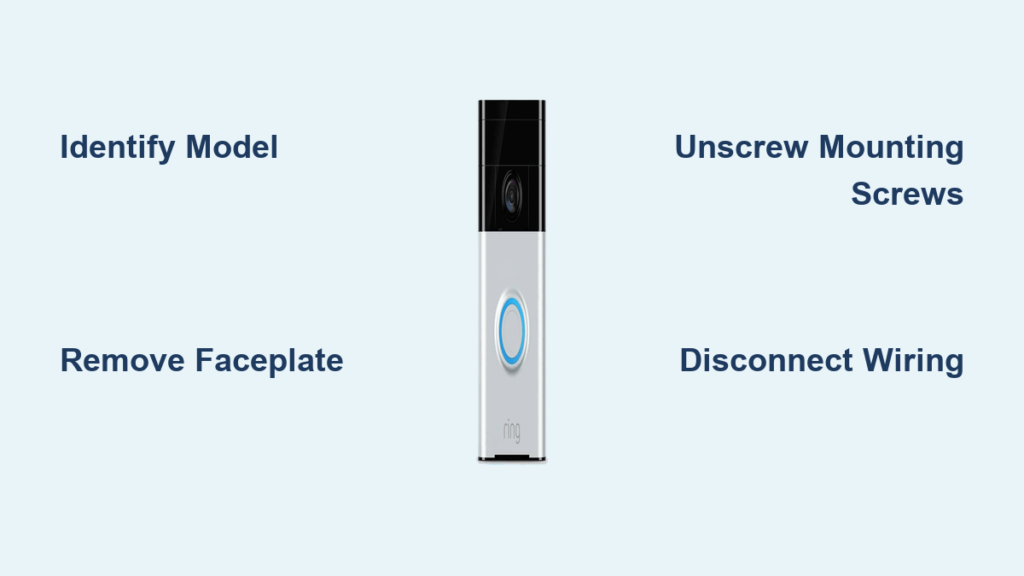
Step-by-Step Removal Instructions
-
Access the mounting screws: Most models require removing a faceplate or cover first—this usually involves pressing a release tab at the top of the device and sliding upward
-
Remove mounting screws: Using the appropriate screwdriver, carefully unscrew the mounting screws while supporting the weight of the doorbell with your other hand
-
Disconnect wiring (if applicable): For wired models, note the wire positions before gently disconnecting—take photos for reference
-
Store components safely: Place screws in a small container and keep them with the doorbell for reinstallation
-
Protect the wall mount: If leaving the mounting bracket in place, cover the exposed screws with electrical tape to prevent accidental contact
Troubleshooting Common Ring Doorbell Removal Issues
Even with proper preparation, homeowners frequently encounter unexpected challenges when removing their Ring doorbells. Understanding these common issues before you begin can prevent damage and save valuable time during the removal process.
Why Your Ring Doorbell Won’t Release From the Mount
If your doorbell seems firmly stuck despite following removal instructions, consider these possibilities:
- Weather exposure: Extreme temperatures and moisture can cause metal components to expand or corrode
- Over-tightened screws: Previous installation may have used excessive force on mounting screws
- Paint coverage: Multiple paint layers may have sealed the doorbell to the mounting bracket
- Debris accumulation: Dirt and insects can create blockages in the release mechanism
How to Handle Stuck or Seized Components
When facing a stubborn Ring doorbell, proceed with caution:
- Apply gentle heat: Use a hairdryer on low setting to expand metal components slightly (avoid direct heat on plastic parts)
- Use penetrating oil sparingly: Apply a small amount to screw threads if they’re seized, but keep it away from electrical components
- Work slowly: Apply gradual pressure in the correct release direction rather than forcing it
- Consult Ring support: If resistance continues, stop and contact Ring technical support before proceeding
Post-Removal Considerations and Reinstallation Tips

Successfully removing your Ring doorbell is only half the process—proper handling afterward ensures smooth reinstallation and continued functionality of your security system.
Proper Storage for Removed Components
When your Ring doorbell is detached, follow these storage best practices:
- Keep the device in its original box or a padded container
- Store screws in a labeled bag attached to the doorbell
- If removing wiring, cap exposed wires with wire nuts for safety
- Note the orientation of all components with photos for reinstallation
When to Replace Mounting Hardware
Consider replacing certain components during reinstallation:
- Worn rubber gaskets: Check for cracks or compression that could compromise weather resistance
- Rusted screws: Always replace with stainless steel versions to prevent future corrosion
- Damaged mounting brackets: If the bracket shows signs of wear, order a replacement from Ring
- Aged weather seals: Replace any compromised seals to maintain proper water resistance
Special Considerations for Hardwired Ring Models

Hardwired Ring doorbells introduce additional complexity to the removal process that requires extra caution and preparation.
Electrical Safety Precautions
For hardwired models, prioritize these electrical safety measures:
- Turn off power at the breaker before beginning removal
- Use a voltage tester to confirm no current is flowing to the doorbell
- Take multiple photos of the wiring configuration before disconnecting anything
- Label all wires with their corresponding terminals for accurate reconnection
Preserving Wiring for Future Reinstallation
If you plan to reinstall the doorbell in the same location:
- Leave wires accessible in the wall opening
- Secure wire ends with wire nuts to prevent contact
- Protect exposed wiring with electrical tape
- Mark the circuit breaker for easy identification later
Preventing Future Removal Difficulties
Implement these preventative measures during reinstallation to make future removal easier and less problematic.
Best Practices for Easier Future Removal
- Apply anti-seize compound sparingly to screw threads (avoiding electrical components)
- Don’t over-tighten screws—finger-tight plus a quarter turn is usually sufficient
- Create a removal reference sheet with photos and notes specific to your installation
- Schedule annual maintenance to check for potential mounting issues before they become problems
Weatherproofing Considerations
Proper weatherproofing protects your doorbell while allowing for future access:
- Use appropriate weather seals designed for your specific model
- Avoid excessive caulk around the mounting area that could seal the doorbell permanently
- Check seals annually for deterioration and replace as needed
- Consider a protective canopy if your doorbell is exposed to direct weather elements
When to Contact Professional Help
While Ring doorbells are designed for DIY installation and removal, certain situations warrant professional assistance:
- If you’re uncomfortable working with household electrical systems
- When dealing with complex multi-wire installations
- If previous removal attempts have damaged the mounting hardware
- When your doorbell is integrated with a broader security system
Remember that Ring offers official support channels that can provide model-specific guidance—don’t hesitate to contact them before proceeding if you’re uncertain about any step in the removal process.
By following these detailed procedures and precautions, you’ll be able to safely remove your Ring doorbell from its wall mount without causing damage to your device or property. Proper identification of your specific model, careful preparation, and attention to detail during the removal process ensures your security system remains fully functional for when you’re ready to reinstall it. Whether you’re temporarily removing your doorbell for maintenance or preparing for a permanent relocation, this knowledge empowers you to handle the process with confidence and safety.

